
Assembling and customizing an Iris Ohyama modular shelf allows you to create tailored storage solutions for any room. The process is straightforward, relying on a user-friendly interlocking design or a simple screw-and-dowel system that lets you adjust shelf heights to fit your specific items. To achieve a stable setup, you must prepare a clean workspace, verify all components against the packing list, and carefully align the panels according to the directional indicators. By understanding the structural limits of your specific model and securing it properly, you can maximize your vertical storage space safely and efficiently.
Preparing Your Space and Tools
Before opening the packaging, select a spacious, flat area of your floor near the shelf’s final location. Assembling furniture in a cramped space increases the risk of bumping into walls or misaligning components. Lay down a soft protective barrier, such as the flattened cardboard box or a clean blanket, to protect both your flooring and the finish of the shelf panels from scratches.
Carefully unbox all components and group similar parts together, such as side panels, shelf boards, and hardware packets. Locate the manufacturer’s instruction manual and compare every item against the included inventory list. Verifying that you have the correct count of screws, dowels, shelf pins, or locking clips before you begin prevents frustrating interruptions mid-assembly. If any parts are missing or damaged, contact the retailer before proceeding.
Products mentioned in this guide
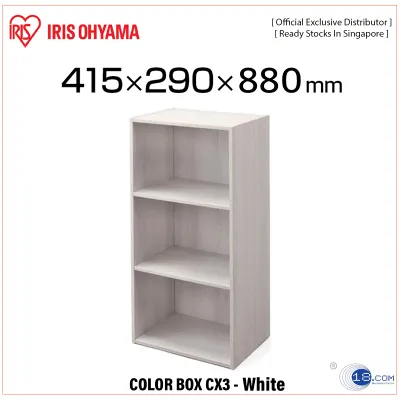
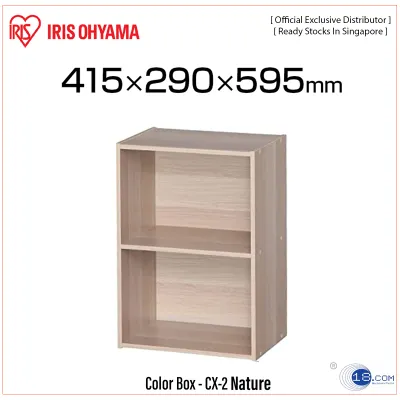

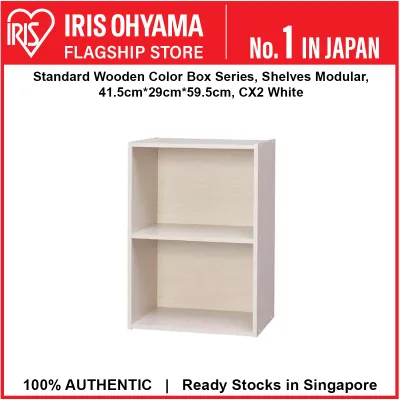
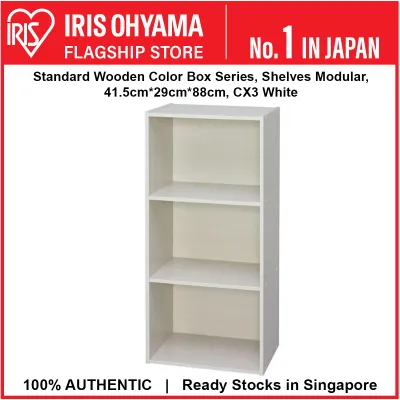
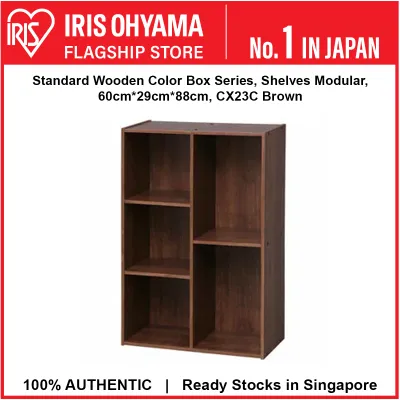
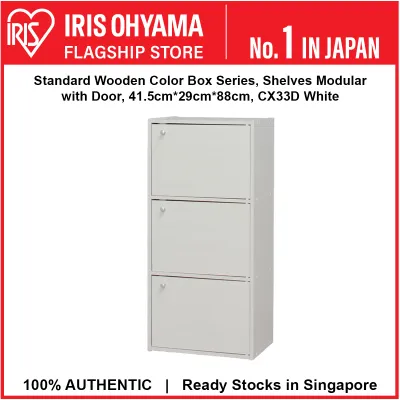
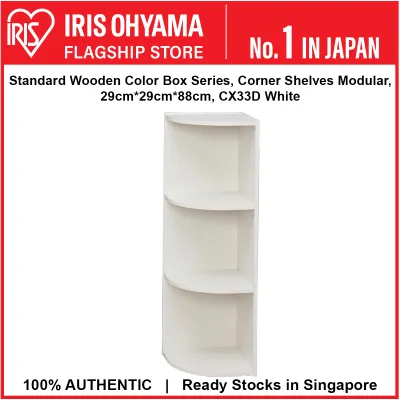
Prices are valid at publication and may change. Please refer to the product page for the latest price.
While many modular shelving units feature tool-free assembly using snap-fit joints or interlocking plastic clips, some models require basic hand tools. Keep a standard Phillips-head screwdriver and a rubber mallet nearby. A rubber mallet is particularly useful for gently tapping interlocking joints into place without marring the plastic or wood-composite surfaces. Avoid using a metal hammer, as the direct impact can easily crack the modular connectors or chip the protective finish.
Step-by-Step Assembly Guide
Begin the physical assembly by identifying the base and side panels. Most modular shelves utilize specific directional indicators, such as arrows stamped into the plastic or small stickers indicating “UP” or “FRONT.” Orienting these panels correctly at the start is crucial, as assembling them upside down or backward will prevent the shelf boards or back panels from sliding into their designated tracks later.

If your model uses a screw-and-dowel system, insert the wooden dowels into the pre-drilled holes on the side panels first. These dowels act as alignment guides and provide shear strength to the joints. Gently press the side panels into the base panel, ensuring the dowels line up precisely with the corresponding receiving holes. If the fit is snug, use your rubber mallet to tap the panels together with light, even strokes until the joint is completely flush.
Once the main outer frame begins to take shape, slide the back panel into the grooves running along the inner edges of the side panels. The back panel is not merely cosmetic; it provides essential lateral stability that prevents the entire unit from swaying or collapsing sideways. Ensure the back panel slides all the way into the bottom groove before proceeding to the top panel or the next structural shelf.
Before fully tightening any screws or locking clips, check the square alignment of the frame. You can verify this by measuring diagonally from the top-left corner to the bottom-right corner, and then from the top-right corner to the bottom-left corner. If the two diagonal measurements are equal, your shelving unit is square and aligned. If they differ, gently nudge the frame until the measurements match, then secure the fasteners firmly. Over-tightening screws can strip the pre-drilled holes in wood-composite models, so tighten them until they are snug, but do not force them past their natural stopping point.
Customizing Shelf Heights and Configurations
The primary advantage of a modular shelving system is the ability to customize the interior layout to match your storage needs. Look closely at the inner faces of the side panels to identify the adjustable hole patterns or slot systems. These pre-spaced intervals allow you to position the shelf supports at varying heights, accommodating everything from short storage bins to tall binders or decorative vases.
Before placing the shelf boards, plan your layout by measuring the height of the items you intend to store. It is highly recommended to place your heaviest items, such as books, heavy storage boxes, or small appliances, on the lowest shelves. Keeping the center of gravity low significantly improves the overall stability of the unit and reduces the risk of tipping. Ensure you leave adequate vertical clearance above each item so you can easily slide them in and out without scraping the shelf above.
To position a shelf, insert the support pins or locking clips into the corresponding holes on the left and right side panels. It is critical to verify that all four supports are placed at the exact same height level. An uneven shelf will cause items to slide, distribute weight unequally, and put unnecessary stress on the support pins, which can lead to premature joint failure. Once the supports are secure, lower the shelf board directly onto them, pressing down gently on each corner to confirm that it sits flat and does not wobble.
If your storage needs change over time, you can easily reposition the shelves. Empty the shelf completely before attempting to move it. Lift the shelf board straight up to disengage it from the support pins, remove the pins from the side panels, and insert them into the new desired holes. If you find that you need more open vertical space, you can omit a shelf board entirely, provided that the specific board you are removing is not designated by the manufacturer as a fixed structural support necessary for the unit’s integrity.
Securing and Stabilizing Your Shelving Unit
Ensuring your shelving unit is stable is a vital safety step, particularly in homes with active pets or young children who might attempt to climb the furniture. Tall, narrow shelving units have a higher center of gravity and are inherently more susceptible to tipping forward when loaded. Evaluate the height-to-depth ratio of your assembled unit; any shelf that is significantly taller than it is deep should be securely anchored to the wall.
If your shelf includes wall-mounting brackets or safety straps, install them according to the manufacturer’s instructions. For secure mounting, try to locate a wall stud using a stud finder and screw the bracket directly into the wood framing. If you are mounting the shelf against a drywall or plaster wall where a stud is not available, you must use appropriate hollow-wall anchors, such as toggle bolts or heavy-duty plastic expansion anchors, to ensure the screws do not pull out under tension.
In Singapore, many residential walls are constructed from solid concrete or brick. If you are mounting your shelf against a concrete wall, you will need a rotary hammer drill, a masonry drill bit, and plastic wall plugs suitable for concrete. Drill a hole of the correct depth and diameter, insert the plastic plug flush with the wall surface, and then secure the mounting bracket using a compatible screw.
After anchoring the unit, check the base of the shelf. If your model is equipped with adjustable leveling feet, rotate them clockwise or counterclockwise to compensate for any unevenness in your flooring. If your model does not have adjustable feet and you notice a slight wobble due to uneven tiles or floorboards, place thin, non-slip furniture shims under the low corners until the unit stands level and stable.
Maintenance and Safety Checks
Regular maintenance ensures that your modular shelf remains safe and functional for years to come. Over time, the daily vibration of placing and removing items can cause screws, locking clips, and shelf pins to loosen slightly. Establish a routine to inspect the hardware every few months, gently tightening any loose screws with a manual screwdriver to avoid stripping the threads.
When cleaning your shelf, always refer to the material care instructions provided by the manufacturer. For wood-composite shelves with a laminate or veneer finish, wipe the surfaces with a soft, dry, or slightly damp microfiber cloth. Avoid using harsh chemical cleaners, abrasive scrubbing pads, or excessive water, as moisture can seep into the seams of the laminate and cause the underlying wood fibers to swell, warp, or delaminate. For plastic or metal modular units, a mild soap solution and a damp cloth are generally sufficient for removing dust and fingerprints.
During your routine inspections, look closely for any signs of structural wear or stress. Check the center of each shelf board for visible sagging or bowing, which indicates that the weight limit for that tier has been exceeded. If you observe sagging, immediately remove some items to reduce the load, or redistribute the weight toward the outer edges near the side supports. Inspect the joints and corners for hairline cracks, rust on metal components, or loose dowels, and replace any compromised parts promptly to maintain the structural integrity of the entire unit.
Frequently Asked Questions (FAQ)
Can I use an Iris Ohyama shelf in a high-humidity area like a bathroom?
Before placing your shelf in a high-humidity environment, check the manufacturer’s material specifications to confirm its suitability. Standard wood-composite shelves with paper laminate finishes are highly susceptible to moisture damage, which can cause warping, peeling, and mold growth over time. If you plan to use the unit in a bathroom or laundry room, opt for models specifically constructed from high-density plastic or rust-resistant coated metal. Additionally, ensure the room is well-ventilated with an exhaust fan or open window to minimize prolonged exposure to steam and condensation.
What should I do if the shelf boards do not fit into the slots?
If a shelf board does not slide easily into its designated slots, do not force it, as this can crack the board or damage the side panels. First, verify that you have oriented the board correctly, ensuring that any finished edges face forward and that the board is aligned with the tracks. Next, check the slots and tracks for any manufacturing debris, dust, or packaging material that might be blocking the path. Finally, use a measuring tape to confirm that the side panels of the frame are parallel and square; if the frame is tilted or skewed, the distance between the slots will be uneven, preventing the shelf from sliding in smoothly. Adjust the frame alignment as needed before reinserting the board.
Community discussion
Share your experience or ask a question. Comments are reviewed before publication.