
Assembling and customizing a multilayer storage rack is one of the most effective ways to reclaim valuable floor space and organize your home. Whether you are setting up a heavy-duty unit in a utility room, a sleek wire rack in the kitchen, or a modular shelving system in a living area, the process relies on systematic preparation and careful execution. By understanding how to properly measure your space, build a stable foundation, and adjust shelf heights, you can create a tailored storage solution that fits your exact needs.
A successful installation ensures that your shelving remains safe, level, and capable of holding your belongings securely over time. Taking a methodical approach prevents common assembly mistakes, such as misaligned shelves or unstable frames, which can compromise safety. This guide walks you through the entire process, from the initial space assessment to the final stability checks and customization options.
Pre-Assembly Preparation and Space Assessment
Before unboxing your new multilayer storage rack, you must thoroughly evaluate the designated installation area to ensure a seamless fit. Begin by measuring the exact floor footprint where the rack will stand, keeping in mind any baseboards or wall trim that might push the unit forward. Next, measure the vertical clearance from the floor to the ceiling, ensuring there is enough overhead space to assemble and position the rack without scraping the ceiling.
Products mentioned in this guide
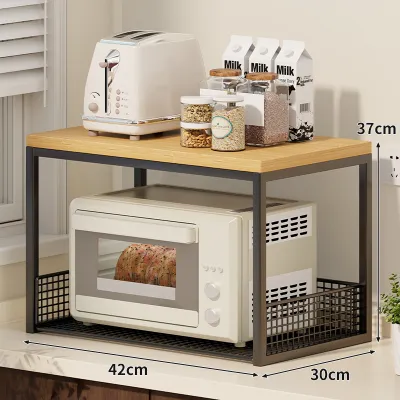
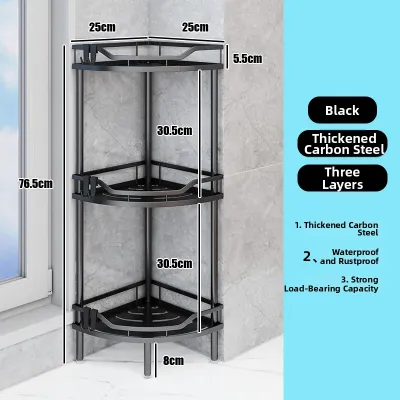
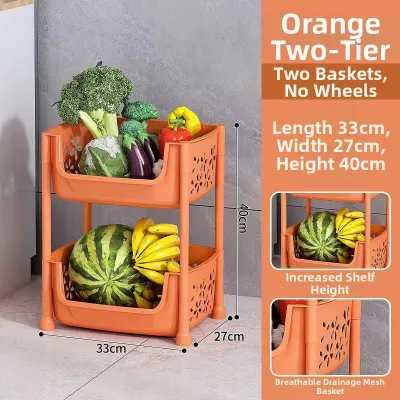
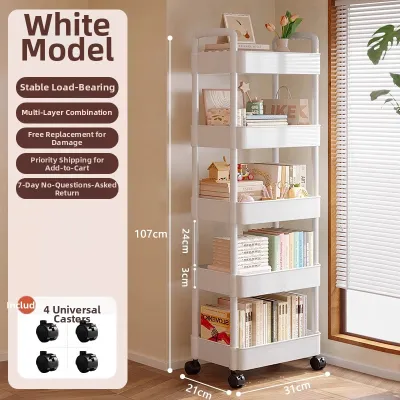
![2/3/4 Tiers Kitchen Bathroom Organizer Trolley Shelf/Rack/ Storage/Utility Cart with Rollers Wide - White / Grey Color [Stock in SG]](https://img.lazcdn.com/g/p/c3b7bda38d6f5ae35cdc88c062c34715.jpg_400x400q80.jpg_.webp)
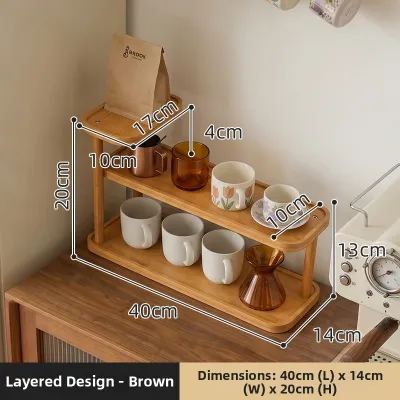
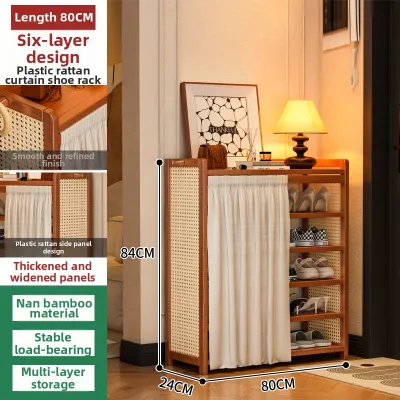
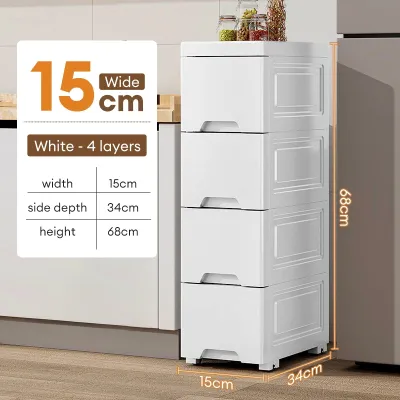
Prices are valid at publication and may change. Please refer to the product page for the latest price.
It is equally important to check the clearance for nearby doors, drawers, windows, and light fixtures. A rack that blocks a doorway or prevents a cabinet drawer from opening fully will quickly become a daily inconvenience. Verify that the packaged box or the partially assembled components can easily pass through your doorways, hallways, and lift access points.
Once the space is verified, clear a flat, clean work area near the final installation spot. Unpack all components and lay them out systematically to perform an inventory check against the manufacturer’s parts list. Counting the shelves, vertical posts, plastic sleeves, leveling feet, and hardware beforehand prevents mid-assembly delays.
While many modular kits include basic assembly tools, having a few of your own on hand will make the process much smoother. A rubber mallet is highly recommended for securing shelves without scratching or denting the metal or wood finish. You will also need a high-quality spirit level to verify that the shelves are perfectly horizontal, and a standard measuring tape to double-check heights and spacing as you build.
Step-by-Step Assembly Guide
The foundation of any stable multilayer storage rack lies in how you assemble the base. Start by preparing the bottom-most section of the vertical posts, which typically feature threaded inserts at the bottom. Screw the leveling feet or casters into these inserts according to your specific model’s instructions. If your floor is slightly uneven, leveling feet allow you to make micro-adjustments later, whereas casters are ideal if you require a mobile storage solution.

Once the feet or casters are attached, position the bottom segments of the vertical posts upright. If your rack uses a slip-sleeve locking system, snap the plastic clips onto the desired groove at the lowest section of each post. Ensure that all four clips are positioned at the exact same height, pointing in the correct direction as indicated by the manufacturer’s markings.
With the clips securely in place, slide the first shelf down from the top of the posts until it rests firmly over the plastic sleeves. This initial step is crucial because the bottom shelf establishes a stable, square foundation for the rest of the structure. Push down firmly on all four corners of the shelf to wedge it tightly onto the clips, ensuring the frame does not twist or lean.
For bolt-and-nut systems, loosely thread the fasteners through the corner brackets of the bottom shelf and the vertical posts. Keeping them slightly loose allows you to adjust the frame and ensure everything is square before final tightening.
After securing the bottom shelf, proceed to build upward by adding the remaining shelves one by one. If your vertical posts come in multiple sections, screw the upper post segments onto the lower ones using the provided connectors. Ensure these joints are fully tightened and flush to prevent any weak points in the vertical support structure.
Snap the next set of clips at your desired height for the second shelf, then slide it into place. Repeat this process for each subsequent tier, working systematically from the bottom up. This keeps the center of gravity low during assembly, making the structure easier to manage.
Once all the shelves are positioned, place the protective top caps onto the exposed ends of the vertical posts. These caps prevent dust and moisture from entering the hollow metal tubes and protect your hands from sharp edges. Finally, go back and fully tighten all bolts, or use a rubber mallet to gently tap down on the corners of each shelf to ensure they are completely seated on their connectors.
Customizing Shelf Heights and Configurations
One of the greatest advantages of a modular multilayer storage rack is the ability to customize the shelf spacing to match your specific storage needs. Instead of spacing the shelves evenly by default, take the time to plan what items will live on each level. Group your belongings by height, placing the tallest or bulkiest items on the bottom and smaller, lighter items toward the top.
Measure the height of your tallest items, such as large kitchen appliances, storage bins, or tall boots, and add a few centimeters of clearance to allow for easy retrieval. Use these measurements to determine the exact placement of your shelf clips or brackets. Most vertical posts feature double grooves or numbered increments every few centimeters, making it easy to align the connectors perfectly across all four posts.
If you need to adjust a shelf that is already assembled, remove all items from that shelf and the tiers above it first. Gently tap the underside of the shelf corners with a rubber mallet to release it from the tapered clips, slide it upward, and reposition the clips to the new height. Always verify that all four clips are snapped into the same groove level before lowering the shelf back down.
Consider integrating modular accessories compatible with your specific rack design. Many systems support add-ons like side hooks, wire baskets, or clip-on dividers. Utilizing these accessories helps maximize the usable volume of each shelf and keeps smaller items organized.
Safety Checks and Stability Verification
Before loading your customized storage rack with heavy items, you must perform a series of safety checks to verify its structural integrity. Begin by placing a spirit level on each shelf, checking both from left to right and front to back. If the bubble is not centered, adjust the leveling feet at the bottom of the posts until the entire unit is perfectly plumb and horizontal.
Proper weight distribution is critical to preventing structural failure or tipping. Always place your heaviest items, such as bulk liquids, heavy tools, or large storage crates, on the very bottom shelf. This lowers the overall center of gravity of the unit, making it significantly more stable and less likely to sway or tip when bumped.
Place lighter items toward the top and distribute the weight evenly across each shelf. Avoid concentrating heavy loads in the center, which can cause bowing over time. If you notice any visible flexing, remove some weight immediately and check the manufacturer’s load capacity guidelines.
For tall, narrow racks, or any shelving unit placed in high-traffic areas, installing wall anchors or anti-tip straps is highly recommended. These safety devices secure the top of the rack to the wall, preventing it from tipping forward if someone accidentally pulls on a shelf. Choose the appropriate wall anchors based on your wall material, whether it is concrete, brick, or drywall, to ensure a secure hold.
Finally, perform a gentle shake test by grasping the middle of the rack and applying light pressure. The unit should feel solid and resist swaying; if you detect any excessive movement, recheck all joints and connections. Regular maintenance is also key—periodically inspect the rack to ensure bolts remain tight and leveling feet have not shifted over time.
Frequently Asked Questions (FAQ)
How do I fix a wobbly multilayer storage rack?
A wobbly rack is usually caused by uneven flooring, loose connections, or improper weight distribution. Start by checking if all four leveling feet or casters are making firm contact with the floor. If your rack has adjustable leveling pads, screw them in or out until the wobble is eliminated and the unit sits perfectly flat.
Next, inspect all structural connections. For boltless wire racks, use a rubber mallet to tap down firmly on the corners of each shelf to ensure they are fully seated on the plastic clips. For bolted systems, tighten every fastener securely to ensure the frame is not twisted.
Finally, examine how your items are distributed on the shelves. If the rack is top-heavy or if the weight is concentrated on one side, it can cause the frame to flex and wobble. Rearrange your belongings so that the heaviest items are on the bottom shelf and the weight is distributed evenly across all levels.
Can I add more shelves to my existing rack later?
Yes, many modular multilayer storage racks allow you to add extra shelves later, provided you stay within the manufacturer’s structural limits. Before purchasing additional shelves, consult the original product specifications to verify the maximum overall load capacity and the safe height limit for the unit. Adding too many shelves can make the rack top-heavy and compromise its stability.
You must also ensure that any new shelves and connecting clips are fully compatible with your existing system. It is best to purchase accessories from the same brand and product line, as tube diameters and shelf clip designs vary significantly between manufacturers. Mixing incompatible parts can lead to loose connections and potential shelf failure.
When installing an additional shelf, plan its placement to maintain a safe height-to-base ratio. If the addition makes the rack exceptionally tall or narrow, secure the unit to the wall using anti-tip brackets or wall anchors.
Community discussion
Share your experience or ask a question. Comments are reviewed before publication.