
Assembling a modular storage shelf rack is one of the most effective ways to maximize vertical space, clear floor clutter, and organize your home or utility area. Unlike fixed shelving, a modular system allows you to adapt the height and configuration of each tier to match your changing storage needs over time. While the prospect of assembling these units without professional help might seem daunting, the process is highly manageable when approached systematically. By taking precise measurements, preparing the right tools, and following a structured assembly sequence, you can build a stable, customized storage solution that lasts for years.
Pre-Assembly Planning and Space Measurement
Before unboxing any components, you must carefully evaluate the designated installation area. Start by measuring the exact height, width, and depth of the target footprint. Do not rely on visual estimates; even a minor discrepancy can prevent the rack from fitting into a tight alcove or corner. Remember to account for permanent fixtures such as baseboards, wall skirting, electrical outlets, light switches, and ceiling moldings. A storage shelf rack that is flush with the wall at the top may be pushed outward at the bottom by thick skirting boards, so always measure at both the floor level and the highest point of the wall.
In high-density residential environments, such as HDB flats or condominiums in Singapore, vertical transport and access are critical bottlenecks that require early planning. Before purchasing your rack, verify that the longest vertical poles, heavy steel frames, or fully assembled base units can easily clear your building’s passenger lifts, narrow corridors, and main entryway doors. Carrying a two-meter-long solid frame up multiple flights of stairs because it cannot fit into a standard elevator is an exhausting and avoidable setback.
Products mentioned in this guide
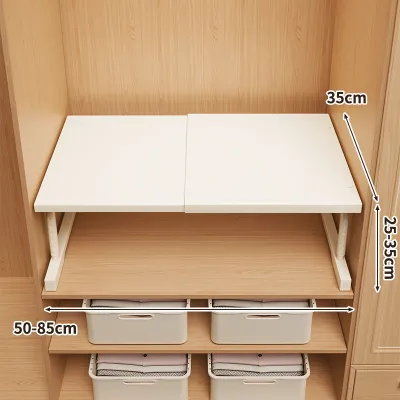
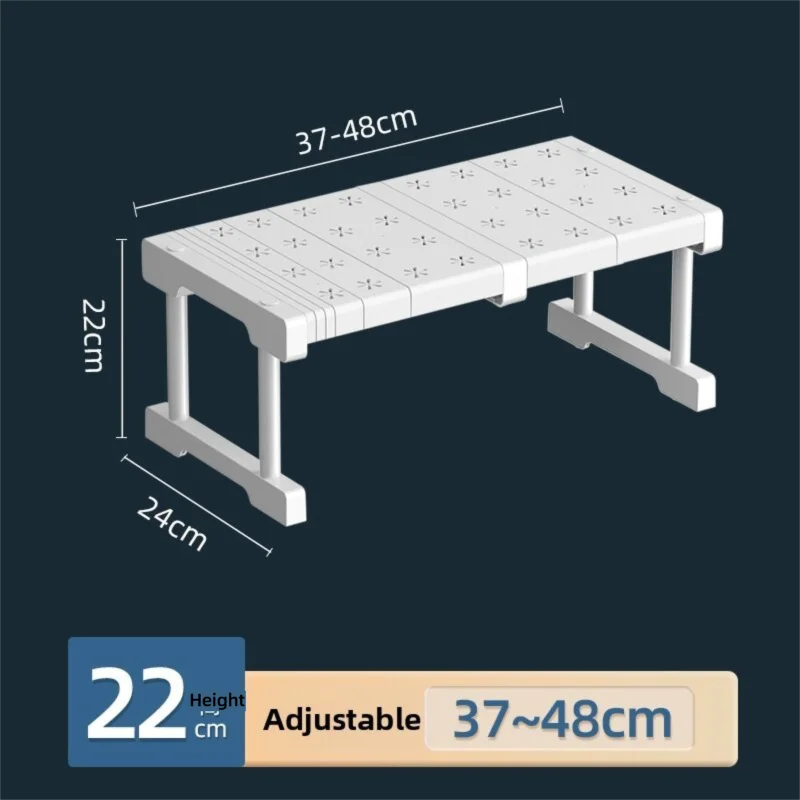
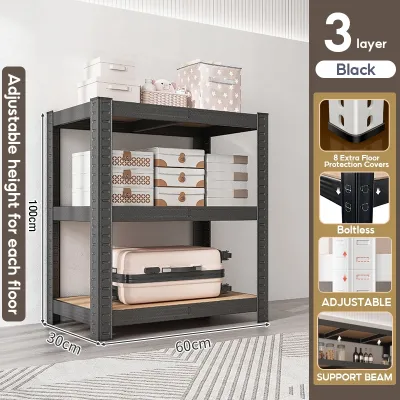
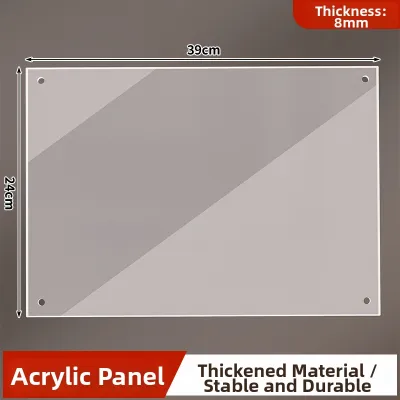
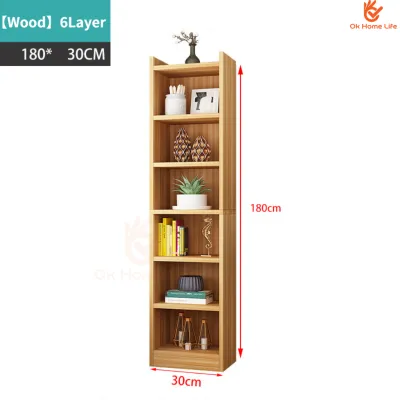
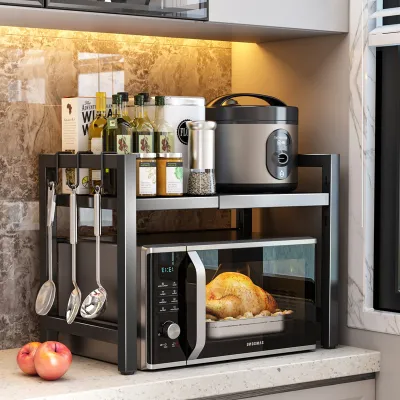
Prices are valid at publication and may change. Please refer to the product page for the latest price.
Next, categorize the specific items you plan to store. Grouping your belongings by weight, size, and frequency of use helps you plan the ideal frame configuration and vertical shelf spacing. For instance, heavy kitchen appliances, bulky storage bins, or heavy toolboxes require a completely different structural setup than lightweight storage boxes, spare linens, or decorative items. This categorization also determines your load distribution strategy, ensuring that the finished rack remains balanced and safe.
Finally, check the manufacturer’s specified maximum load capacity. This rating is typically divided into two distinct limits: the maximum weight capacity per individual shelf and the total weight capacity for the entire unit when weight is evenly distributed. Exceeding either limit risks bending the metal, damaging the joints, or causing a complete structural collapse. Keep these weight limits in mind as you plan your layout, and never assume that a heavy-duty appearance automatically guarantees unlimited load capacity.
Essential Tools and Safety Gear for DIY Assembly
Having the correct tools on hand before you begin prevents unnecessary interruptions and protects the rack components from damage. Most modular storage shelf rack kits require only basic hand tools. Keep a high-quality rubber mallet nearby; it is essential for tapping metal shelves or tapered collars securely into place without scratching or denting the finish. You will also need a Phillips-head screwdriver, a set of Allen wrenches (often included, but a dedicated set with comfortable grips is easier on the hands), a reliable spirit level, and a steel measuring tape.

Safety gear is non-negotiable for a smooth DIY assembly. Wear a pair of snug, non-slip work gloves to protect your hands from sharp sheet metal edges, burrs, or heavy steel threads. If your installation requires drilling into walls for anti-tip brackets, put on safety glasses to shield your eyes from concrete dust or drywall debris.
To make customization easier, gather a few simple layout aids. Use a pencil or low-tack painter’s tape to mark shelf heights on the vertical poles before committing to their final positions. A sturdy step stool or small ladder is also necessary to safely reach the upper tiers of taller units without overextending or losing your balance.
Finally, clear a spacious, flat, and clean work area. Clear away any furniture, rugs, or toys to give yourself plenty of room to lay out all the parts, connectors, and shelves. Laying down a large piece of cardboard or a drop cloth will protect your home’s flooring from scratches and prevent the rack’s finish from getting scuffed during assembly.
Step-by-Step Guide to Assembling the Base and Vertical Frames
Building a Stable Base
The foundation of your storage shelf rack determines its overall stability and safety. Begin by identifying the bottom poles and attaching the appropriate base components, which are typically leveling feet, casters, or flat base plates. If your modular unit is designed to be mobile and uses casters, ensure that the locking casters are installed on the front or outer corners so you can easily access the brake levers once the unit is fully loaded.
Next, assemble the bottom crossbars or the primary base frame directly on the floor of your workspace. Laying the base flat ensures that all corners are aligned at perfect right angles. Do not tighten the bolts completely at this stage; keep them slightly loose to allow for minor adjustments as you build upward.
Place your spirit level across the assembled base frame in multiple directions—front to back and side to side. If you are working on an uneven floor, which is common in older utility rooms, wet kitchens, or service yards, use the adjustable leveling feet to compensate. If the model uses fixed feet, you may need to insert thin, durable shims under the low points to ensure a perfectly level foundation before erecting the vertical structure.
Erecting and Securing Vertical Poles
Once the base is level, begin erecting the vertical poles. Depending on the design, these poles may screw together, slide into sleeves, or lock with plastic tapered clips. If your system uses tapered split sleeves or clips, make sure they are snapped firmly into the designated grooves on all four poles at the exact same height before lowering the first shelf frame over them.
To lock the vertical poles into a rigid, rectangular shape, immediately attach the lower horizontal stabilizing bars or the lowest shelf frame. This step binds the four corners together and prevents the uprights from splaying outward.
At this stage, the frame is still highly vulnerable to twisting. Avoid applying any lateral force, leaning on the uprights, or pulling on the frame before all the primary structural connections are fully secured.
Use your spirit level to check that each vertical pole is perfectly plumb. Hold the level vertically against two adjacent sides of each pole. If a pole is leaning, gently tap the frame into alignment. Once everything is perfectly straight and square, tighten all the lower frame fasteners securely.
Installing Shelves and Customizing the Layout
Adjusting Shelf Heights for Specific Items
With the vertical frame upright and stable, you can customize the layout to fit your categorized storage items. Measure the height of the tallest items destined for each level. When planning the shelf spacing, add a clearance margin of at least 5 to 10 centimeters above the tallest item on each tier. This extra space ensures you can easily slide items in and out without scraping the shelf above or hurting your knuckles.
Locate the pre-drilled holes, slots, or grooves on the vertical poles. Count the increments carefully from the bottom up to ensure that you place the shelf supports at the exact same height on all four corners. Misaligning even a single corner by one notch will result in a slanted shelf, which compromises structural integrity and causes items to slide.
Always plan your layout so that the heaviest items are positioned on the lowest shelves. Placing heavy storage boxes, luggage, or large appliances near the floor keeps the unit’s center of gravity low. This simple arrangement dramatically reduces the risk of the rack tipping over and makes loading and unloading much safer.
Securing the Shelves and Adding Accessories
To install the shelves, align the shelf collars or brackets with the supports on the vertical poles. Depending on your rack’s design, the shelves may slide down onto tapered sleeves, rest on metal support clips, or bolt directly into the frame. For wire shelving systems, use a rubber mallet to gently tap the corners of each shelf down onto the plastic sleeves until they seat firmly and do not budge.
If your modular storage shelf rack includes optional accessories, install them now. Slide-out wire baskets, side utility hooks, divider panels, or backboards should be attached according to the manufacturer’s guidelines. Ensure that these accessories do not interfere with the primary structural joints or cause the frame to twist out of square.
Once all shelves and accessories are in position, go over the entire unit with your tools. Tighten all fasteners, bolts, and locking collars in a progressive, even pattern. Avoid overtightening one side completely before tightening the other, as this uneven tension can warp the metal components or cause the frame to sit crookedly.
Stabilization, Wall Anchoring, and Safety Checks
Even a perfectly assembled storage shelf rack can pose a tipping hazard if it is tall, narrow, or heavily loaded. Wall anchoring is highly recommended for any unit where the height is more than three times its depth. Anchoring is absolutely mandatory in homes with active children or pets, in high-traffic hallways, or if you are using the rack in a garage or utility room where heavy items are frequently moved.
To secure the rack, use the anti-tip kits or heavy-duty L-brackets provided by the manufacturer. You must select the correct wall plug or anchor based on your specific wall material. For solid concrete or brick walls—which are standard in Singapore’s HDB flats and condominiums—use a masonry drill bit and expanding plastic or metal wall plugs. For drywall or partition walls, locate the wooden or metal studs using a stud finder and screw directly into them, or use heavy-duty toggle bolts if no studs are available. Never rely on simple adhesive strips or plastic drywall anchors for heavy storage units.
Once the rack is anchored, perform a post-assembly stability test. Place both hands on the front corners of the frame at about chest height and gently apply forward, backward, and lateral pressure. The rack should feel solid, rigid, and firmly rooted to the floor and wall, with no noticeable racking, swaying, or wobbling.
Establish strict stop-and-adjust conditions during this test. If you observe the frame shifting, if the vertical poles lean, or if any joint gaps open under light hand pressure, do not load any items onto the shelves. Stop immediately, unload any temporary weight, disassemble the affected joints, check for missing or misaligned connectors, and re-square the frame before testing it again.
Maintenance and Reconfiguration Tips
A storage shelf rack requires ongoing care to remain safe and functional over years of use. Establish a routine to perform a quick inspection and maintenance check every six months. Over time, daily loading, unloading, and subtle home vibrations can cause screws, bolts, and plastic connectors to loosen slightly. Take a few minutes to retighten all structural fasteners with your screwdriver or Allen wrench.
Cleaning methods should be tailored to the specific material of your rack. For steel or metal racks, wipe down the surfaces with a soft, slightly damp cloth to remove dust. Because Singapore’s tropical climate features high relative humidity, it is vital to dry the metal parts immediately with a clean, dry towel to prevent rust from forming on exposed edges or joints. Avoid using harsh chemical cleaners, abrasive pads, or bleach, which can strip away protective powder coatings or chrome finishes.
If your storage needs change, reconfiguring a modular rack is straightforward, provided you follow safe procedures. Always completely unload every single shelf before attempting to adjust heights, swap modular components, or add new tiers. Trying to move a shelf while items are still on it—or even on adjacent shelves—can cause the entire frame to distort, collapse, or lead to serious personal injury.
Frequently Asked Questions (FAQ)
Can I assemble a modular storage shelf rack alone?
Yes, one person can easily assemble smaller, lightweight, or medium-sized modular storage shelf racks. However, taller, wider, or heavy-duty industrial units often require a second person. Having an assistant is particularly helpful for holding the vertical poles plumb while you lower the upper shelves or secure the top crossbars. If you must work alone on a mid-sized unit, you can use temporary clamps or carefully lean the frame against a protected wall to keep the uprights steady during the initial stages of assembly.
How do I prevent the shelves from sagging under heavy loads?
To prevent shelves from sagging, always distribute the weight of your items evenly across the entire surface of each shelf rather than concentrating heavy items in the center. Concentrated weight creates localized stress that leads to permanent bowing or deflection. If you anticipate storing dense, heavy items, choose a modular system with a shorter shelf span, or install optional center support brackets if the manufacturer offers them. Regularly check the shelves for any signs of bowing, and redistribute or reduce the load if you notice even slight deflection.
Community discussion
Share your experience or ask a question. Comments are reviewed before publication.