
Assembling a modular mobile shelf requires a systematic approach that begins with precise spatial planning, moves through a bottom-up structural build, and finishes with customized shelf spacing tailored to your specific storage items. This versatile furniture piece offers an excellent way to maximize vertical space in compact living environments, such as Singapore apartments, where floor area is at a premium and layouts often need to adapt to changing household needs. By understanding the mechanics of modular joints, caster installation, and weight distribution, you can construct a highly stable, mobile storage unit that functions smoothly for years.
Taking the time to prepare your workspace and understand the assembly sequence prevents common mistakes, such as misaligned shelves or uneven frames. Whether you are setting up a utility cart for the kitchen, a pantry organizer, or a mobile bookshelf for a home office, a methodical assembly process ensures the unit remains safe, sturdy, and easy to maneuver under load.
Pre-Assembly Preparation and Space Planning
Before unboxing your new modular mobile shelf, it is essential to measure the physical boundaries of the room where the unit will operate. Use a metal tape measure to determine the available floor width, depth, and height, keeping in mind that mobile units require extra clearance to roll smoothly without scraping walls or baseboards. Ensure there is sufficient clearance for nearby doors, cabinet drawers, and walking paths to open and function fully when the shelf is positioned in its designated spot.
Products mentioned in this guide
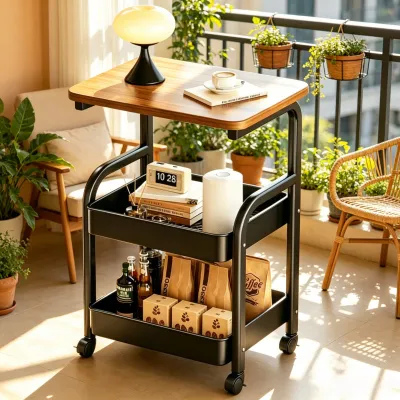
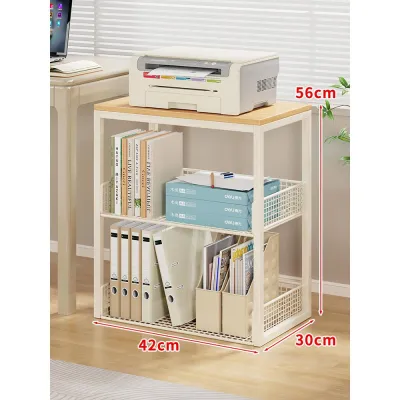
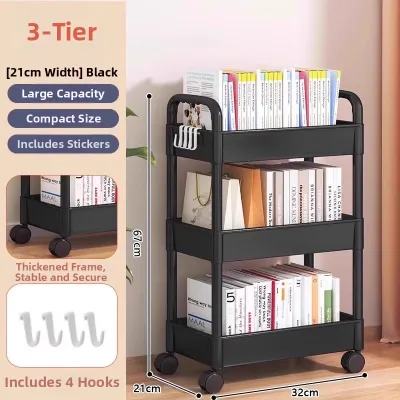
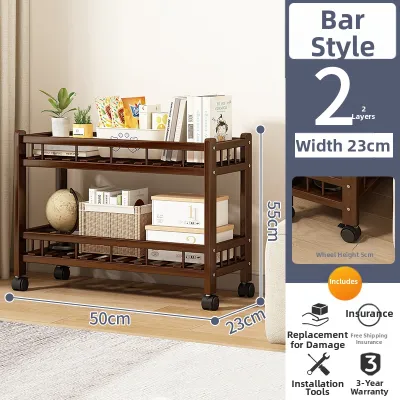
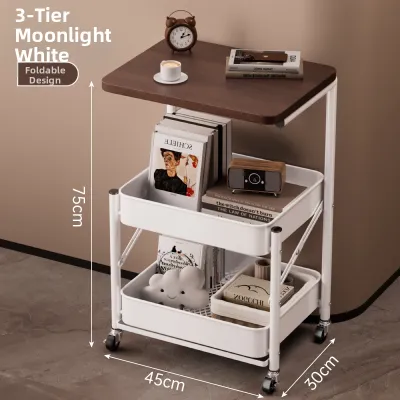
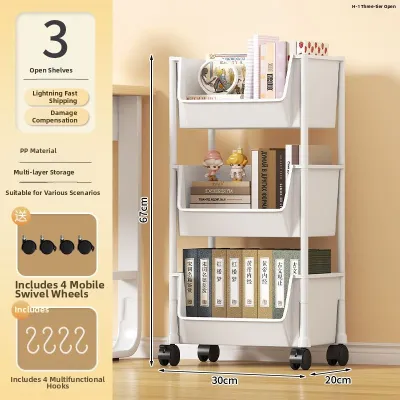
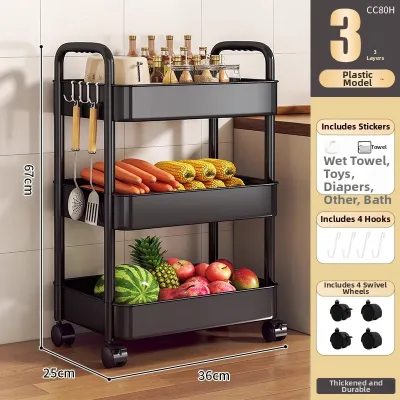
Prices are valid at publication and may change. Please refer to the product page for the latest price.
Once you have verified the spatial constraints, clear a spacious, flat assembly area on the floor, preferably near the shelf’s final location. Lay down a clean blanket, large piece of cardboard, or rug to protect both your flooring and the finish of the shelving components from scratches during the build process. Unbox all components carefully and group similar parts together, such as poles, shelf panels, casters, and plastic sleeves or brackets.
Cross-reference every item with the manufacturer’s parts inventory list included in the packaging to ensure nothing is missing or damaged. Identifying a missing screw, clip, or caster before you begin assembly saves significant time and prevents the frustration of pausing midway through the build. If you notice any bent metal frames, cracked plastic connectors, or cross-threaded screw holes, contact the manufacturer for replacement parts before proceeding.
Gather the necessary tools specified in the product manual to keep them within arm’s reach throughout the assembly. While many modular shelves feature tool-free designs or include basic hex keys, having a rubber mallet, a flathead screwdriver, and a small adjustable wrench nearby can make the process much smoother. A rubber mallet is particularly useful for seating shelves securely without denting the metal or chipping the protective paint finish.
Step-by-Step Assembly of the Base and Vertical Frame
The foundation of any mobile shelf determines its overall stability, structural integrity, and ease of movement. Begin by identifying the bottom sections of the vertical poles, which typically feature threaded inserts at the bottom ends designed to receive the casters. If your unit uses multi-piece poles, ensure you are working only with the bottom segments first, leaving the upper extensions aside until the base is fully established.

Carefully thread or insert the casters into the bottom of each base post, turning them clockwise until they are fully seated against the metal collar. If your shelf kit includes both locking and non-locking casters, plan their placement so that the locking mechanisms face outward on the side of the shelf you will access most frequently. Placing the locking wheels on the front or accessible sides ensures you can quickly engage and disengage the brakes without having to reach awkwardly underneath the unit.
Once the casters are secured, connect the vertical poles to the base frame using the specified joints, sleeves, or threaded connectors provided in your kit. For wire shelving units, this step involves snapping tapered plastic slip sleeves onto the lowest groove of each pole before sliding the bottom shelf down over them. Ensure that the sleeves are oriented correctly, with the wider end facing downward, and that they click firmly into the matching grooves on all four poles.
Before proceeding to install the upper shelves, place the assembled base on a flat, even floor surface to verify that the frame is perfectly level. Push down gently on each corner of the bottom shelf to ensure all four casters make solid contact with the ground and that there is no rocking or wobbling. Verifying a level foundation at this stage prevents long-term structural stress on the joints and ensures the vertical poles do not lean, which could cause the unit to drift when loaded.
Customizing Shelf Heights and Modular Configurations
One of the primary benefits of a modular mobile shelf is the ability to customize the height of each tier to match your specific storage items. Before securing the remaining shelves, gather the containers, appliances, or boxes you plan to store and measure their heights. Group similar items together so you can plan a logical layout, placing taller, heavier items near the bottom and shorter, lighter items toward the top.
When planning the vertical spacing between shelves, always add a clearance margin of at least three to five centimeters above the tallest item on each level. This extra space allows you to slide items in and out easily without scraping the shelf above or risking damage to your belongings. Mark the desired heights on the vertical poles using a pencil or piece of painter’s tape, or refer to the numbered double-grooves present on many high-quality metal poles.
Install the shelf clips, brackets, or plastic sleeves at your marked intervals on all four vertical poles, ensuring they sit at the exact same height. If even one corner is misaligned by a single groove, the shelf will sit at an angle, compromising its structural integrity and causing items to slide. Double-check the alignment by counting the visible grooves from the bottom of each pole to ensure perfect symmetry across all four corners.
Slide the shelf panel down from the top of the poles until the corner collars rest firmly over the installed clips or brackets. Once the shelf is in position, press down firmly on each corner with your hands to wedge the collar tightly onto the tapered sleeves. If the fit is tight, use a rubber mallet to tap each corner gently near the pole, which helps lock the components together without damaging the protective finish.
Safety Checks, Weight Limits, and Stabilization
A fully assembled mobile shelf must be loaded and operated with care to prevent accidents, tipping, or structural failure. Locate the manufacturer’s stated weight capacity in the product manual, noting both the maximum limit for individual shelves and the total weight limit for the entire mobile unit. Keep in mind that mobile shelves often have lower weight capacities when rolling (dynamic load) compared to when they are stationary (static load).
To maintain a low center of gravity and maximize stability, always distribute the weight of your stored items evenly across each shelf. Place your heaviest items, such as bulk kitchen ingredients, heavy tools, or large storage bins, on the lowest shelf of the unit. Keep the middle shelves moderately loaded, and reserve the top shelves for lightweight items like linens, small organizers, or decorative pieces.
Before loading any items onto the shelf, test the wheel locks on your specific floor surface to ensure they hold the unit firmly in place. Smooth surfaces like polished concrete, vinyl, or glazed tiles can sometimes allow locked wheels to slide if the unit is pushed with significant force. Always engage the brakes on all locking casters whenever the shelf is stationary, especially during the loading and unloading process, to prevent unexpected movement.
Periodically inspect the loaded shelf to ensure the frame remains upright and the shelves do not show signs of bowing or sagging under weight. If you notice any deflection in the metal or wood panels, immediately remove some items to reduce the load and redistribute the remaining weight. Avoid pushing or pulling the shelf from the very top when moving it; instead, grip the unit near the middle frame or use designated handles to maintain control and prevent tipping.
Troubleshooting Common Assembly and Mobility Issues
Even with careful assembly, you may occasionally encounter minor alignment or operational issues that require quick adjustments. If you find that a shelf panel is crooked or refuses to slide down completely over the plastic sleeves, do not force it. Tap the underside of the crooked corner upward with a rubber mallet to release the shelf, verify that the plastic sleeves are snapped into the correct matching grooves on the pole, and lower the shelf again.
Stiff, squeaky, or hard-to-turn casters are common issues that can develop over time, especially in high-traffic areas or humid environments. Inspect the wheel housing for trapped debris, hair, or dust bunnies, and use a pair of tweezers or a stiff brush to clear any obstructions. If permitted by the manufacturer’s care instructions, apply a small drop of silicone-based lubricant to the caster’s swivel joint to restore smooth, quiet rolling action.
If your mobile shelf wobbles or rocks when placed on the floor, first check that all joint connections and pole segments are screwed together tightly. If the connections are secure but the wobble persists, the issue may be an uneven floor surface, which is common in older buildings or tiled utility areas. Many mobile shelves feature adjustable threaded collars on the casters that allow you to fine-tune the height of individual wheels to compensate for minor floor variations.
Frequently Asked Questions (FAQ)
Can I add extra shelves to my modular mobile shelf later?
Yes, you can often add extra shelves to a modular unit, provided the vertical poles have unoccupied adjustment slots and the manufacturer sells compatible add-on components. Before purchasing extra shelves, measure the outer dimensions of your existing unit to ensure a perfect match, as sizing standards can vary between brands. Additionally, recalculate the total weight of your stored items to ensure the combined load of the new shelf and its contents does not exceed the maximum weight capacity of the original casters and base frame.
How do I prevent a tall mobile shelf from tipping over?
To prevent a tall mobile shelf from tipping, always load the heaviest items on the bottom shelf to lower the center of gravity, and avoid placing heavy objects on the upper tiers. When moving the unit, push or pull from the middle frame rather than the top to keep the force closer to the base. While some manufacturers provide anti-tip wall anchor kits, installing these anchors will secure the shelf to a wall and permanently restrict its mobility, which may be a necessary safety trade-off for exceptionally tall units in active households.
Community discussion
Share your experience or ask a question. Comments are reviewed before publication.