
Assembling a modular metal storage shelf is one of the most effective ways to maximize vertical space, clear floor clutter, and create a highly organized system tailored to your specific storage needs. Whether you are setting up a pantry, organizing a utility room, or optimizing a balcony storage area, these versatile units offer exceptional strength and adaptability. However, transforming a flat-pack kit of metal rails and shelves into a rock-solid, perfectly aligned storage system requires more than just opening the box and hammering pieces together. A systematic approach ensures that your shelving unit remains safe, stable, and capable of supporting heavy loads over years of use.
By taking the time to plan your layout, prepare your workspace, and follow a disciplined assembly sequence, you can avoid common pitfalls such as twisted frames, uneven shelves, and unstable structures. This comprehensive guide walks you through the entire process from unboxing to final safety verification, providing practical tips for customizing the configuration and maintaining the metal finish over time.
Pre-Assembly Preparation and Space Planning
Before you unbox your new modular metal shelving unit, careful spatial planning is essential to ensure a smooth assembly process and prevent frustrating mismatches. Begin by measuring the exact dimensions of the designated installation area. Measure the height, width, and depth of the space, taking into account any architectural obstructions such as baseboards, light switches, wall outlets, window frames, or overhead pipes. Remember that baseboards can reduce the available floor width by a few centimeters, which can prevent a tight-fitting shelf from sitting flush against the wall.
Products mentioned in this guide
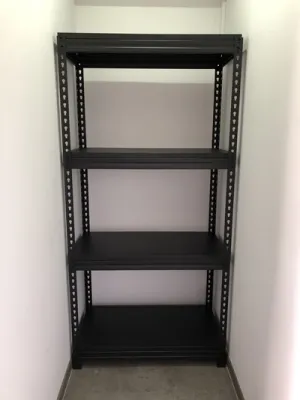
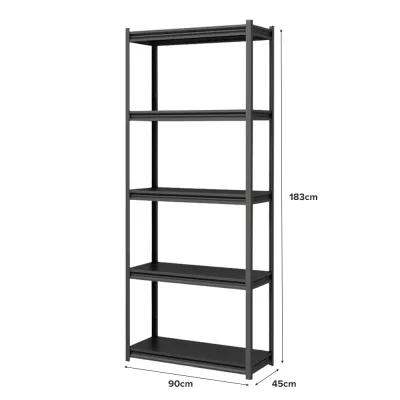
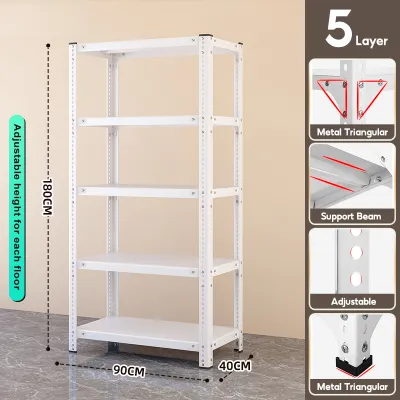
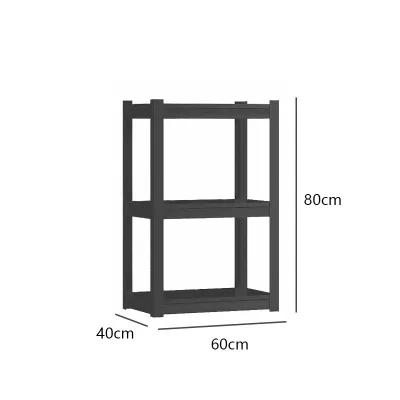
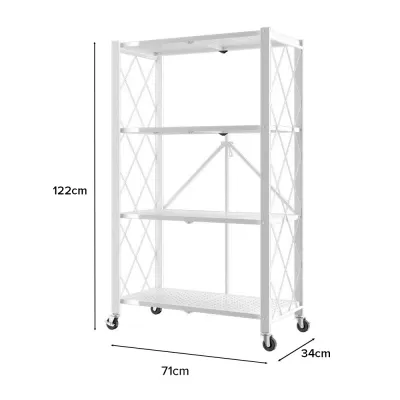
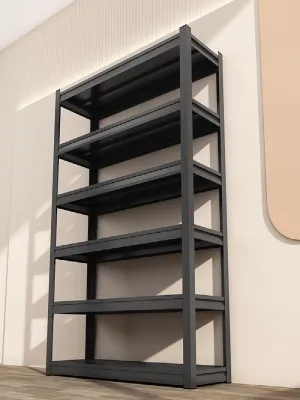
Prices are valid at publication and may change. Please refer to the product page for the latest price.
In high-rise residential environments, such as apartments or HDB flats in Singapore, you must also consider the logistics of transporting the packaged unit. Verify that the box dimensions and weight can easily clear passenger lifts, narrow corridors, and tight stairwells. Attempting to maneuver a heavy, two-meter-long flat pack around tight corners can be challenging and potentially damaging to both the packaging and your home’s walls.
Next, assess the floor surface where the shelf will stand. Use a spirit level to check for any slope or unevenness. While minor floor variations can often be corrected with adjustable leveling feet, significant slopes require careful placement to prevent the unit from leaning. If you plan to build a tall shelving unit, inspect the wall behind it. Identify whether you are working with concrete masonry or drywall, as this determines the type of wall anchors and drill bits you will need to secure the unit’s anti-tip brackets.
Finally, clear a spacious, clean work area near the final installation site. Gather the essential tools required for assembly. Most boltless modular metal shelves require only a rubber mallet, a spirit level, a tape measure, and a pair of sturdy work gloves to protect your hands from sharp metal edges. Avoid using a standard metal hammer, as direct metal-on-metal impact can dent the steel components and chip the protective powder coating, leaving the raw metal vulnerable to moisture. Unpack all components, group similar parts together, and cross-check them against the manufacturer’s packing list to ensure no pieces are missing before you begin.
Step-by-Step Frame and Shelf Assembly
Building a modular metal shelf requires a methodical, bottom-up approach to ensure structural integrity and prevent the frame from twisting. Start by constructing the base of the unit. Lay out the bottom sections of the vertical uprights and connect them using the lowest set of horizontal side and front beams. Position these bottom beams as close to the floor as the design allows; this establishes a low center of gravity and creates a rigid foundation. If your unit uses a boltless keyhole or rivet system, align the rivets on the beams with the tapered slots on the uprights, then tap them firmly downward using your rubber mallet until they are fully seated at the bottom of the slots.

Once the base frame is secure, assemble the upright extensions if your unit comes in two-piece vertical posts. Use the provided steel couplers to join the lower and upper uprights, ensuring the couplers are pushed fully home and aligned straight. With the full height of the uprights established, begin installing the intermediate shelf support beams. Rather than installing them at random heights, refer to your pre-planned layout. Use a tape measure to ensure that the support brackets on all four uprights are placed at the exact same height increment.
As you install each level of shelf beams, place a spirit level across both the width and depth of the frame. Calibrating each tier progressively is crucial; if one corner is slightly higher than the others, it will introduce twist into the frame, making it difficult to insert the shelf decks and causing the entire unit to wobble. If you detect any misalignment, use the rubber mallet to gently adjust the beams until the level reads perfectly horizontal before moving on to the next tier.
After all the intermediate support beams are locked in place, install the top-most tier of beams. This final set of horizontal supports locks the top of the uprights together, completing the rigid box structure. Next, install any reinforcement accessories included with your kit, such as diagonal tension bars, back braces, or safety locking pins. Safety pins are particularly important in boltless systems, as they fit into the keyhole slots to prevent the horizontal beams from accidentally dislodging if they are bumped from below during daily use. Finally, place the shelf decks—whether they are wire mesh grids, solid steel panels, or engineered wood boards—onto the support beams, ensuring they sit flat and flush within the recessed edges of the frame.
Customizing the Layout for Your Storage Needs
One of the greatest advantages of modular metal shelving is the ability to customize the vertical spacing to match your specific storage items. To optimize your layout, group your storage items by height and weight before finalizing the shelf positions. Place the heaviest, bulkiest items—such as large storage crates, heavy tools, or bulk liquid containers—on the lowest shelf. Keeping the heaviest loads near the floor lowers the unit’s overall center of gravity, which significantly improves stability and reduces the risk of tipping.
Medium-weight, frequently accessed items should be positioned at waist-to-chest height for ergonomic access, while lightweight, seasonal, or rarely used items are best suited for the topmost shelves. If you are storing items of varying heights, adjust the shelf spacing so that there is just enough clearance to slide the items in and out. Minimizing wasted vertical space between shelves allows you to maximize the total number of tiers you can install within the frame.
Beyond basic shelf spacing, you can integrate various modular accessories to enhance organization. Many manufacturers offer compatible add-ons such as pull-out drawers, vertical dividers, side utility panels, or hanging hooks. When selecting accessories, always verify compatibility with your specific shelf model and post dimensions. Install these add-ons strictly according to the product manual, ensuring they do not interfere with the primary load-bearing beams or compromise the structural balance of the frame.
Once the layout is customized and the unit is in its final position, address any minor floor unevenness. If your shelving unit is equipped with adjustable leveling feet, rotate them clockwise or counterclockwise to raise or lower each corner until the unit is perfectly stable and does not rock when pushed. If you have opted to install casters for mobility, ensure they are rated for the total weight of the loaded shelf. Always position the locking casters at the front of the unit so you can easily secure them in place, and remember that mobile units generally have lower load capacities and a higher risk of tipping than stationary, leveled shelves.
Safety Verification and Load Management
With assembly and customization complete, performing a thorough safety verification is critical before placing any items on the shelves. Begin with a physical stability test. Stand in front of the empty shelving unit, grasp the uprights at mid-height, and apply a gentle shaking force. The unit should feel rigid and exhibit minimal sway. If you notice significant movement, re-check all joints to ensure every rivet is fully seated and every bolt is tight. Use your spirit level one final time to confirm that the frame is plumb vertically and level horizontally.
Next, locate the manufacturer’s specification label or instruction manual to verify the exact load limits. Pay close attention to two distinct ratings: the maximum load capacity per individual shelf and the maximum total load capacity for the entire unit. These ratings are calculated based on a Uniformly Distributed Load (UDL). This means the weight must be spread evenly across the entire surface of the shelf. Concentrating a heavy object in the very center of a shelf can cause the deck to sag or the support beams to bend, even if the object’s weight is well below the maximum rated capacity.
To ensure long-term safety, establish a routine of visual inspections. Over time, heavy loads and environmental factors can affect the structural integrity of the metal. Look for warning signs that indicate the shelving unit is overloaded or failing. These signs include visible bowing of the shelf decks, horizontal beams that curve downward, popping or slipping safety clips, or a persistent lean in the vertical uprights. If you observe any of these issues, immediately unload the affected shelves and inspect the components for permanent deformation. Never attempt to straighten a bent structural beam; compromised parts must be replaced to prevent a sudden collapse.
For tall units, narrow units, or shelves placed in high-traffic areas, installing anti-tip wall anchors is highly recommended. Secure the top of the uprights to the wall using brackets designed for your specific wall type. In Singapore homes, which often feature solid concrete or brick walls, use masonry plugs and appropriate screws to ensure a secure hold. This simple step provides crucial protection against accidental tipping, especially if the unit is subjected to lateral forces.
Routine Maintenance and Rust Prevention
To preserve the appearance and structural integrity of your metal storage shelf, implement a simple routine maintenance schedule. The cleaning method you use should align with the specific surface finish of your unit. For powder-coated steel shelves, which feature a baked-on polymer barrier, wipe the surfaces regularly with a soft, damp microfiber cloth and a mild dish soap solution. Avoid using abrasive scrubbing pads, steel wool, or harsh chemical solvents like acetone or bleach, as these can scratch or degrade the protective coating, exposing the underlying steel to air and moisture.
If your shelving unit has a galvanized finish, it relies on a sacrificial zinc coating to prevent corrosion. Galvanized steel is highly durable but can develop a white, powdery residue known as white rust if exposed to standing water or persistent high humidity. Keep galvanized surfaces dry, and wipe away any moisture immediately. Regardless of the finish, perform periodic inspections of all fasteners, clips, and leveling feet every six months. Vibrations from nearby appliances, foot traffic, or the repeated impact of loading and unloading items can gradually loosen joints over time. Retighten any loose bolts and tap down any slightly dislodged rivets with your rubber mallet.
In humid tropical climates, such as in Singapore, rust prevention is an ongoing priority. Even high-quality powder coatings can develop micro-scratches over time from sliding storage boxes. Inspect high-friction areas, corners, and joints regularly for early signs of coating degradation or tiny orange rust spots. If you detect minor surface rust, address it immediately by gently sanding the affected area with fine-grit sandpaper to remove the oxidation, wiping it clean, and applying a matching rust-inhibiting primer and touch-up paint. However, if you discover deep, penetrating rust that has eaten into the thickness of the uprights or support beams, the structural capacity of the metal has been compromised. In such cases, replace the damaged components immediately to ensure the continued safety of your storage system.
Frequently Asked Questions (FAQ)
Can I assemble a modular metal shelf alone?
While assembling lightweight, low-profile, or small-scale metal shelving units is entirely manageable for a single person, building tall or heavy-duty industrial-style racks is much safer and easier with two people. Having a second person is particularly helpful during the initial steps of the assembly process. One person can hold the vertical uprights steady and plumb while the other aligns and taps the first few horizontal support beams into place. This prevents the partially assembled frame from tipping over, twisting, or falling, which can damage the metal joints, scratch your floors, or cause personal injury.
What should I do if the shelf wobbles after assembly?
If your assembled metal shelf wobbles, start by checking the adjustable leveling feet at the base of the uprights. Rotating these feet can quickly compensate for minor slopes or unevenness in your flooring. Next, inspect all the horizontal beams and shelf clips to ensure they are fully seated. Use a rubber mallet to firmly tap down on any rivets or brackets that may not have slid completely to the bottom of their keyhole slots. If the floor is significantly uneven, or if you are using a tall, narrow unit, the most effective way to eliminate wobble and ensure absolute stability is to secure the top of the frame to the wall using anti-tip wall anchoring brackets.
Community discussion
Share your experience or ask a question. Comments are reviewed before publication.