
Assembling and customizing a modular metal shelf rack is one of the most effective ways to optimize storage in your home, garage, or pantry. These versatile systems allow you to transform cluttered spaces into highly organized zones without the need for professional installation. By understanding the basic mechanics of modular assembly, planning your layout around your specific storage items, and executing a few simple safety checks, you can build a robust, tailored storage solution that adapts to your changing needs over time.
Whether you are setting up a heavy-duty unit in a household storeroom or organizing a sleek wire rack in a kitchen, the fundamental principles of preparation, alignment, and stability remain the same. Taking a systematic approach ensures that your shelving unit remains safe, level, and capable of supporting your belongings securely.
Pre-Assembly Preparation and Space Planning
Before unboxing your new metal shelf rack, accurate space planning is essential to ensure a seamless installation. Begin by measuring the exact footprint of the designated area, including the width, depth, and total vertical height. Be sure to account for fixed architectural features such as baseboards, wall outlets, light switches, window frames, and overhead pipes or light fixtures that could obstruct the rack once it is fully assembled.
Products mentioned in this guide
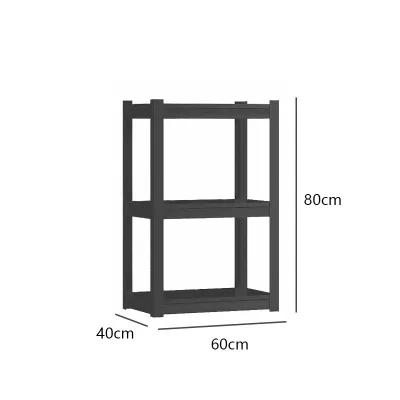
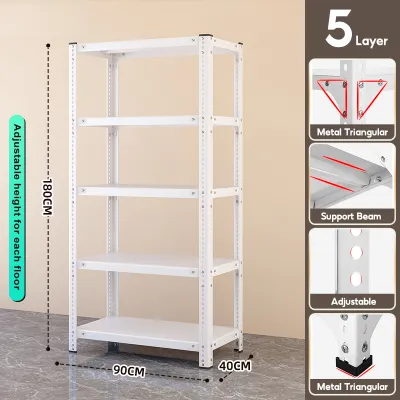
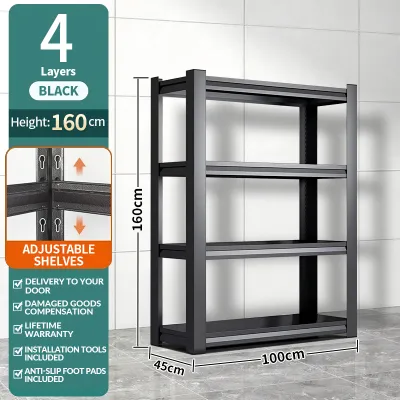
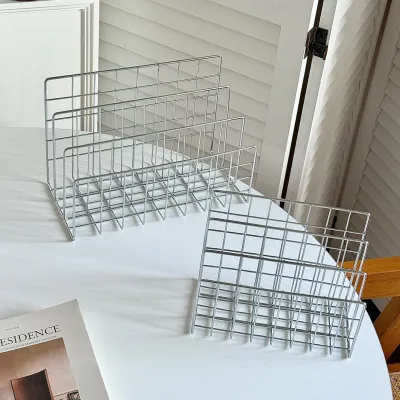
Prices are valid at publication and may change. Please refer to the product page for the latest price.
In multi-story homes or apartment buildings, it is equally important to plan the delivery and transport path. Measure the clearance of doorways, narrow hallways, stairwells, and lift doors to guarantee that the packaged components can be easily transported to the assembly room. If space is tight, unboxing the components in a larger area and carrying them individually to the final destination is a practical alternative.
Once the package is in the assembly space, carefully unbox all components and lay them out on a clean, flat surface, such as a large piece of cardboard or a drop cloth, to protect your flooring from scratches. Cross-reference every item with the manufacturer’s parts list included in the manual. Verify that you have the correct number of vertical posts, horizontal shelf frames, wire or solid shelf inserts, and all necessary joining hardware or plastic sleeves before beginning the assembly process.
Gathering the right tools beforehand will save time and prevent frustration during the build. While many modular metal shelf racks feature boltless designs, having a rubber mallet on hand is highly recommended for securing joints without damaging the metal finish. A spirit level is indispensable for ensuring the structure remains perfectly upright and horizontal, while a pair of protective work gloves will safeguard your hands against sharp metal edges or burrs during handling.
Step-by-Step Assembly Guide
The foundation of a stable metal shelf rack lies in the correct assembly of its base and vertical posts. If your shelving unit comes with adjustable leveling feet, screw them into the bottom of the lower post sections before uprighting the frame. Place the base posts in their designated positions and use a spirit level to check for levelness across both the width and depth, adjusting the feet as necessary to compensate for any unevenness in your floor.

For wire shelving systems that utilize plastic slip sleeves, identify the desired height for your lowest shelf. Snap the two-piece plastic sleeves onto the grooves of each vertical post at the same height, ensuring the “UP” arrow on the sleeves points toward the ceiling. Slide the first shelf down from the top of the posts over the sleeves; the collar at each corner of the shelf will wedge tightly over the plastic sleeves, creating a secure, friction-based lock.
For heavy-duty boltless rivet systems, the assembly process relies on keyhole slots and rivets. Position the vertical posts so that the narrow end of the keyhole slots points downward. Align the rivets on the horizontal shelf beams with the corresponding keyholes on the posts, insert them, and tap the beams gently downward with a rubber mallet until the rivets are fully seated at the bottom of the slots.
Always assemble the lowest shelf first, as this establishes the structural footprint and stabilizes the vertical posts. Once the base tier is locked in place, work your way upward systematically, installing one shelf level at a time. If your rack uses multi-piece vertical posts to achieve its full height, insert the post connectors and attach the upper post sections only after the lower half of the frame is fully stabilized by at least two installed shelves.
After installing the top shelf or frame, perform a comprehensive structural check. Use your spirit level on every tier to confirm that the shelves are horizontal and the vertical posts remain plumb. Gently shake the frame from side to side to ensure all joints, sleeves, or rivets are completely seated and locked into position; any movement or play in the joints indicates that a component is not fully engaged and requires further tapping or adjustment.
Customizing the Layout for Your Storage Needs
The true value of a modular metal shelf rack lies in its adaptability, allowing you to customize the vertical spacing to match your specific storage inventory. Before locking your shelves into permanent positions, gather the items you plan to store—such as large plastic storage bins, kitchen appliances, or heavy toolboxes—and measure their heights. Position your shelves to accommodate these items, leaving a clearance margin of at least five centimeters above the tallest object to allow for easy retrieval and placement.
If your storage requirements change in the future, modular systems make reconfiguration straightforward. For wire shelving, you can tap the underside of the shelf corners upward with a rubber mallet to release the friction lock, adjust the plastic sleeves to a new height, and slide the shelf back down. For rivet systems, tap the underside of the beams upward to disengage the rivets from the keyholes before repositioning them.
To maximize the utility of your rack, consider integrating compatible modular accessories. Many systems support add-ons such as side hooks for hanging lightweight tools, wire dividers to keep books or files upright, or specialized shelf liners that provide a flat, solid surface on wire shelves to prevent small items from tipping over or falling through the grates. If you plan to add caster wheels for mobility, verify how this modification affects the overall weight capacity and stability of the unit.
Proper weight distribution is critical to maintaining the structural integrity and safety of your customized layout. Always place your heaviest items on the lowest shelves to keep the unit’s center of gravity as low as possible. Lighter, bulkier items should be reserved for the upper tiers; this simple loading strategy significantly reduces the risk of structural deflection and minimizes the potential for the rack to tip forward during use.
Safety Checks, Anchoring, and Maintenance
Ensuring long-term safety requires evaluating the need for wall anchoring, especially for tall, narrow racks or units placed in high-traffic areas. If the height of your shelving unit is significantly greater than its depth, or if you plan to store heavy items on the upper shelves, anchoring the rack to a solid wall is highly recommended. Use the manufacturer-provided wall brackets or strap kits, and select high-quality wall plugs appropriate for your wall type, whether it is concrete, brick, or drywall.
Always respect the load limits specified by the manufacturer, which can typically be found on the product packaging, instruction manual, or a label on the frame itself. Avoid overloading individual shelves, and ensure that weight is distributed evenly across the entire surface of each shelf rather than concentrated in a single spot. Concentrated loads can cause the metal to bow or deform, compromising the stability of the entire structure.
Routine maintenance will extend the lifespan of your metal shelf rack and keep it operating safely. Periodically inspect the unit to ensure that all joints, bolts, or locking sleeves remain tight and fully engaged, particularly after moving the rack or rearranging heavy items. Clean the metal surfaces regularly using a soft, damp cloth and a mild detergent if necessary, avoiding abrasive cleaners or harsh chemicals that could strip away the protective powder coat, galvanized layer, or chrome plating and expose the underlying metal to rust.
Frequently Asked Questions (FAQ)
Can I assemble a metal shelf rack alone?
Yes, many smaller or medium-sized modular metal shelf racks can be successfully assembled by a single person. However, for larger, taller, or industrial-grade racks, having a second person assist you is highly recommended. A helper can hold the vertical posts steady and aligned while you secure the first few horizontal beams or shelves, preventing the frame from twisting, falling, or causing injury during the initial stages of the build.
How do I fix a wobbly metal shelf rack after assembly?
A wobbly rack is usually caused by an uneven floor or incomplete joint engagement. First, check if your rack features adjustable leveling feet and rotate them to compensate for floor variations. If your unit does not have leveling feet, verify that every shelf corner is fully and evenly seated in its locking mechanism; use a rubber mallet to tap down any high corners until the entire unit is square, level, and stable.
Community discussion
Share your experience or ask a question. Comments are reviewed before publication.