
Setting up a modular shelving system is one of the most effective ways to maximize storage in modern living spaces. Whether you are organizing a utility room, setting up a home office, or optimizing a dedicated storeroom, a modular unit offers the flexibility to adapt to your changing storage needs. Assembling your first Aledan modular shelving unit from scratch might seem intimidating when you see a box full of metal posts, shelves, and connectors, but the process is highly logical and manageable. By taking a systematic approach to preparation, assembly, and customization, you can build a sturdy, personalized storage solution that fits your space perfectly.
Pre-Assembly Preparation and Space Planning
Before opening any boxes, you must carefully plan the physical space where your shelving unit will stand. Use a high-quality measuring tape to verify the width, depth, and height of the designated area. Take note of any architectural features that could obstruct the installation, such as skirting boards along the floor, low-hanging pipes, electrical conduits, or wall-mounted power outlets. If you plan to place the unit inside a tight closet or a utility niche, ensure there is enough clearance on all sides to physically maneuver the components during assembly.
Once the space is cleared and measured, unbox all the components in a spacious, clean area, preferably on a soft surface like a rug or cardboard packaging to protect your floors from scratches. Lay out all the parts and group similar items together, such as vertical uprights, horizontal beams, shelf panels, and hardware packets. Cross-reference every item with the manufacturer’s packing list included in the box to ensure no structural components or fasteners are missing. Identifying a missing bracket or screw early prevents frustrating delays midway through the build.
Products mentioned in this guide
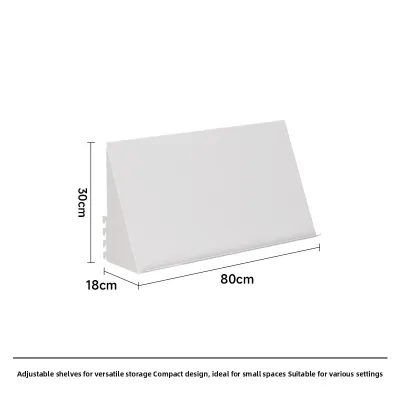
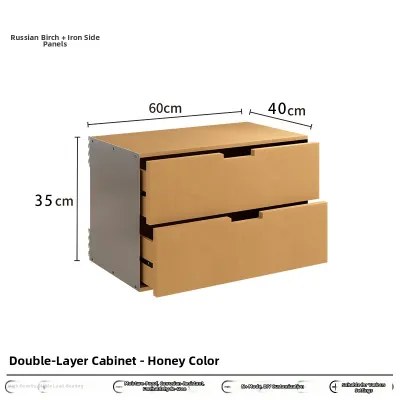
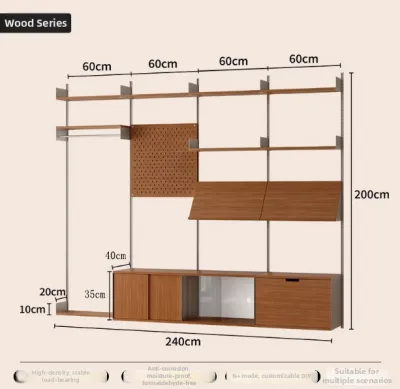
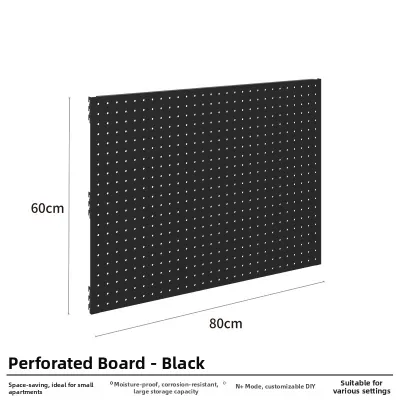
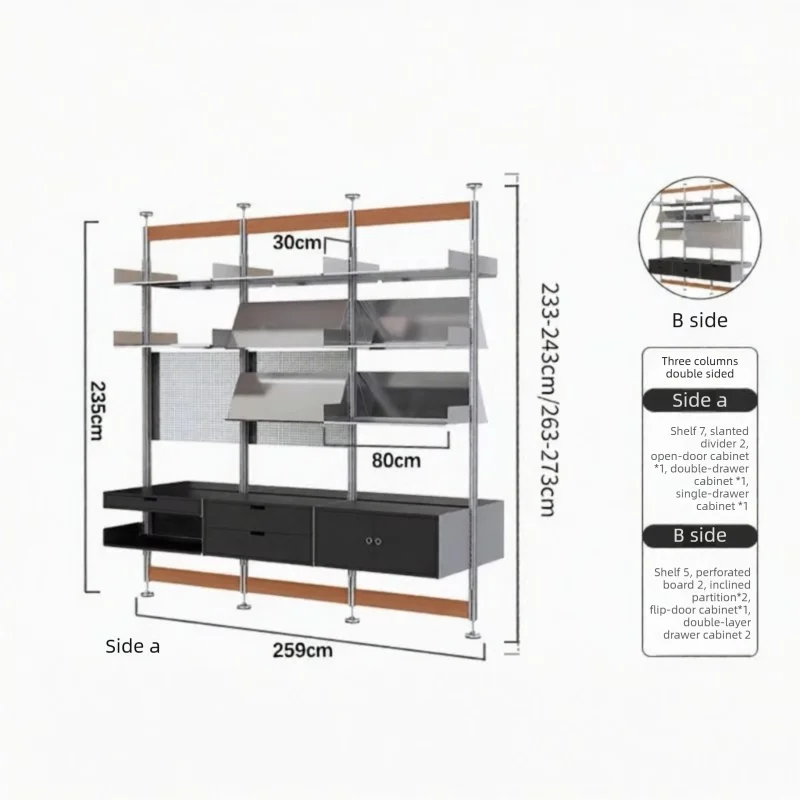
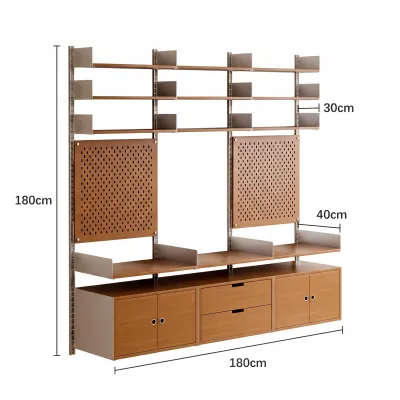
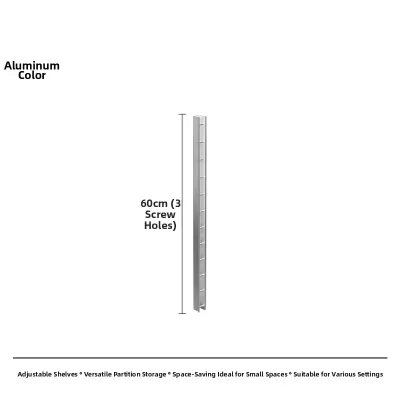
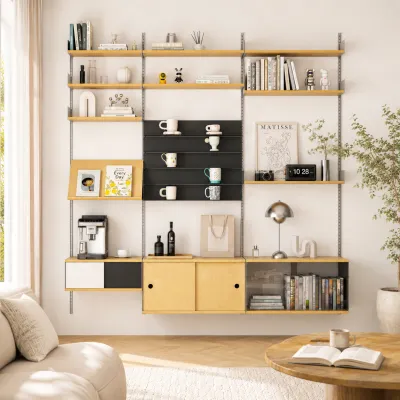
Prices are valid at publication and may change. Please refer to the product page for the latest price.
Having the correct tools on hand before you begin will streamline the assembly process. While many modular systems feature boltless designs, you will typically need a few basic household tools to secure the structure. A rubber mallet is highly recommended for tapping horizontal beams firmly into vertical slots without damaging the powder-coated finish. Additionally, keep a flathead or Phillips screwdriver nearby for any locking screws, a spirit level to verify alignment, and a pair of work gloves to protect your hands from sharp metal edges during handling.
Step-by-Step Frame and Shelf Assembly
The foundation of a stable modular shelving unit lies in its base. Begin by installing the leveling feet or protective plastic caps onto the bottom ends of the vertical uprights. If your model includes adjustable leveling feet, screw them in halfway to allow room for both upward and downward adjustments later. Position the bottom-most horizontal connectors or shelf supports near the base of the uprights, ensuring they are set at the exact same height on all sides. This initial frame forms the footprint of your unit and must be perfectly square to prevent the entire structure from twisting as you build upward.

With the base established, you can begin erecting the vertical uprights. If your shelving unit uses multi-piece uprights that connect to extend the height, join them using the provided couplers, ensuring the connection is fully seated and secure. Pay close attention to the orientation of the uprights; many modular systems utilize keyhole slots or directional tabs that must point downward to lock the horizontal beams securely in place. Refer to the diagrams in your official assembly manual to confirm that the front and back faces of the uprights are oriented correctly.
Next, begin attaching the horizontal beams or shelf supports at your desired heights. It is best practice to install the lowest shelf first, followed by the top-most shelf, to stabilize the outer frame before filling in the middle sections. When inserting the tabs of the horizontal beams into the slots of the uprights, tap them gently with a rubber mallet until they are fully seated. If your unit uses bolts and nuts instead of a boltless design, thread the fasteners into place by hand first, rather than tightening them completely with a tool.
Tightening the fasteners progressively is a crucial technique for achieving a square and stable build. Go around the unit and tighten each joint to about eighty percent capacity, which allows the frame to retain a small amount of flexibility. This flexibility is necessary for making minor alignment adjustments and ensuring all four corners of the unit remain in contact with the floor. Once you have verified that the frame is square and all shelf supports are level, perform a final pass to fully tighten all fasteners and lock the structure securely in place.
Configuring and Customizing Your Layout
One of the primary advantages of a modular shelving system is the ability to customize the layout to suit your specific storage requirements. Before locking the middle shelves into their final positions, take inventory of the items you plan to store, such as plastic storage bins, luggage, kitchen appliances, or document files. Measure the height of these items and plan your shelf spacing accordingly, keeping in mind the adjustment increments provided by the upright slots. Leaving a small clearance above your tallest items makes retrieving and storing them much easier.
To ensure long-term structural integrity and safety, always distribute weight logically throughout the unit. Place your heaviest items, such as bulk liquids, heavy tools, or large storage crates, on the lowest shelves. This practice keeps the center of gravity low, which significantly reduces the risk of the shelving unit tipping forward. Lighter items, such as decorative boxes, linens, or smaller organizers, should be placed on the middle and upper shelves where they are easier to access at eye level.
If you have purchased optional modular accessories, such as pull-out drawers, vertical dividers, or side mesh panels, install them after the main frame is fully assembled and stabilized. Always refer to the manufacturer’s compatibility guidelines to ensure these accessories are installed in the correct positions and do not interfere with the structural integrity of the main frame. Be mindful of any specific weight limits associated with these accessories, as drawers and hanging organizers often have lower load capacities than static shelves.
Safety Checks and Final Stabilization
Once the assembly is complete, place a spirit level across multiple shelves, checking both left-to-right and front-to-back alignment. If the bubble is not centered, adjust the leveling feet at the base of the uprights until the unit is perfectly level. On uneven floors, even a minor slope can cause the shelving unit to lean, placing uneven stress on the joints and increasing the risk of structural failure over time. If your unit does not have adjustable feet, you may need to use durable shims designed for furniture stabilization.
Next, review the maximum load capacities specified in your product manual or on the product label. It is vital to distinguish between the maximum load capacity per shelf and the total load capacity for the entire unit. Even if individual shelves are not overloaded, the cumulative weight of all stored items must not exceed the overall limit of the frame. Avoid concentrating heavy loads in the center of a single shelf; instead, distribute items evenly across the entire width of the shelf panel to prevent sagging or bending.
Finally, assess the necessity of securing your shelving unit to the wall. In homes with young children, pets, or in areas with high foot traffic, wall anchoring is a critical safety measure to prevent accidental tip-overs. Most modular shelving units include an anti-tip kit consisting of brackets, straps, and wall anchors. Follow the provided safety instructions to secure the top of the unit to a solid wall stud or concrete wall, ensuring you use the appropriate wall plugs and screws for your specific wall material.
Frequently Asked Questions (FAQ)
Can I expand or reconfigure my Aledan shelving unit later?
Yes, modular shelving units are designed to grow and adapt with your storage needs. You can typically purchase compatible add-on bays, extra shelves, or specialized accessories to expand your setup. Before adding new modules, check the structural limits of your existing base and ensure that your floor space can accommodate the expanded footprint. When connecting an add-on bay, always use the official connector brackets supplied by the manufacturer to maintain structural integrity, and ensure the total weight remains within safe limits.
What should I do if the shelves feel wobbly after assembly?
If your shelving unit feels unstable or wobbly, start by checking that all fasteners and joints are fully tightened and properly seated. Use a rubber mallet to ensure all horizontal beams are completely locked into the upright slots, or use a wrench to tighten any loose bolts. Next, verify that the unit is perfectly level using a spirit level, and adjust the leveling feet to compensate for any floor unevenness. If the uprights are not perfectly vertical, or if the unit is placed on a thick carpet, securing the frame to a solid wall using an anti-tip kit will immediately resolve the wobble and ensure safe operation.
Community discussion
Share your experience or ask a question. Comments are reviewed before publication.