
Assembling a modular book shelf rack allows you to customize your storage to fit your exact space and book collection. By planning the layout, building a level foundation, adjusting shelf heights for different book sizes, and securing the unit to the wall, you can create a stable and highly functional library system. This guide walks you through the entire process from unboxing to final safety checks, helping your modular shelving remain secure and adaptable for years to come.
Pre-Assembly Preparation and Space Assessment
Before opening any boxes, measure the designated floor and wall space carefully. Use a tape measure to record the width, depth, and height of the area, taking into account baseboards, light switches, and wall outlets. Baseboards can prevent a shelving unit from sitting flush against the wall, which affects how you will install wall anchors later.
If you live in a high-rise apartment or a home with narrow corridors, consider how you will transport the components. Measure doorway widths, hallway turns, and lift dimensions if you plan to assemble the modules in a spacious room and move them to their final location. It is usually easiest to assemble the unit in the room where it will stand.
Products mentioned in this guide
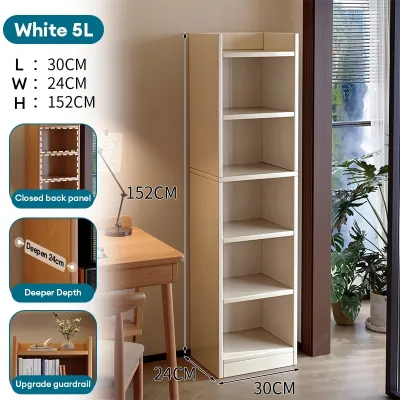
![[SG Seller]360Degrees Rotating Bookshelf Rotating Book Shelf Rotate Floor Standing Books Storage Rack](https://img.lazcdn.com/g/p/a94a2ddc845f756c0c29f4e6ce4d1286.jpg_400x400q80.jpg_.webp)

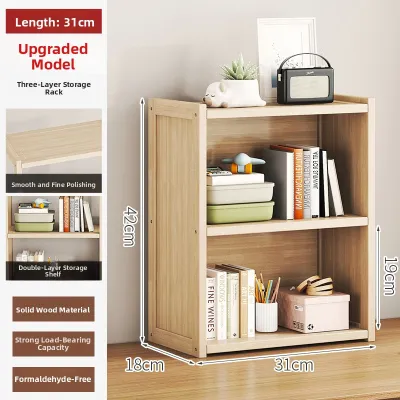

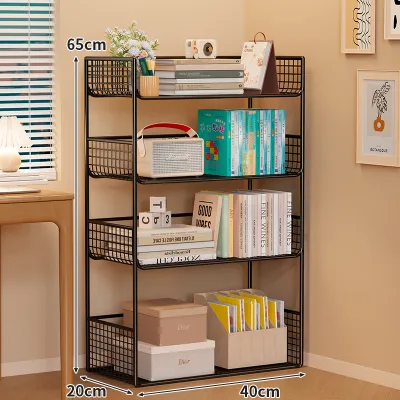


Prices are valid at publication and may change. Please refer to the product page for the latest price.
Unbox all components carefully on a clean, flat surface covered with a soft blanket or the cardboard packaging to protect the finish from scratches. Group similar items together, such as side panels, shelves, backboards, and hardware. Inventory every piece against the manufacturer’s parts list to ensure you have all the necessary screws, dowels, and connectors before starting.
Gather the basic tools required for assembly. While many modular kits include a basic hex key, having a high-quality manual screwdriver, a spirit level, and a non-marring rubber mallet will make the process much smoother. Avoid using power drills unless specifically recommended by the manufacturer, as high torque can easily strip pre-drilled holes or split composite wood.
Step-by-Step Assembly of the Base and Main Frame
The foundation is the most critical part of any modular shelving system. If the base is uneven, the entire structure will lean, putting stress on joints and causing shelves to warp. Place the bottom frame or base feet on the floor and use a spirit level to check both front-to-back and side-to-side levelness.

If your modular system features adjustable leveling feet, screw them in or out until the spirit level indicates a flat base. For systems without adjustable feet on uneven floors, use thin, non-slip furniture shims to achieve a level foundation. Taking the time to level the base now prevents alignment issues as you build upward.
Begin connecting the vertical uprights or side panels to the base. Use the provided connectors, cam locks, or dowels, paying close attention to any alignment markers. Ensure that pre-drilled holes for shelf pins or back panels face the correct direction according to the assembly diagram.
When securing screws, bolts, or cam locks, do not tighten them completely right away. Leave them slightly loose—about a quarter-turn from fully tight. This progressive tightening method allows for minor adjustments as you align subsequent shelves and panels, preventing the frame from warping or binding during assembly.
Slide in or bolt down the primary structural shelves that provide lateral stability. If your modular system includes a slide-in back panel, insert it carefully into the grooves. The back panel is not just cosmetic; it provides essential shear strength that keeps the unit from racking or leaning sideways under weight.
Once all main structural components of the frame are in place and aligned, go back and tighten all hardware progressively. Work from the bottom up, checking with your spirit level periodically to ensure the frame remains square and plumb. Avoid placing any weight on the frame until all primary joints are securely fastened.
Configuring Shelves for Your Specific Book Collection
Before placing shelf pins, group your book collection by height and depth. Standard paperbacks typically need about 20 to 22 cm of vertical clearance, while hardcovers and novels require 25 to 30 cm. Large art books, photo albums, or reference manuals may need 35 cm or more of vertical space.
Insert the shelf support pins at heights that accommodate these groupings, leaving about 2 to 3 cm of clearance above the tallest book in each section. This gap makes it easy to slide books in and out without scraping the shelf above or damaging the book spines.
Always place your heaviest items—such as thick encyclopedias, heavy binders, and large art books—on the lowest shelves. This lowers the overall center of gravity of the modular rack, making it significantly more stable and reducing the risk of tipping.
Use the middle shelves for standard hardcovers and paperbacks. Reserve the highest shelves for lightweight items, small paperbacks, decorative objects, or empty storage boxes. Never overload upper shelves, as this can cause the wood or metal to bow over time and compromise structural safety.
Modular systems often allow you to integrate drawers, cabinet doors, or open display cubbies. Place closed storage modules near the bottom or middle to keep clutter out of sight and maintain visual balance. Open shelves at eye level are ideal for displaying prized editions or decorative accents.
For rare or delicate books, consider using modules with glass doors to protect them from dust and direct sunlight. Ensure there is adequate airflow around your books by not packing them too tightly; a small gap at the back of the shelf helps prevent moisture buildup, which is especially important in humid climates.
Securing, Stabilizing, and Final Safety Checks
A fully loaded book shelf rack holds a massive amount of weight and poses a serious tip-over hazard, especially if it is tall or narrow. Installing wall anchors or anti-tip kits is an essential safety step, regardless of whether you have children or pets in the home.
Before drilling, determine your wall material. For concrete, brick, or masonry walls, you will need a masonry drill bit and appropriate wall plugs. For drywall or plasterboard, locate the wooden wall studs using a stud finder and screw directly into them; do not rely solely on hollow-wall anchors for heavy shelving.
Attach the bracket or strap to the top rear frame of the book shelf rack according to the manufacturer’s instructions. Secure the corresponding bracket to the wall stud or masonry wall, then connect the two with the provided strap, cable, or metal bracket. Ensure the connection is taut but does not pull the shelf out of alignment.
Go through the entire unit and perform a final tightening pass on every single screw, bolt, connector, and cam lock. Over time, manual assembly can leave some fasteners slightly loose, which can compromise the structural integrity under a full load of books.
Gently grasp the shelf at chest height and apply light forward and lateral pressure to perform a shake test. The unit should feel solid and firmly anchored to the wall, with no wobbling, rocking, or creaking. If you notice any movement, inspect the leveling feet and wall anchors immediately.
Place your spirit level on several shelves and against the vertical uprights one last time. Confirming that the unit is plumb and level ensures that weight is distributed evenly across all support points, preventing premature wear on the joints.
Maintenance and Future Reconfiguration
Wood and metal expand and contract slightly with seasonal temperature and humidity changes. Additionally, the settling of heavy books can cause joints to shift. Schedule a quick maintenance check every six months to inspect and tighten any loose fasteners.
As you acquire new books, resist the temptation to stack them horizontally on top of existing rows or crowd them onto upper shelves. Always evaluate how new additions affect the center of gravity. If you run out of space on the lower shelves, it may be time to expand your modular system.
One of the main benefits of a modular book shelf rack is its ability to grow and change with your needs. When adding new modules or rearranging the layout, always empty the shelves completely first. Attempting to adjust or move a partially loaded shelf can damage the connectors, warp the frame, or cause injury.
If you need to disassemble a portion of the rack to insert a new module, have a second person help you support the remaining structure. Keep the wall anchors attached as long as possible during the process, and only disconnect them when you are ready to move the main frame.
Frequently Asked Questions (FAQ)
Can I add more modules to my book shelf rack later?
Yes, most modular systems are designed for future expansion, but you must verify compatibility and structural limits first. Check the manufacturer’s specifications for the maximum recommended height and weight capacity of your specific model. Adding too many vertical modules can compromise stability, even with wall anchors.
When purchasing expansion parts, ensure they use the exact same connection mechanisms, dimensions, and finishes as your existing unit. Manufacturers sometimes update their product lines, so verifying model numbers or contacting customer support before buying new modules is highly recommended.
How do I prevent a tall modular shelf from tipping over?
Preventing a tip-over requires a combination of proper weight distribution and secure wall anchoring. Always load your heaviest books on the bottom shelves to keep the center of gravity as low as possible. Never allow heavy items to accumulate near the top of the unit.
Additionally, you must install a heavy-duty wall anchoring kit or anti-tip strap. Secure the brackets directly into wall studs or solid concrete walls using the correct anchors and screws. Avoid relying on adhesive strips or lightweight plastic anchors, which cannot support the weight of a falling bookshelf.
What should I do if the pre-drilled holes do not align?
If you encounter misaligned holes during assembly, the most common cause is that adjacent connections have been tightened too early. Loosen the surrounding screws and bolts by a few turns to allow the frame to flex and shift. This extra play often allows the misaligned holes to line up perfectly.
Once all fasteners in that section are threaded correctly, tighten them progressively. If the holes are fundamentally misplaced or missing due to a manufacturing defect, do not attempt to force the pieces together or drill new holes yourself, as this can split the material and void the warranty. Stop assembly and contact the manufacturer for replacement parts.
Community discussion
Share your experience or ask a question. Comments are reviewed before publication.