
Assembling a modular ladder shelf requires a systematic approach that balances structural alignment with secure anchoring. Whether you are putting together a flat-pack kit or building a custom unit from raw timber, the process relies on preparing a clean workspace, organizing your hardware, and assembling the frame from the ground up before tightening any fasteners fully. Taking the time to verify that each tier is level and that the entire structure is safely anchored to your wall ensures a stable, functional storage solution that maximizes vertical space in your home.
Preparation and Workspace Setup
Before opening any packaging, clear a dedicated assembly zone that is larger than the fully constructed shelf. In typical apartments where floor space is highly valued and lift access may limit the size of pre-assembled furniture, clearing a temporary work area in the living room or hallway is essential to avoid bumping into walls. Lay down a clean, protective barrier such as a thick rug, a yoga mat, or the flattened cardboard box from the packaging. This simple step prevents unsightly scratches on both your new shelving components and your home’s flooring, whether you have delicate vinyl, laminate, or polished tiles.
Once your workspace is ready, carefully unbox all the components and lay them out in organized groups. Before you begin assembling, locate the manufacturer’s instruction manual and perform a thorough inventory check of all panels, rails, screws, dowels, and brackets. Identifying a missing cam lock or a damaged side rail early saves you the frustration of halting mid-assembly. Gather your essential tools beforehand; a standard Phillips-head screwdriver, a rubber mallet for gently tapping wooden dowels, a measuring tape to verify spacing, and a spirit level are generally sufficient for most modular kits. If the instructions specify a particular tool, ensure it is within arm’s reach before you start.
Products mentioned in this guide

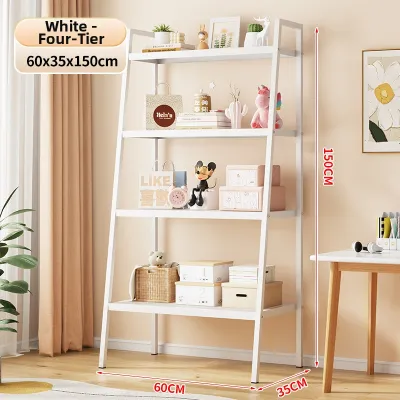
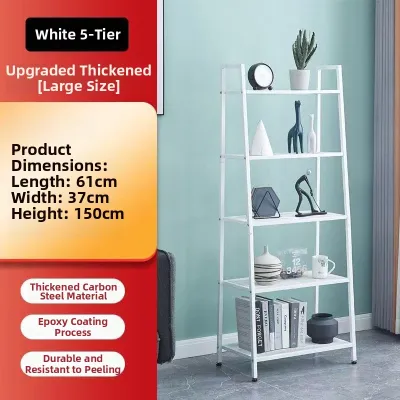
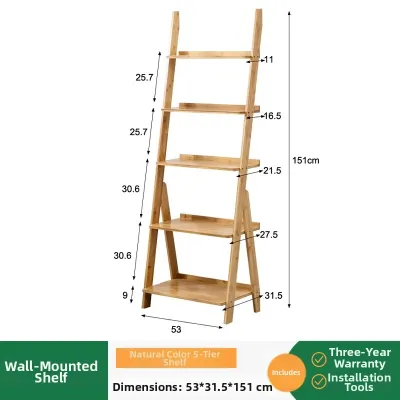
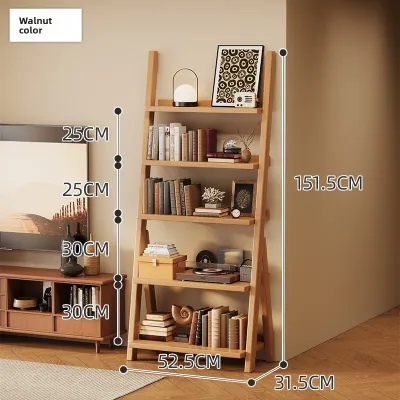
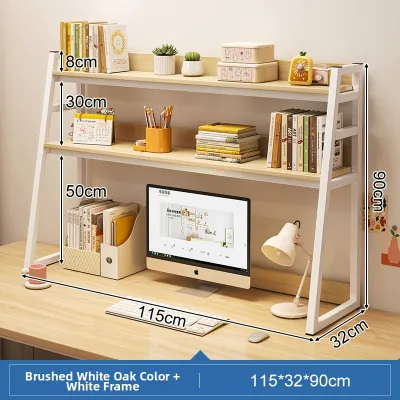
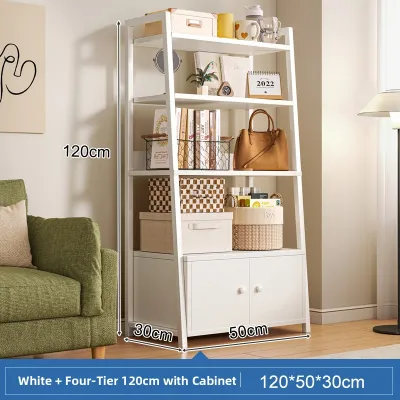

Prices are valid at publication and may change. Please refer to the product page for the latest price.
Assembling a Prefabricated Modular Kit
Prefabricated kits offer a convenient way to add vertical storage, but success depends on following the manufacturer’s exact sequence. Modular designs generally fall into three categories: leaning units that rely on wall contact, fully freestanding A-frame structures, or wall-mounted ladder shelves. Review the manual to understand how your specific model distributes weight and where the primary load-bearing joints are located. To prevent mistakes, sort all screws, bolts, and wooden dowels into small containers or onto labeled sections of your cardboard workspace, keeping them strictly separated by size. During the initial framing phase, thread all fasteners by hand and leave them slightly loose; this allows the frame to flex and align properly before you lock everything into place.

Attaching the Side Frames and Base
The foundation of your ladder shelf dictates its overall stability, making the assembly of the side frames a critical first step. Lay the side rails or A-frame legs parallel to each other on your protected work surface, paying close attention to the orientation of the pre-drilled holes. It is incredibly common to accidentally install a side rail backward or upside down, which only becomes apparent later when trying to attach the shelves. Double-check that the recessed holes for screw heads face outward and that any grooves for back panels align precisely.
Once the side rails are correctly oriented, connect the base stabilizers, bottom crossbars, or the lowest shelf according to your manual. This initial connection establishes the width of the unit and prevents the side frames from splaying. Stand the partially assembled frame upright on a flat, level floor to check for any immediate wobbling. Place a spirit level vertically against each side rail to verify that the frame is plumb and parallel. If the frame is twisted or uneven, gently adjust the alignment while the fasteners are still semi-loose, ensuring the base sits completely flush against the floor.
Installing the Shelves and Crossbars
With the main vertical supports stabilized, you can begin installing the horizontal shelves and structural crossbars. Always follow the manufacturer’s designated sequence, which typically instructs you to work from the bottom upward or from the top downward to maintain even tension across the frame. Inserting shelves out of order can warp the side rails or make it impossible to align the pre-drilled holes of the remaining tiers.
As you position each shelf, ensure it sits completely flush against its designated support brackets or dowels. If your kit uses cam lock fasteners, insert the cam housing fully into the shelf and turn it clockwise until you feel it lock firmly onto the connecting screw. Avoid forcing any pieces together; if a shelf does not slide easily into place, check for misaligned dowels or debris inside the pre-drilled holes. Use your spirit level to check the horizontal alignment of each shelf as you install it. Ensuring every tier is completely level prevents books, decorative items, or plants from sliding off once the unit is fully loaded.
Securing the Top and Final Tightening
The final phase of structural assembly involves securing the top cap, upper stabilizing bar, or back panel. These upper components are not merely decorative; they act as the final bracing elements that square the entire unit and prevent lateral swaying. Align the top piece carefully with the side rails, ensuring all joints fit snugly without gaps. If your shelf includes a thin back panel, slide it into the pre-cut grooves or nail it securely to the rear frame, as this panel provides immense resistance against diagonal shearing forces.
Once all components are in place, systematically go through the entire structure to tighten every screw, bolt, and cam lock. Start from the bottom base and work your way up to the top, applying even pressure to each joint. Use manual hand tools rather than high-torque power drills for this step. Power tools can easily strip the threads in pre-drilled holes or crack delicate engineered wood, MDF, or plastic fittings. Tighten each fastener until it is snug and firm, but stop immediately if you feel excessive resistance to avoid damaging the material.
Building a DIY Ladder Shelf from Raw Materials
Constructing a custom ladder shelf from raw timber allows you to tailor the dimensions precisely to your home’s layout, which is particularly useful for maximizing tight corners or narrow entryways. Begin by selecting straight, high-quality lumber for both the side rails and the shelves. Inspect each board carefully at the timber yard, checking for warping, twisting, deep knots, or structural splits that could compromise the shelf’s load capacity. Hardwoods or thick, high-grade softwoods are excellent choices for durability.
To ensure a leaning ladder shelf rests safely and flush against both the floor and the wall, you must calculate and cut precise, matching angles at the top and bottom of the side rails. A standard leaning angle is typically between 10 and 15 degrees. Use a miter saw or a bevel guide to make these cuts, ensuring that the bottom cut allows the rail to sit flat on the floor while the top cut allows it to rest flat against the vertical wall surface. Measure and mark the shelf positions along the inside of both rails, using a framing square to guarantee that each shelf will sit completely horizontal when the ladder is leaned at its designated angle.
For joining the shelves to the side rails, choose a robust and reliable method such as pocket hole joinery, heavy-duty metal L-brackets, or wooden dowels reinforced with wood glue. Pocket holes drilled into the underside of the shelves offer a clean, hidden connection that easily supports vertical loads. Clamp each shelf securely to the side rails before driving in the pocket screws, and verify the squareness of the frame continuously.
Given the tropical climate and high relative humidity in regions like Singapore, protecting raw wood is essential to prevent warping, mold, or wood rot over time. Thoroughly sand all surfaces, starting with a coarse 120-grit sandpaper to remove rough spots and finishing with a fine 220-grit paper for a smooth touch. Wipe away all sawdust before applying your chosen finish. Apply at least two coats of a high-quality polyurethane sealant, wood varnish, or moisture-resistant paint, sanding lightly between coats. This protective barrier seals the wood fibers, ensuring your custom creation remains beautiful and structurally sound for years to come.
Structural Checks and Safety Verification
Before placing any items on your newly assembled ladder shelf, you must conduct a thorough safety and stability assessment. Begin with a physical stability test by placing your hands on the sides of the frame and gently shaking the unit. Check for any excessive swaying, flexing in the joints, or lifting at the base. If you notice any movement, re-examine the joints and tighten any loose fasteners.
Because ladder shelves have a high center of gravity and a narrow profile, they present a significant tip-over risk, particularly in homes with active children or pets. Evaluate the stability of the unit in its final position. If the shelf leans against the wall or is tall and narrow, wall-anchoring is highly recommended. Most quality kits include an anti-tip safety kit consisting of brackets, straps, or wall anchors. In Singapore, where most residential walls are made of solid concrete or brick, standard drywall plugs will not suffice. You must use a masonry drill bit and appropriate concrete wall plugs to secure the brackets firmly into the wall.
Finally, review the manufacturer’s specified weight limits for each individual tier. Plan your storage layout strategically by placing your heaviest items, such as large books, heavy ceramic pots, or storage boxes, on the lowest shelves. This keeps the overall center of gravity low, significantly improving the shelf’s stability. Lighter decorative items, small plants, and photo frames should be reserved for the upper tiers, ensuring a safe and balanced distribution of weight.
Frequently Asked Questions (FAQ)
How much weight can a standard ladder shelf hold?
The weight capacity of a ladder shelf depends heavily on its construction materials, joint design, and overall dimensions. Solid wood and metal-framed units generally offer much higher load capacities compared to those made from particleboard or thin MDF. To determine the exact limits of your shelf, always locate the manufacturer’s load rating specified in the instruction manual or on the product packaging. As a general rule, distribute weight evenly across each shelf rather than concentrating it in the center, and always place the heaviest items on the bottom tiers to maintain structural stability.
Do I need to anchor a leaning ladder shelf to the wall?
Yes, anchoring a leaning ladder shelf to the wall is highly recommended for safety, even if the shelf feels stable initially. The leaning angle and the shifting weight of stored items can easily alter the unit’s center of gravity, making it susceptible to slipping or tipping forward if bumped. Always follow the manufacturer’s safety guidelines and install the provided anti-tip hardware. Ensure you select the correct wall plugs and screws for your specific wall type; solid concrete walls require masonry plugs, while drywall partition walls require specialized hollow-wall anchors to ensure a secure hold.
Community discussion
Share your experience or ask a question. Comments are reviewed before publication.