
Assembling a modular book rack shelf from scratch is a highly rewarding DIY project that allows you to customize your home storage. The process involves careful preparation, systematic assembly from the ground up, and critical stability checks to ensure your books remain safe and secure. By understanding how the individual components lock together and taking the time to align the frame before final tightening, you can build a sturdy, wobble-free shelving unit. Whether you are setting up a small reading corner or a large home library, following a structured assembly sequence prevents common mistakes like misaligned panels, stripped screws, or structural instability.
Pre-Assembly Preparation and Space Planning
Before unboxing your new modular book rack shelf, proper space planning is essential to ensure a smooth assembly process. Begin by measuring the exact floor footprint and vertical clearance of the designated spot in your room. Compare these measurements against the manufacturer’s specified dimensions, leaving a comfortable margin of space around the unit for assembly and daily use. It is also wise to account for baseboards, light switches, and wall outlets that might interfere with how flush the shelving unit sits against the wall.
Next, consider the logistics of moving the packaged components into your home. Check the dimensions of your doorways, hallways, and lift or stairway access to ensure the large, heavy boxes can safely reach the assembly room without causing damage to your walls or the furniture itself. If the packages are exceptionally heavy, plan to transport the individual panels and hardware pieces to the room in smaller, manageable trips.
Products mentioned in this guide

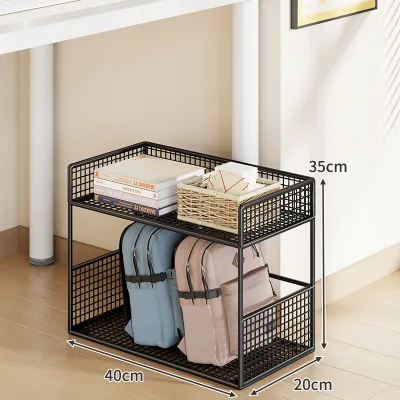
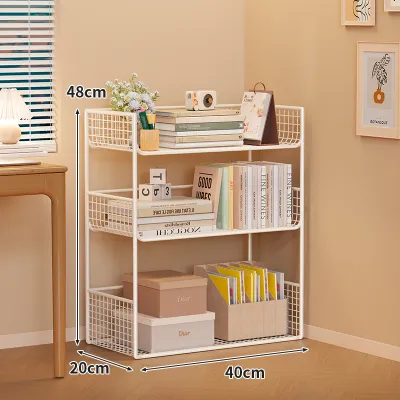
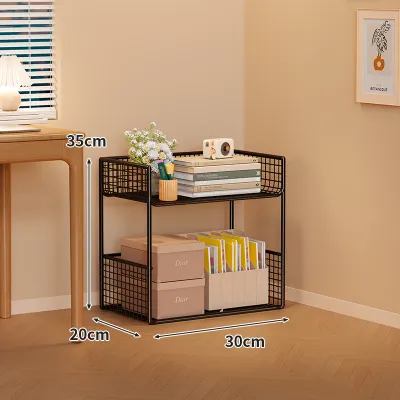
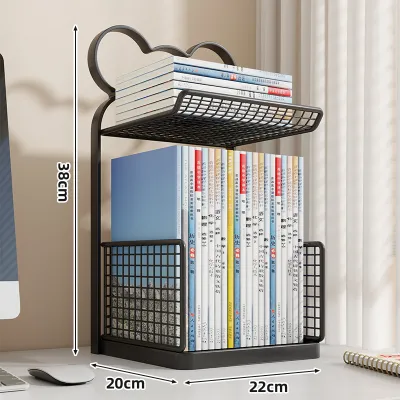
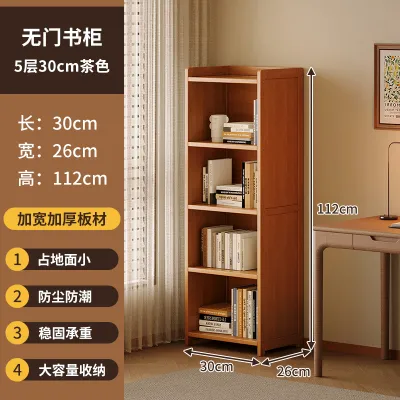
![[SG Seller]Freestanding Tall Bookshelf with Drawers Open Shelf Storage Cabinet for Home Office Small Space](https://img.lazcdn.com/g/p/79f21b794aec4a066a0cc65e3da1a981.jpg_400x400q80.jpg_.webp)
Prices are valid at publication and may change. Please refer to the product page for the latest price.
Once the components are in the room, clear a generous workspace on the floor. Assembling a book rack shelf requires ample room to lay out panels, rotate the frame, and work from different angles. To protect both your flooring and the new furniture panels from scratches, dents, or scuffs, lay down a protective barrier. A soft blanket, clean cardboard from the shipping boxes, or a dedicated drop cloth works exceptionally well as a protective assembly surface.
Tools and Component Checklist
A successful assembly relies on having all parts and tools organized before you begin. Unpack all boxes carefully and locate the manufacturer’s instruction manual. Before assembling any pieces, perform a thorough inventory check by verifying all panels, shelves, connectors, brackets, and fasteners against the included parts list. Grouping identical parts together makes them easier to identify and ensures you are not missing any critical hardware before you start building.

Identify the required hand tools specified in the manual. Most modular book rack shelf systems require basic tools such as a Phillips-head screwdriver, a flathead screwdriver, or a specific size of Allen wrench, which is often included in the hardware pack. If the instructions permit, a rubber mallet can be incredibly useful for gently tapping tight-fitting wooden dowels or plastic connectors into place without damaging the finish. Avoid using high-powered electric drills unless explicitly recommended by the manufacturer, as excessive torque can easily strip screw holes or crack composite wood panels.
To prevent small screws, dowels, and washers from rolling away or getting lost in carpet fibers, organize your hardware into separate, shallow containers. You can use small plastic bowls, cups, or even the compartments of the packaging tray to keep different fastener types isolated. This simple step saves time and prevents the frustration of searching for a missing screw midway through the build.
Step-by-Step Assembly Process
Assembling a modular book rack shelf requires a logical, step-by-step approach to ensure structural integrity. The general flow always moves from the base upward, establishing a solid foundation before adding height. One of the most important rules of furniture assembly is to keep all joints and fasteners loosely fitted during the initial stages. Tightening screws completely too early can warp the frame, making it difficult to align subsequent shelves or attach back panels properly.
Building the Base and Vertical Frames
The foundation of your book rack shelf dictates the stability of the entire structure. Begin by identifying the base plates, bottom rails, or leveling feet as indicated in your manual. Lay these base components flat on your protected workspace. If your unit features adjustable leveling feet, thread them into the base but do not adjust them fully yet; you will fine-tune them once the unit is in its final position.
Next, align the vertical poles, side panels, or upright frames with the base. Carefully insert the vertical supports into their designated slots or secure them with the provided base connectors. As you erect the vertical frame, check for square alignment. You can use a carpenter’s square or simply observe the angles to ensure the uprights are perpendicular to the base. Apply only enough tension to the fasteners to keep the vertical supports upright and stable, allowing enough play for the frame to adjust as you add horizontal elements. If any parts do not slot together smoothly, stop and check for obstructions or misaligned dowels rather than forcing the components, which could split the material.
Installing Shelves and Cross-Braces
With the vertical framework standing, you can begin installing the horizontal shelves. Depending on the design of your modular book rack shelf, shelves may slide into pre-routed grooves, rest on metal support pins, or clip directly into designated brackets. Install the shelves starting from the bottom and work your way upward. This method keeps the center of gravity low during assembly and prevents the unit from becoming top-heavy while you work.
As you place each shelf, ensure it sits completely flush and level within its brackets or slots. If your modular system includes structural reinforcements such as a solid back panel or diagonal cross-braces, install them during this phase. Back panels and cross-braces are critical for preventing lateral sway or “racking.” Align the back panel carefully with the outer edges of the frame, ensuring it is square before securing it with the provided nails or screws.
Securing Joints and Final Tightening
Once all shelves, vertical frames, and structural braces are in place, you can proceed with the final tightening sequence. To maintain the structural squareness of the book rack shelf, tighten the fasteners in a progressive, diagonal pattern rather than working from top to bottom on one side. This distributes the tension evenly across the entire frame and prevents the unit from pulling out of alignment.
Exercise caution to avoid over-tightening the fasteners. If your book rack shelf is constructed from composite materials like particleboard or medium-density fiberboard (MDF), excessive force can easily strip the pre-drilled screw threads or crack the protective laminate finish. Tighten each screw or cam lock until it is snug and offers firm resistance, but do not force it beyond that point. After completing the tightening sequence, walk around the unit and re-check all primary joints to ensure no connections were left loose.
Ensuring Stability and Safety Checks
Before loading your newly assembled book rack shelf with books, you must perform essential safety and stability checks. A fully loaded bookshelf carries significant weight, making stability a primary safety concern. Start by performing a gentle physical wobble test on the empty frame. Place your hands on the sides of the unit and apply light pressure to check for any lateral movement, swaying, or loose connections. If you detect any wobbling, trace the movement to its source and tighten the corresponding fasteners.
Next, move the empty book rack shelf to its final location. Use a spirit level placed on the top and middle shelves to verify that the unit is perfectly plumb and level. If your floor is uneven, adjust the leveling feet on the base of the unit until the bubble on the spirit level is centered. If your unit does not have adjustable feet, you can use thin, non-slip furniture shims under the base to correct minor floor slopes.
Finally, review the product manual for mandatory wall-anchoring instructions. Because tall, narrow shelving units pose a serious tip-over hazard, anchoring the unit to the wall is highly recommended. Identify the type of wall construction in your home (such as concrete, drywall, or brick) and use the appropriate wall anchors and brackets specified by the manufacturer. Additionally, pay close attention to the manufacturer’s stated weight distribution limits per shelf to avoid bowing or structural failure over time.
Frequently Asked Questions (FAQ)
Do I need to anchor my modular book rack shelf to the wall?
Yes, anchoring your modular book rack shelf to the wall is highly recommended for safety, particularly if the unit is tall, narrow, or placed in an area with high foot traffic. The necessity of wall anchoring depends on the unit’s height-to-depth ratio, its overall weight capacity, and the manufacturer’s explicit safety warnings. Most manufacturers include wall-anchoring hardware and specific instructions in the packaging. Always consult the included manual to identify the correct anchoring method for your specific wall type, such as using toggle bolts for drywall or masonry plugs for concrete walls, to ensure the bracket is securely anchored into a structural stud or solid wall material.
How should I distribute books to keep the shelf stable?
To maintain optimal stability and keep the center of gravity as low as possible, always place your heaviest books, such as encyclopedias, textbooks, and large hardcovers, on the bottom shelves. Lighter items, such as paperbacks, decorative objects, and media cases, should be placed on the upper shelves. This loading strategy prevents the unit from becoming top-heavy and significantly reduces the risk of tipping. Additionally, always check the manufacturer’s label or instruction manual for the maximum load capacity per shelf, and distribute the weight evenly across the width of each shelf rather than stacking all heavy items in one spot.
Community discussion
Share your experience or ask a question. Comments are reviewed before publication.