
Assembling a DIY modular shelf rack is a highly effective way to maximize storage in tight spaces, such as utility rooms, bomb shelters, or home offices. By building the unit yourself, you can customize the shelf heights and configurations to fit your specific storage boxes and equipment. The process requires no professional help if you follow a systematic approach: verifying your space, organizing your components, building the frame from the ground up, and securing the structure. With a few basic tools and a clear workspace, you can transform a flat-pack delivery into a sturdy, organized storage solution in under an hour.
Verify Your Space and Unbox Safely
Before opening the packaging, confirm that the physical dimensions of the shelf rack align with your intended installation area. Measure the width, depth, and height of the designated floor and wall space using a tape measure. Account for architectural obstacles such as baseboards, skirting boards, electrical outlets, and the swing radius of nearby doors. In compact Singapore apartments, even a few millimeters of deviation can prevent a modular rack from fitting into a tight alcove.
Next, check the dimensions of the unboxed package against the access routes in your home. Ensure the flat-pack box can navigate through your front door, narrow hallways, and internal doorways. If you live in a high-rise building, verify that the package length fits inside the passenger lift to avoid carrying heavy components up the stairs.
Products mentioned in this guide
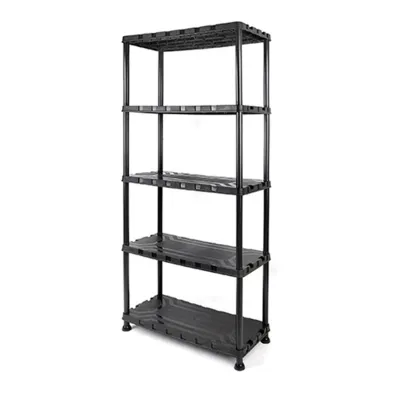
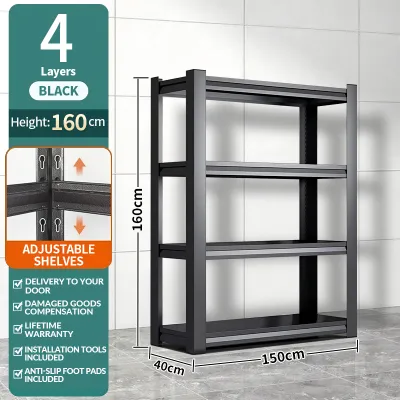
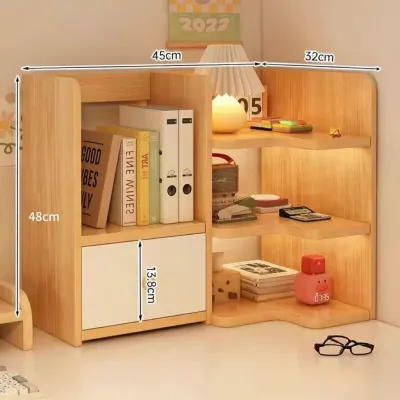
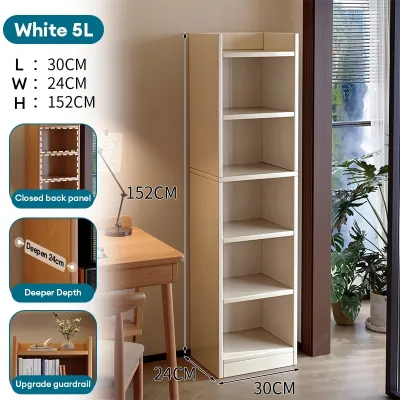
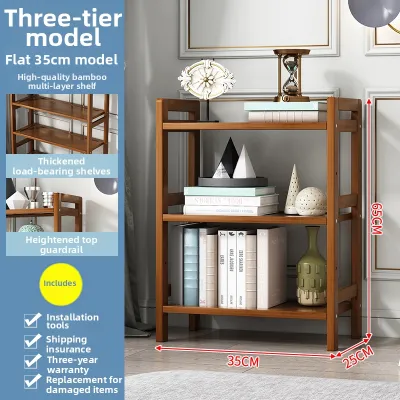
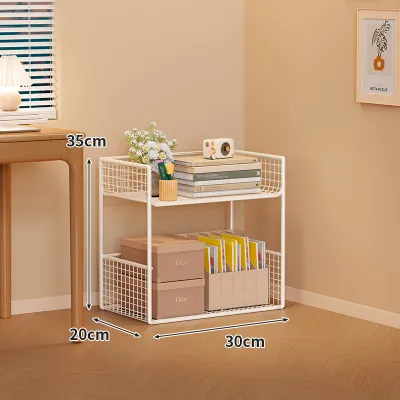
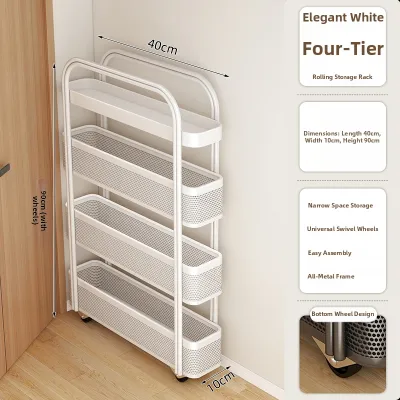
Prices are valid at publication and may change. Please refer to the product page for the latest price.
Inspect the floor surface where the rack will stand. The floor must be level and structurally sound to support the fully loaded weight of the shelving unit. If the floor has a slight slope, which is common in wet areas or utility rooms, plan for adjustable leveling feet or shims.
Finally, identify the wall type behind the rack in case anchoring is required. Determine if you are dealing with solid concrete, brick, or drywall to ensure you acquire the correct wall plugs and screws before you begin.
Gather Tools and Organize Components
A successful DIY assembly depends on preparation. Clear a spacious, clean work area on the floor near the final location of the shelf rack. Lay down a large piece of cardboard or a protective blanket to prevent scratching your flooring and the rack’s finish during the build.

Unpack all components carefully and locate the instruction manual. Cross-reference the parts list with the physical items, counting every upright post, shelf beam, shelf board, and hardware packet. Identifying missing or damaged parts before you start saves you from an interrupted assembly.
Gather the necessary tools. While many modular kits include basic tools like a hex key, having your own tools makes the process much smoother. A rubber mallet is essential for boltless or rivet-style racks to seat the beams securely without denting the metal. A standard screwdriver, a spirit level, and work gloves will also protect your hands and ensure a precise build.
Organize the small hardware components, such as screws, bolts, and washers, into separate small containers. Keeping these items sorted prevents them from rolling away, allowing you to reach for the exact fastener you need at each step.
Assemble the Main Structure Step-by-Step
Constructing a modular shelf rack requires a methodical, bottom-up approach to ensure structural integrity. The general sequence progresses from the base foundation up to the top frame, establishing a stable footprint before adding height. A critical rule during this phase is to leave all fasteners slightly loose—about finger-tight—until the entire frame is fully assembled and squared. Tightening screws too early can warp the frame, making it difficult to align subsequent shelves or causing the completed rack to sit unevenly on the floor. Throughout the build, perform regular alignment checks to ensure the frame remains square.
Build the Base and Vertical Frames
Start by assembling the bottom-most section of the vertical uprights. If your modular rack features protective plastic feet or adjustable leveling glides, attach them to the bottom of the upright posts first. These feet protect your flooring from scratches and provide the necessary base for leveling the unit later. Pay close attention to the orientation markers in the manual, as upright posts often have a specific top and bottom, or keyhole slots that must face a certain direction to accept the horizontal beams.
Connect the primary vertical panels or upright posts using the bottom-most horizontal crossbars or back panels. For boltless systems, align the rivets on the beams with the corresponding slots on the uprights, then tap them firmly into place using a rubber mallet. If your system uses screws or bolts, thread them in loosely by hand. This initial step establishes the foundational footprint of the rack.
Once the base frame is connected, use a spirit level to check that the uprights are perfectly plumb and the horizontal supports are level. If the frame is leaning or twisting, gently adjust the components before proceeding. Establishing a square, level base at this stage prevents cumulative alignment errors as you build upward.
Install Shelves and Modular Add-ons
With the main vertical frame standing, you can begin positioning the shelves. Insert the shelf support pins, brackets, or clips into the vertical uprights at your desired heights. Double-check that the supports on all four corners are set at the exact same height level to prevent slanted shelves. If you plan to store tall items, plan your shelf spacing now to avoid having to disassemble the unit later.
Carefully slide or drop the shelf boards onto the support brackets. For metal or wire shelving, ensure the shelves seat fully into the collar sleeves or clips. If you are using wooden or composite shelf boards, check that they fit snugly within the metal frame without forcing or bending the joints. Never force a tight fit, as this can damage the finish or compromise the joint integrity.
If your modular system includes optional add-ons, such as drawer units, pull-out baskets, or hanging rods, install them according to the manufacturer’s specific sequence. These accessories often require mounting brackets to be attached to the uprights before the surrounding shelves are locked into place. Refer to the accessory instructions to ensure they do not interfere with the main structural supports.
Secure, Level, and Verify Safety
Once all shelves and modular components are in place, finalize the assembly. Go through the entire structure and perform a final tightening of all screws, bolts, and fasteners. Work your way from the bottom up, ensuring every joint is secure but avoiding over-tightening, which can strip threads or crack composite materials.
Evaluate the stability of the assembled rack. Place your hands on the middle shelves and apply gentle pressure from side to side and front to back. If you detect any wobble, check if the floor is uneven. For racks equipped with adjustable leveling feet, rotate the feet clockwise or counterclockwise until the rack sits perfectly flat and does not rock. If your rack does not have adjustable feet, you can place thin, non-slip plastic shims under the low corners.
Safety is paramount, especially for tall or narrow shelving units. Assess the need for wall anchoring based on the rack’s height-to-depth ratio and the weight of the items you plan to store. Most manufacturers recommend anchoring any unit over a certain height to prevent tip-over accidents. If you decide to anchor the rack, align the bracket with a wall stud or use appropriate wall plugs for concrete or masonry, then secure the strap or bracket firmly to both the wall and the rack frame.
Customize and Maintain Your Shelf Rack
One of the greatest advantages of a modular shelf rack is its adaptability. As your storage needs change over time, you can easily reconfigure the shelf heights or add new modules. When adjusting shelf heights, always empty the rack completely first. Work on one shelf at a time, starting from the top, to maintain the overall stability of the frame while you make adjustments.
Routine maintenance is essential to keep your shelving unit safe and functional. Periodically inspect the rack—ideally every six months—to check for loose fasteners. Vibrations from daily use or loading and unloading items can cause screws to loosen over time. Retighten any loose hardware immediately to maintain structural integrity.
Cleaning methods should match the specific material finish of your rack. For powder-coated steel or plastic components, wipe them down with a damp microfiber cloth and a mild detergent, then dry them thoroughly to prevent rust. For wooden or composite shelves, avoid using excess moisture, especially on unsealed edges, as water penetration can cause the material to swell or warp. Never use abrasive cleaners or harsh chemicals that could degrade the protective finish.
Frequently Asked Questions (FAQ)
Do I need to anchor a modular shelf rack to the wall?
Yes, wall anchoring is highly recommended for any modular shelf rack that is tall, narrow, or heavily loaded. As a general safety rule, if the height of the rack is more than three times its depth, it poses a tip-over risk. Anchoring is absolutely essential if you have young children or pets in the home, as they may attempt to climb the shelves, causing the unit to fall. Always check the manufacturer’s instructions for specific height thresholds. When anchoring, ensure you use the correct hardware for your wall type: expansion plugs for solid concrete walls, or heavy-duty toggle bolts for drywall.
How do I fix a wobbly shelf rack after assembly?
A wobbly shelf rack is usually caused by uneven flooring, loose fasteners, or an out-of-square frame. First, check that all screws and bolts are fully tightened and that the frame is square by measuring diagonally from corner to corner. If the frame is square but the wobble persists, inspect the floor levelness. For racks with adjustable leveling feet, thread the feet in or out until the unit is stable. If your rack lacks adjustable feet, place durable, non-slip shims under the base corners that do not touch the floor. Additionally, ensure that heavier items are stored on the bottom shelves to lower the center of gravity and improve overall stability.
Community discussion
Share your experience or ask a question. Comments are reviewed before publication.