
Applying a self-adhesive leather patch is a practical, cost-effective way to protect high-wear areas of your furniture, such as sofa arms, chair edges, and table corners, from daily wear and tear. The key to a successful, long-lasting repair lies in thorough surface preparation, precise cutting with rounded corners, and a careful, bubble-free application technique. By taking the time to assess your furniture’s material compatibility and allowing the adhesive to cure properly under local environmental conditions, you can extend the lifespan of your favorite pieces and maintain a clean, polished look in your living space.
Assessing Furniture Damage and Patch Suitability
Before purchasing or applying a self-adhesive leather patch, it is essential to evaluate the physical condition of the damaged area. Inspect the wear on high-traffic zones like chair arms, sofa edges, and table corners. If the damage is superficial—such as surface scratches, minor peeling, small punctures, or localized discoloration—a patch is an excellent protective measure. However, if the structural integrity of the furniture is compromised, such as sagging springs, deeply torn internal webbing, or crumbling foam padding, a simple adhesive patch will not resolve the underlying issue.
Next, verify the compatibility of the adhesive with your furniture’s existing material and finish. Self-adhesive patches bond most effectively to smooth, non-porous, and stable surfaces like genuine leather, synthetic leather (polyurethane or vinyl), and finished wood. Highly textured fabrics, loose weaves, porous materials, or surfaces that undergo constant, extreme flexing may not provide enough surface area for the adhesive to grip securely, leading to premature peeling.
Products mentioned in this guide
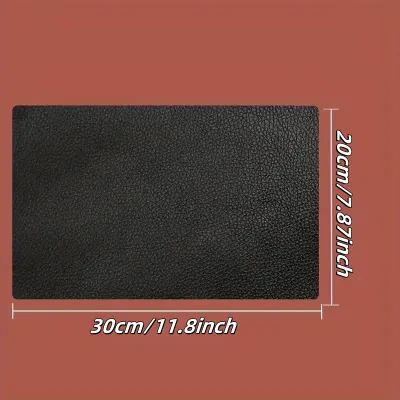
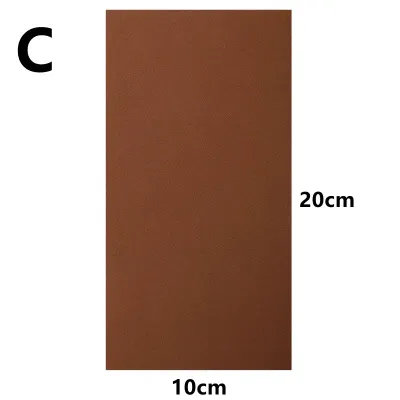
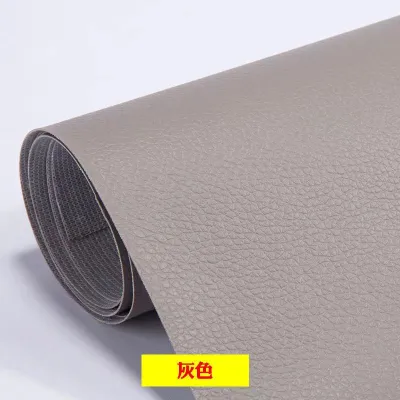
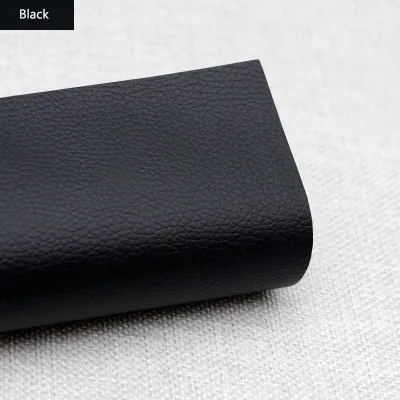
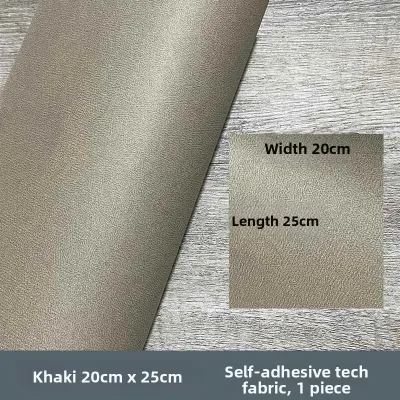
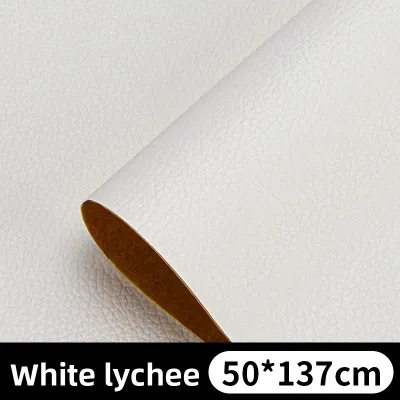
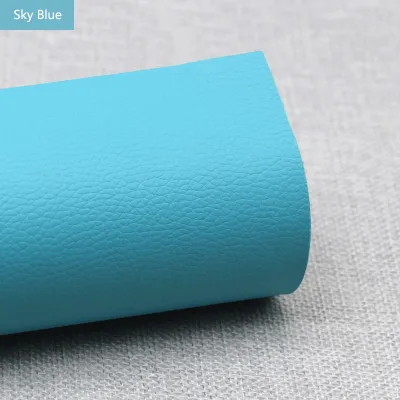
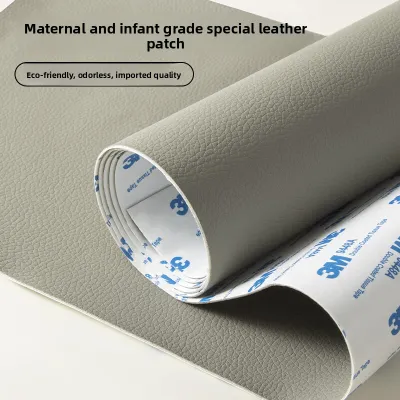
Prices are valid at publication and may change. Please refer to the product page for the latest price.
Additionally, review the furniture manufacturer’s care labels or warranty terms. Some warranties may be voided if aftermarket adhesives, chemical solvents, or permanent modifications are applied to the upholstery. If the furniture is a high-value designer piece or an antique, check if applying an adhesive patch could permanently alter its value. If the damage covers a massive area, or if the underlying foam is severely degraded and exposed, it is often wiser to skip the DIY patch and seek professional reupholstery or replacement.
Gathering Tools and Preparing the Surface
Achieving a strong, permanent bond requires the right tools and a meticulously prepared surface. Gather your materials before starting the application process. You will need a measuring tape to determine the exact dimensions of the damaged area, a pair of highly sharp scissors or a utility craft knife for clean cuts, a soft microfiber cloth, and a mild, non-abrasive cleaning agent. Avoid harsh chemical solvents, heavy-duty degreasers, or oil-based cleaners, as these can leave a residue that actively prevents the adhesive from bonding to the substrate.

The cleaning stage is arguably the most critical step in the entire process. Over time, furniture accumulates body oils, dust, pet dander, sweat, and chemical residues from household polishes. These contaminants form an invisible barrier between the patch adhesive and the furniture surface. Dampen your microfiber cloth with a diluted mixture of mild soap and warm water, or use a dedicated leather cleaner if applicable. Gently wipe down the entire area surrounding the damage, extending at least five centimeters beyond where the patch edges will sit. Once cleaned, wipe the area again with a damp cloth to remove any soap residue.
Allow the surface to dry completely. Any trapped moisture will compromise the adhesive backing, leading to lifting edges within days. In humid environments, such as typical tropical climates, you may want to use a fan or wait a bit longer to ensure no residual dampness remains on or within the material fibers.
Before applying the patch to a highly visible area, perform a hidden test. Cut a tiny piece of the adhesive patch and apply it to an inconspicuous spot on the furniture, such as the underside of a cushion or the back of a leg. Leave it for twenty-four hours, then gently peel a corner to check how the adhesive interacts with the finish. Establish a clear stop condition: if the test area shows signs of finish peeling, discoloration, or any adverse chemical reaction, halt the process immediately and consult the furniture manufacturer for alternative repair methods.
Step-by-Step Application Technique
With a clean, dry surface, you are ready to begin the application. Start by measuring the damaged area carefully using your measuring tape. When planning the size of your patch, ensure it is large enough to cover the entire damaged section with an extra margin of at least two to three centimeters on all sides. This extra margin ensures the adhesive grips onto stable, undamaged material rather than pulling on loose, peeling edges.
Use your sharp scissors or craft knife to cut the patch to the required dimensions. A crucial technique for longevity is to round the corners of the patch. Sharp, ninety-degree corners are highly susceptible to catching on clothing, blankets, or skin, which quickly leads to lifting and peeling. Creating smooth, rounded corners distributes friction evenly and significantly reduces the risk of the patch snagging during daily use.
To apply the patch, do not peel off the entire backing paper at once, as this makes the patch difficult to handle and increases the risk of accidental misalignment or sticking to itself. Instead, peel back a small section of the protective backing—about two to three centimeters—from one edge or the center, depending on the patch design. Align the exposed adhesive edge precisely with your starting point on the furniture.
Gradually peel away the remaining backing paper with one hand while using your other hand, or a flat, flexible tool like a plastic squeegee, to smooth the patch onto the surface. Always work from the center of the patch outward toward the edges. This outward motion pushes air bubbles out and prevents wrinkles from forming under the leather surface.
Once the patch is fully positioned, apply firm, even pressure across the entire surface. Use the palm of your hand or a clean, dry cloth to rub the patch firmly, paying special attention to the outer edges and any contours or curves of the furniture. The adhesive used on these patches is often pressure-sensitive, meaning the strength of the bond increases with the amount of firm pressure applied during installation.
If you are dealing with complex shapes, such as curved chair arms or sharp table corners, take extra care. For highly contoured surfaces, you may need to make small, strategic relief cuts in the patch to allow it to conform to the curve without bunching up. Alternatively, for large, irregular tears, you can use multiple overlapping patches. When overlapping, ensure the top patch overlaps the bottom one in a direction that matches the natural flow of movement on the furniture, minimizing the chance of friction peeling the top layer back.
Post-Application Care and Maintenance
After successfully applying the self-adhesive leather patch, the adhesive requires time to set and cure to its maximum strength. Do not sit on, lean against, or place items on the patched area immediately. Refer to the patch manufacturer’s instructions for the recommended curing time, which typically ranges from twelve to twenty-four hours. Keep in mind that local environmental factors play a significant role in this process. In regions with high relative humidity, the adhesive may take longer to cure fully. It is best to err on the side of caution and avoid using the furniture for a full twenty-four hours to ensure the bond is completely secure.
Once cured, maintaining the patched area is straightforward but requires gentle care. For routine cleaning, wipe the patch with a dry or slightly damp microfiber cloth. Avoid using harsh chemical cleaners, alcohol-based sanitizers, or abrasive scrubbing pads on or near the patch. These substances can seep under the edges, dissolve the adhesive compound, or degrade the synthetic surface of the patch itself.
Over time, monitor the patch for early signs of wear. Inspect the edges periodically for lifting, adhesive residue buildup, or surface cracking. If you notice the edges starting to curl, you can try pressing them down firmly again, but this usually indicates the adhesive is beginning to degrade. When a patch reaches the end of its usable life, it should be carefully replaced to prevent dirt and dust from collecting under the lifting edges and damaging the underlying furniture material.
Troubleshooting Common Application Issues
Even with careful preparation, you may encounter minor issues during or after the application process. One of the most common problems is trapped air bubbles. If you notice a bubble shortly after application, do not try to squeeze it hard, as this can stretch the leather patch and cause permanent wrinkles. Instead, if the adhesive is still fresh, gently lift the nearest edge of the patch up to the bubble, smooth the air out, and lay it back down. If the patch has already settled, you can use a very fine sewing pin to prick a tiny hole in the center of the bubble. Gently press the air out through the hole using your finger, working from the edges of the bubble toward the pinhole, and press the area flat.
Misalignment is another common issue. It is important to understand the limitations of repositioning self-adhesive patches. Most high-quality patches use strong, pressure-sensitive adhesives designed for a single-use application. Attempting to peel off a fully applied patch to reposition it will significantly reduce its stickiness, as fibers from the furniture or dust from the air will contaminate the adhesive backing. Furthermore, pulling the patch off can damage delicate underlying finishes, veneers, or synthetic leather coatings. If you misalign a patch significantly, it is usually better to cut a fresh patch rather than trying to reuse the compromised one.
Finally, know when to stop DIY repairs and consult a professional. If the patch fails to adhere repeatedly despite thorough cleaning, if the underlying foam padding is crumbling and cannot support the patch, or if the furniture holds significant monetary or sentimental value, professional intervention is the safest path. A qualified upholsterer can provide structural repairs, professional leather restoration, or complete reupholstery that preserves the integrity of your furniture.
Frequently Asked Questions (FAQ)
Can I apply a leather patch over existing fabric or velvet?
Self-adhesive leather patches generally require a smooth, non-porous, or tightly woven surface to establish a reliable bond. High-pile fabrics like velvet, chenille, or loose, textured weaves do not provide enough flat surface area for the adhesive to grip securely. The fibers will prevent the adhesive from making full contact, leading to quick peeling and lifting. For fabric furniture, specialized fabric patches or traditional sewing repairs are typically more effective.
How long does the adhesive take to fully cure?
You should always check the specific product packaging for the manufacturer’s recommended curing time. Generally, most pressure-sensitive adhesives require twelve to twenty-four hours to reach their maximum holding strength. In environments with high humidity or cooler temperatures, the curing process can be delayed, so it is advisable to avoid using the furniture for at least twenty-four hours to ensure a lasting bond.
Will removing the patch damage the original furniture finish?
Yes, there is a risk of damage. The strong adhesives used on these patches are designed to hold permanently, which means removing them can pull off delicate finishes, wood veneers, or thin bonded leather layers underneath. If you must remove a patch, test a small corner first. If the base material allows, you can use a gentle, manufacturer-approved adhesive remover or apply mild heat from a hairdryer on a low setting to soften the glue before peeling it off slowly.
Community discussion
Share your experience or ask a question. Comments are reviewed before publication.