
A self-adhesive leather patch offers a practical, straightforward way to restore the appearance of worn or damaged furniture without the high cost of professional reupholstery. Whether dealing with a minor tear on an armchair or a scuff on a living room sofa, achieving a durable repair depends entirely on proper preparation and application techniques. By understanding how to assess the damage, prepare the surface, and secure the bond, you can extend the life of your furniture and maintain its aesthetic appeal.
Assessing the Damage and Patch Suitability
Before purchasing a self-adhesive leather patch, it is essential to evaluate whether this repair method matches the specific damage on your furniture. These patches work best on flat or gently curved surfaces experiencing minor cosmetic issues. Ideal candidates for a patch repair include surface-level scratches, small scuffs, and clean, minor tears where the underlying backing material remains intact.
Conversely, certain types of damage are unsuitable for self-adhesive patches and will likely lead to premature failure. If your furniture has large structural gaps, exposed deep foam, or structural sagging, a simple patch cannot provide the necessary support. Similarly, areas suffering from severe moisture damage, mold, or rotting internal frames must be professionally repaired or reupholstered rather than covered up.
Products mentioned in this guide
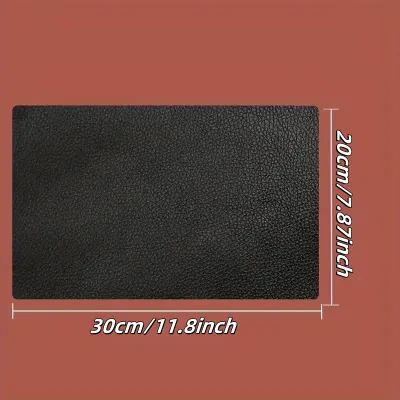
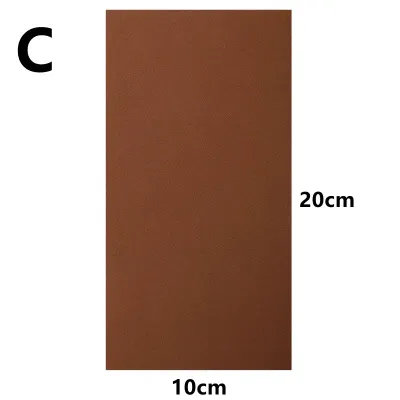
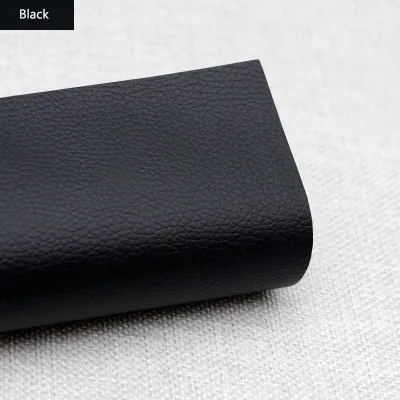
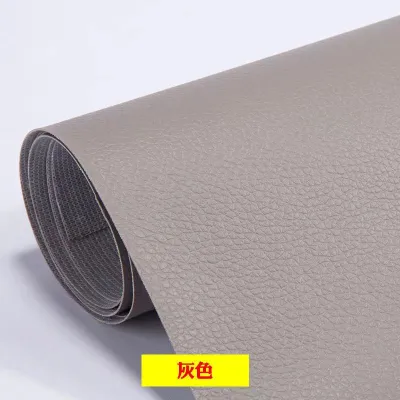
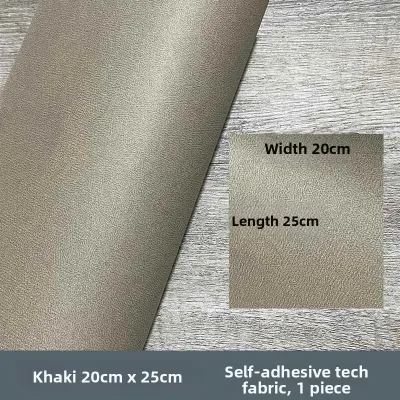
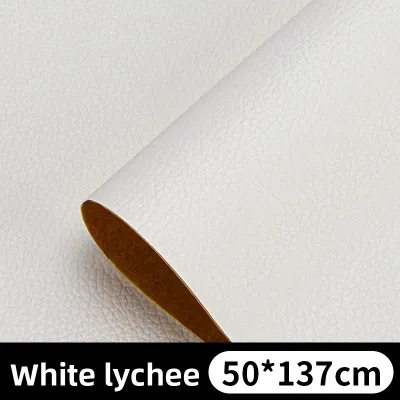
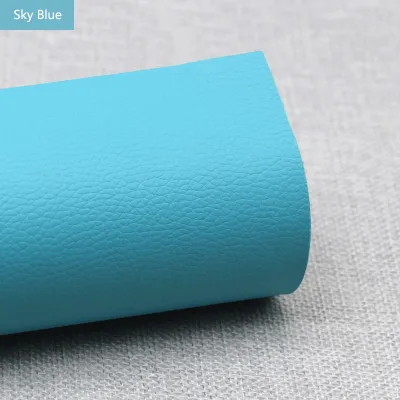
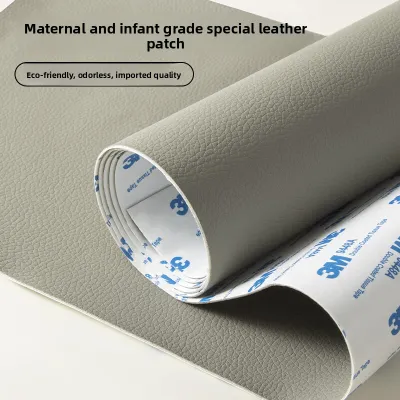
Prices are valid at publication and may change. Please refer to the product page for the latest price.
Always check the manufacturer’s label on both your furniture and the repair patch to verify material compatibility. Some patches are formulated specifically for genuine top-grain leather, while others are designed to adhere to synthetic alternatives. Additionally, review any stated weight-bearing or flexibility limits, especially if you plan to apply the patch to high-stress areas like seat cushions or armrests that flex constantly during use.
Gathering Tools and Preparing the Workspace
Having the right tools on hand before you begin ensures a smooth, uninterrupted application process. A basic repair kit consists of everyday household items that help you clean, cut, and secure the patch. You will need a pair of sharp scissors or a utility knife to make clean cuts, a mild cleaner compatible with your furniture material, and lint-free microfiber cloths.

To help smooth out the patch and eliminate air bubbles, keep a plastic scraper or an old credit card nearby. Having these tools ready prevents you from scrambling mid-process while the adhesive backing is exposed.
The environment in which you perform the repair also plays a critical role in how well the adhesive bonds. Aim to work in a room with standard indoor temperatures and low humidity, as extreme cold or excessive moisture can prevent the glue from curing correctly. Ensure the workspace is well-ventilated, particularly if you are using specialized cleaning agents, to maintain a comfortable and safe working environment.
Step-by-Step Application Process
Applying a self-adhesive leather patch requires a systematic approach to ensure the repair blends in and holds up over time. The process is divided into three critical phases: thorough surface preparation, precise fitting, and secure bonding. Working patiently through each phase prevents common mistakes like misalignment, wrinkles, or weak adhesion.
Surface Cleaning and Preparation
The longevity of your repair relies heavily on how clean the surface is before the patch makes contact. Dust, body oils, sweat, and household residues create a barrier that prevents the adhesive from bonding directly to the furniture material. Use a mild, non-abrasive cleaner specifically formulated for leather or the specific synthetic material of your furniture.
Apply the cleaner to a microfiber cloth rather than spraying it directly onto the furniture, and gently wipe down the damaged area and its surroundings. Once clean, allow the surface to dry completely. Trapping even a small amount of moisture beneath the patch can weaken the adhesive over time and potentially lead to mold growth within the furniture padding.
Before moving to the next step, inspect the damaged area for any loose threads, frayed edges, or flaking material. Use your sharp scissors to carefully trim away these loose fibers. Creating a smooth, stable base ensures that the patch lies perfectly flat and prevents loose threads from pulling at the adhesive backing later.
Measuring, Cutting, and Positioning
Accurate measurement is key to ensuring the patch covers the damage completely and remains secure. Measure the length and width of the damaged area, then plan for an adequate overlap margin. Most manufacturers recommend allowing at least a two-to-three-centimeter margin around all sides of the damage to distribute the tension evenly.
When cutting the patch, use sharp scissors to ensure clean, crisp edges. Rounding the corners of your patch rather than leaving them at sharp ninety-degree angles is a highly effective way to prevent peeling, as rounded edges are less likely to catch on clothing or blankets. If possible, align the cut of the patch with the natural grain lines or existing seams of your furniture to help it blend visually.
Before peeling off the protective backing, perform a dry fit by placing the patch directly over the damaged area. This step allows you to confirm the alignment, verify that the coverage is sufficient, and see how well the color and texture blend with the surrounding material under your room’s lighting. Adjust the shape or size now if necessary, before the adhesive is exposed.
Applying the Patch and Securing the Bond
Once you are satisfied with the dry fit, you are ready to apply the patch. Avoid peeling off the entire backing paper at once, as this makes the patch difficult to handle and increases the risk of it sticking to itself or the wrong part of the furniture. Instead, peel back a small section of the backing—about two to three centimeters—to expose the initial edge of the adhesive.
Align this exposed edge carefully with your starting point on the furniture, then press it down firmly. Slowly peel away the remaining backing paper with one hand while using your other hand, or a plastic scraper, to smooth the patch down onto the surface. Always work from the center of the patch outward to push out trapped air and prevent wrinkles from forming.
After the patch is fully positioned, apply even, firm pressure across the entire surface using your plastic scraper or a hard card wrapped in a thin microfiber cloth. This pressure activates the pressure-sensitive adhesive, ensuring a deep bond with the furniture material. Pay special attention to the edges and corners, pressing them down firmly for several seconds to prevent future lifting. If you notice any minor edge lifting immediately after application, check for hidden dust or re-apply firm pressure to secure the bond.
Post-Application Care and Maintenance
After successfully applying the patch, giving the adhesive time to cure is vital for its long-term durability. Refer to the product label for the manufacturer’s specified curing time, which often ranges from twelve to twenty-four hours. During this period, avoid sitting on the repaired area, placing heavy objects on it, or subjecting the patch to any stretching or pulling forces.
Once the curing process is complete, you will need to adjust your daily cleaning routines slightly to protect the repaired area. Avoid using harsh chemical cleaners, solvents, or abrasive scrubbing sponges directly on or near the patch, as these can degrade the adhesive backing and damage the patch’s surface finish. Instead, stick to gentle wiping with a dry or slightly damp microfiber cloth.
Periodically monitor the edges of the patch during your regular household cleaning. Catching early signs of peeling or wear allows you to address them before the patch detaches completely. If you notice minor lifting after months of use, pressing it down firmly or checking the manufacturer’s guidelines for safe maintenance can help prolong the life of the repair.
Troubleshooting Common Application Issues
Even with careful preparation, you may encounter minor issues during or after the application process. One common problem is the appearance of trapped air bubbles under the patch. If you discover a bubble after the patch is secured, do not peel the entire patch up; instead, use a fine sewing needle to carefully puncture the center of the bubble, then use your scraper to press the air out and flatten the material.
If you experience non-sticking edges immediately after application, first verify that the surface was completely free of oils or cleaning residues. If the built-in glue fails to adhere to a specific spot due to a complex contour, consult the patch manufacturer’s instructions to see if they approve specific secondary adhesives or heat-activation methods. Never apply unapproved household glues, as they can permanently damage your furniture’s original material.
Managing visual mismatches in texture or color is another common challenge when using pre-made patches. If the patch does not match perfectly, you can minimize the visual impact through strategic placement, such as positioning the patch along existing seams, or by adjusting your room’s lighting. In some cases, using multiple smaller, symmetrically placed patches can make the repair look like an intentional design feature rather than a quick fix.
Frequently Asked Questions (FAQ)
Can I use a self-adhesive leather patch on faux leather or vinyl furniture?
Yes, many self-adhesive leather patches are compatible with faux leather, vinyl, and polyurethane (PU) materials, but you must verify this on the product label before application. Synthetic materials often have unique surface coatings or plasticizers that can affect how adhesives bond. If the manufacturer’s instructions do not explicitly state compatibility, test a small piece of the patch on an inconspicuous area of the furniture first to ensure it adheres firmly and does not damage the synthetic finish.
How long does a self-adhesive leather patch typically last?
The lifespan of a self-adhesive leather patch depends heavily on the thoroughness of your surface preparation, the frequency of use, and environmental factors like humidity and temperature. In low-traffic areas, a well-applied patch can remain secure for a significant period. However, it is important to view these patches as practical, cost-effective cosmetic repairs rather than permanent structural replacements for heavily worn or high-stress seating surfaces.
Community discussion
Share your experience or ask a question. Comments are reviewed before publication.