
Applying leather repair tape is a practical and cost-effective way to fix minor tears, scratches, and punctures on your sofa. However, many homeowners find themselves frustrated when the edges of the tape begin to curl and peel away after just a few days of use. The secret to a lasting bond does not lie in buying the most expensive tape, but rather in meticulous surface preparation and precise application techniques. By removing invisible oils, rounding the tape’s corners, and allowing the adhesive to cure properly, you can achieve a seamless repair that withstands daily wear.
In warm and humid environments, such as Singapore, adhesive performance can be particularly sensitive to moisture and surface oils. High humidity can interfere with how pressure-sensitive adhesives bond to leather and synthetic materials. Taking the time to prepare the surface and applying the tape under dry conditions will ensure the adhesive forms a strong, permanent grip on your furniture.
Assessing the Damage and Tape Compatibility
Before purchasing or applying any repair tape, you must evaluate whether the damage on your sofa is suitable for a tape-based fix. Leather repair tape works best on flat, stable surfaces where the material is not subjected to constant pulling or structural shifting. Small punctures, clean cuts, and minor surface scratches on flat panels like the outer backrest or side panels are excellent candidates for this type of repair.
Products mentioned in this guide
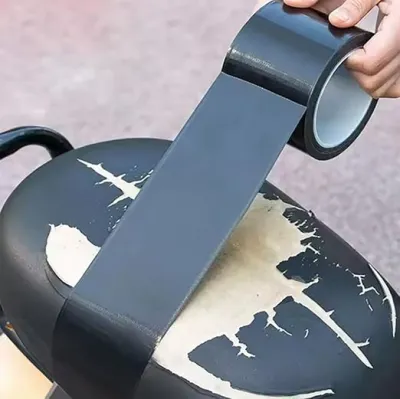
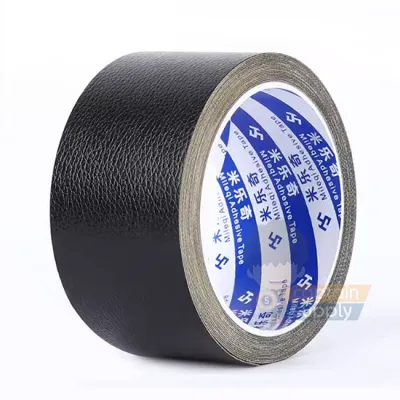
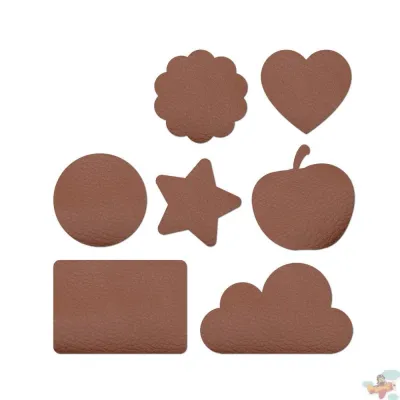
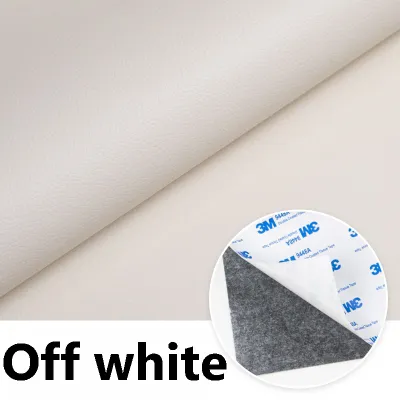
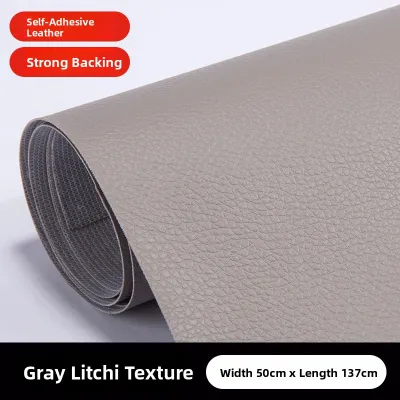
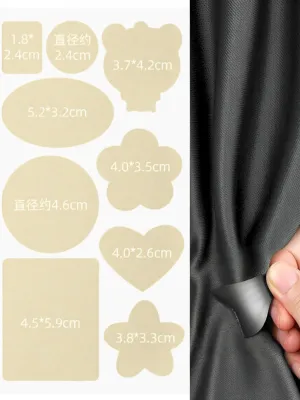
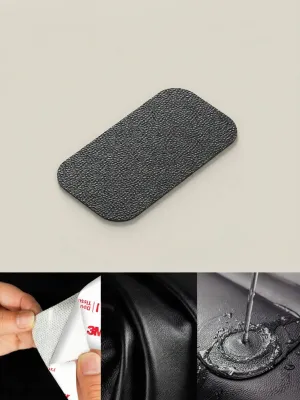
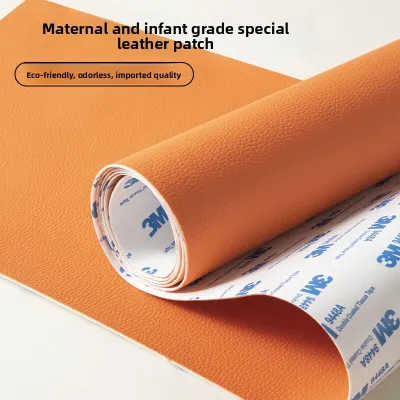
Prices are valid at publication and may change. Please refer to the product page for the latest price.
Conversely, tears located directly on high-friction seams, deep cushion creases, or areas that bear significant weight are much harder to fix with tape alone. The constant flexing of the material in these zones will eventually compromise the adhesive. Additionally, you must verify the tape’s compatibility with your specific sofa upholstery. Read the manufacturer’s label to determine if your sofa is made of genuine leather, faux leather (such as polyurethane or vinyl), or bonded leather. Different backing materials react differently to adhesives, and choosing a tape specifically rated for your upholstery type ensures better compatibility.
There are times when a DIY tape repair is not the right solution. If your sofa has large structural tears, missing foam padding, or a damaged underlying frame, tape will only act as a temporary cosmetic cover. In these situations, it is best to stop and consult a professional upholsterer who can rebuild the internal structure and properly reupholster the damaged section.
Gathering the Right Tools and Materials
Having the correct tools on hand before you begin will make the application process much smoother and prevent mistakes. To complete this project successfully, you will need a roll of high-quality leather repair tape that matches your sofa’s color and texture, a mild leather cleaner or isopropyl alcohol, lint-free microfiber cloths, small sharp scissors, and a blunt-edged smoothing tool, such as a plastic card or a small roller.

Using the right cleaning agent is critical. You should always use a cleaner recommended by either the tape manufacturer or your sofa’s manufacturer. Some leather cleaners contain heavy oils or conditioners designed to soften the leather, but these will leave a slick residue that completely blocks the tape’s adhesive from bonding.
Avoid using household glass cleaners, dish soaps, or harsh solvents like acetone unless specifically directed by the manufacturer. These chemicals can strip away the protective topcoat of genuine leather or cause faux leather to crack and peel, making the damage significantly worse and preventing any future adhesive from sticking.
Step-by-Step Surface Preparation
The most common reason leather repair tape peels off prematurely is poor surface preparation. Even if a sofa looks clean, it accumulates body oils, dust, pet dander, and residues from previous cleaning products over time. These contaminants create an invisible barrier between the leather and the tape’s adhesive.
Begin by cleaning the area surrounding the tear thoroughly. Dampen a lint-free microfiber cloth with your approved leather cleaner or a mild isopropyl alcohol solution, depending on the manufacturer’s instructions. Gently wipe the repair zone, extending at least five centimeters beyond the edges of the damage. Avoid soaking the leather; instead, use light, circular motions to lift away embedded oils and dirt.
Once the area is clean, inspect the tear itself. Use a pair of small, sharp scissors to carefully trim away any loose threads, frayed fabric backing, or flaking bits of leather around the edges of the tear. Creating a clean, flush, and even edge prevents these loose fibers from getting caught under the tape, which would otherwise create air gaps and lead to early peeling.
Finally, allow the surface to dry completely. In humid climates, moisture can easily trap itself under the tape, ruining the adhesive bond. Do not rely on guesswork or rush this step. Verify dryness by touching the area with a clean, dry finger and conducting a visual inspection under good lighting. The surface should feel completely dry and show no signs of dampness or cool-to-the-touch moisture before you proceed to the next step.
Applying the Leather Repair Tape
With a clean and dry surface, you are ready to apply the tape. Measure the damaged area and cut a piece of leather repair tape that is large enough to cover the tear with a generous margin of at least two centimeters on all sides. This extra margin ensures the tape has enough healthy, undamaged leather to grip onto.
Before peeling off the backing, use your scissors to round all four corners of the cut tape. Sharp, 90-degree corners are highly susceptible to catching on clothing, blankets, or skin when someone sits on the sofa. Rounding the corners removes these catch points, drastically reducing the likelihood of the edges lifting over time.
Peel away a small portion of the adhesive backing and carefully position the tape over the tear. Apply the tape gently without stretching or pulling it. Stretching the tape might make it look tight initially, but the material’s natural elasticity will cause it to pull back toward its original shape. This constant inward tension will slowly pull the adhesive away from the sofa, causing the edges to curl. Lay the tape down naturally, letting it conform to the shape of the cushion.
Once the tape is in place, use a blunt-edged smoothing tool, such as a plastic card or a clean wallpaper roller, to secure the bond. Apply firm, even pressure starting from the center of the patch and working your way outward to the edges. This systematic motion pushes out any trapped air bubbles and ensures that the pressure-sensitive adhesive makes full, uniform contact with the leather surface.
Curing and Post-Application Care
Applying the tape is only part of the process; you must also allow the adhesive to cure. Most pressure-sensitive adhesives require a specific curing period to form a permanent chemical bond with the upholstery. Sitting on the sofa too soon can shift the tape and ruin the alignment before the adhesive has fully set.
Refer to the tape manufacturer’s packaging for the exact curing timeframe, which typically ranges from 12 to 24 hours. During this period, keep pets and family members off the repaired section. If you live in a particularly humid environment, extending the waiting time slightly can help ensure the adhesive cures completely without interference from ambient moisture.
Once cured, routine maintenance will help extend the life of your repair. When cleaning your sofa, avoid wiping the repaired area with heavy friction or abrasive brushes. Instead, gently wipe the patch with a dry or slightly damp microfiber cloth.
Never apply direct heat, such as from a hair dryer or a nearby space heater, to the repaired area. Excessive heat can soften the adhesive, causing it to slide or peel. Similarly, avoid applying heavy leather conditioners directly over or near the edges of the tape, as the oils can seep under the edges and dissolve the adhesive bond.
Troubleshooting Common Adhesion Issues
If you notice the edges of your repair tape lifting after application, it is usually a sign of insufficient surface cleaning or a failure to round the corners. If the lifting is minor and caught early, you can sometimes trim the lifted edge with small scissors and press the remaining tape back down. However, if a large portion of the tape has lost its stickiness due to dust or hair, it is best to remove the patch, clean the area again, and apply a fresh piece.
Bubbling or wrinkling typically occurs when the tape is stretched during application or when air is trapped underneath. To fix this, you can try using a plastic card to gently push the bubbles toward the nearest edge. If the wrinkles are severe, the tape will need to be replaced, as wrinkles create channels where dirt and oils can enter and degrade the adhesive.
If you find that the tape repeatedly fails to adhere despite proper preparation, the underlying upholstery may be too degraded, or the damage may be too extensive for a DIY patch. When the leather is flaking extensively or the tear continues to expand under the tape, it is time to seek professional reupholstery services to prevent further damage to your furniture.
Frequently Asked Questions (FAQ)
Can I use leather repair tape on high-friction areas like armrests?
Constant friction, stretching, and body heat on heavily used areas like armrests or the center of seat cushions can compromise adhesive longevity over time. While you can apply tape to these areas as a temporary fix, the constant movement will eventually cause the edges to lift. For high-wear zones, consider using a fitted slipcover or consulting a professional repair service for a more permanent, seamless solution.
Will the repair tape damage the sofa if I need to remove it?
Removing leather repair tape can sometimes leave behind adhesive residue or cause surface damage, particularly on older, delicate, or already peeling faux leather. To minimize risk, always test a small, hidden area of your sofa before applying tape extensively. If you must remove the tape, peel it off very slowly and gently, and consult your sofa manufacturer’s care instructions for safe adhesive removal methods.
Community discussion
Share your experience or ask a question. Comments are reviewed before publication.