
Felt pads are the unsung heroes of floor preservation, preventing unsightly scratches and reducing the scraping noise of sliding chairs. However, many homeowners find themselves constantly replacing these protectors as they slide off, collect dust, and leave sticky adhesive trails across hard floors. To make a felt pad actually stay on, you must address the primary cause of failure: poor surface preparation and incorrect curing. By cleaning the furniture feet thoroughly, sizing the pads accurately, and allowing the adhesive to cure under pressure, you can establish a bond that lasts for years.
Why Felt Pads Fail to Stick
Understanding why felt pads peel off is the first step toward a permanent solution. The most common culprit is invisible surface contamination. Even if a chair leg looks clean, it often harbors microscopic layers of dust, factory oils, wax, or furniture polish residue. These substances create a barrier between the wood and the adhesive, preventing the glue from making direct contact with the solid substrate. Over time, the shear force of moving the furniture easily shears the pad away from this compromised layer.
Another frequent issue is physical mismatch. When a felt pad is even slightly larger than the base of the furniture leg, the overhanging edge acts as a lever. Every time the chair is dragged across a rug, tile grout line, or uneven flooring, the protruding felt catches on the surface. This mechanical snagging peels the edge of the pad back, exposing the sticky adhesive to dust, which quickly ruins the remaining bond.
Products mentioned in this guide
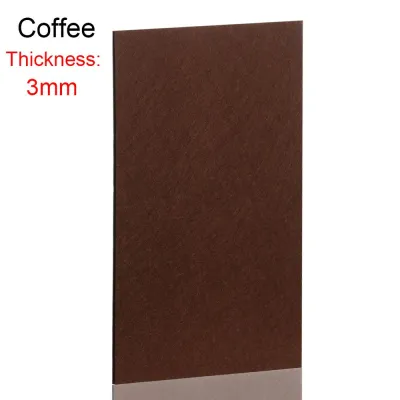
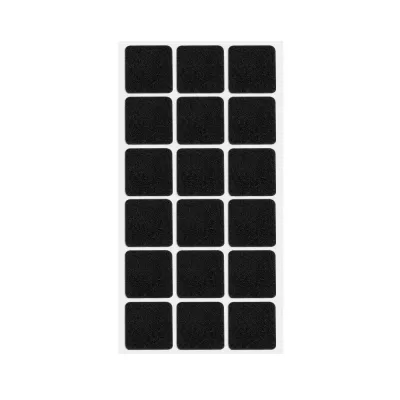
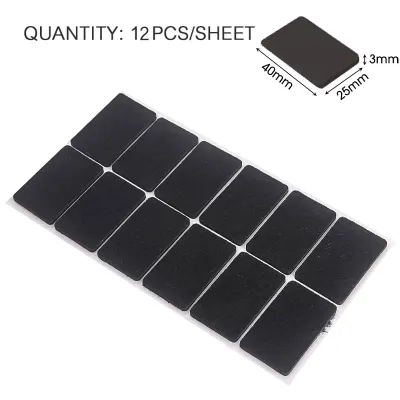
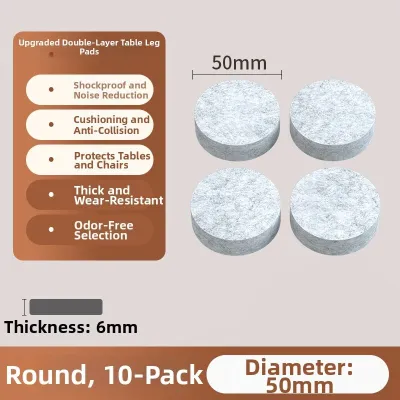
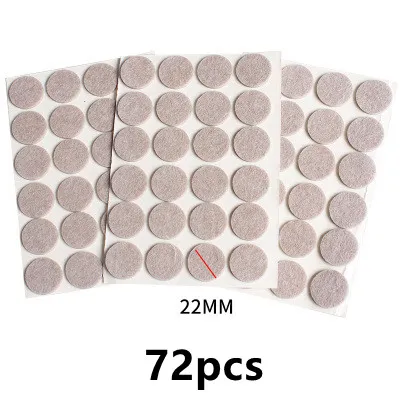
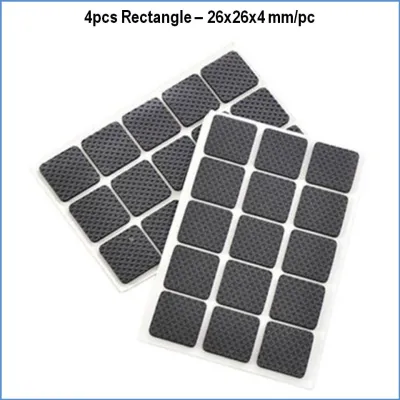

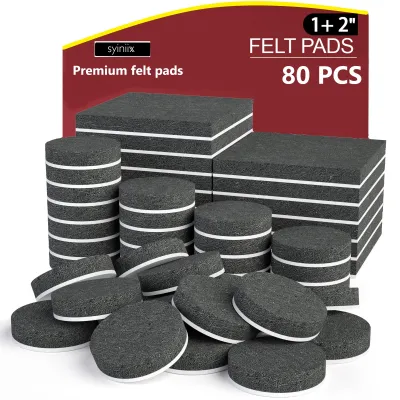
Prices are valid at publication and may change. Please refer to the product page for the latest price.
Finally, environmental conditions and adhesive quality play significant roles. Cheap, low-grade adhesives degrade rapidly under the weight of heavy furniture. Furthermore, textured wood grain or porous surfaces do not offer enough flat surface area for standard pressure-sensitive adhesives to grab onto. Understanding these failure points allows you to take preventative measures during the application process.
Tools and Materials Needed
Before beginning, gather the correct tools to ensure a seamless and highly effective application process. Having these items ready will prevent delays that could allow freshly cleaned surfaces to collect new dust.

- High-quality self-adhesive felt pads: Select dense, heavy-duty felt rather than soft, flimsy alternatives. Ensure you have the correct shapes (round, square, or customizable sheets) and thicknesses appropriate for your furniture's weight.
- Rubbing alcohol (isopropyl alcohol): This is the ideal solvent for dissolving oils and wax without leaving a soapy residue behind. Alternatively, a mild, non-oily degreaser can be used.
- Microfiber cloths: Clean, lint-free cloths are essential for wiping away dust and applying the cleaning solvent without shedding fibers onto the freshly cleaned surface.
- Fine-grit sandpaper (optional): A small piece of 220-grit sandpaper is helpful for smoothing rough wood grain or removing stubborn old adhesive.
- Sharp scissors or a utility knife: Necessary for trimming larger felt sheets or adjusting pre-cut pads to fit unique leg shapes perfectly.
Step-by-Step Application Guide
Applying a felt pad is more than a simple “peel and stick” chore. Following a structured preparation and application sequence ensures the adhesive forms a reliable, long-term chemical bond with the furniture material.
Step 1: Clean and Degrease the Furniture Leg
The longevity of your floor protectors depends entirely on the cleanliness of the bonding surface. Begin by using a dry microfiber cloth to wipe away loose dust, pet hair, and dirt from the bottom of each furniture leg. This initial pass prevents you from simply rubbing surface dirt into the wood grain during the next steps.
Next, apply a small amount of rubbing alcohol to a clean section of your microfiber cloth. Gently wipe the bottom of the leg to dissolve invisible oils, wax buildup, and residual furniture polish.
Before applying any cleaning solvent, check your furniture manufacturer’s care instructions. Test the rubbing alcohol on a small, hidden area of the furniture leg first to ensure it does not soften, discolor, or strip the finish. If the instructions conflict, the item’s material is unidentified, or the use of alcohol is not covered, stop and consult the manufacturer or a qualified professional.
Allow the surface to dry completely. Even a tiny amount of moisture trapped beneath the adhesive will prevent a secure bond and can lead to mold or wood rot over time.
Step 2: Size and Prepare the Felt Pad
A perfectly sized pad is crucial for preventing mechanical peeling. Measure the footprint of the furniture leg carefully. If you are using pre-cut pads, choose a size that is slightly smaller than the leg base—ideally leaving a tiny border of about one millimeter around the edge.
If you are cutting custom shapes from a felt sheet, use a sharp utility knife or heavy-duty scissors. Dull blades will fray the felt edges and pull at the adhesive backing, weakening the pad before it is even applied.
When handling the prepared felt pad, always hold it by the outer edges. Avoid touching the exposed adhesive backing with your bare fingers, as the natural oils and moisture on your skin will immediately contaminate the glue and reduce its sticking power.
Step 3: Apply and Cure the Adhesive
Once the furniture leg is dry and the pad is sized, peel the protective backing off the felt pad. Align the pad carefully over the center of the leg base, ensuring no edges overhang.
Press the pad firmly onto the surface. Use your thumb or a flat tool to apply strong, even pressure across the entire surface of the pad for at least 30 seconds. Pressure-sensitive adhesives require physical force to flow into the microscopic pores of the wood or metal, establishing a mechanical grip.
After applying pressure, the curing phase begins. Check the adhesive manufacturer’s instructions for specific curing times. It is highly recommended to let the adhesive set without any shear stress.
In Singapore’s warm, highly humid tropical climate, adhesive drying and curing times can be significantly affected. High humidity can slow down the setting process of certain pressure-sensitive glues. To ensure a permanent bond, allow the furniture to sit undisturbed—ideally upside down or on its side—for a full 24 hours before placing it upright on the floor.
Handling Tricky Surfaces and Heavy Furniture
Standard self-adhesive felt pads work exceptionally well on flat, smooth, finished wood. However, textured, highly porous, or metal surfaces present unique challenges that require modified techniques.
For rough or uneven wooden legs, use fine-grit sandpaper (such as 220-grit) to gently smooth out the surface before cleaning. This creates a flatter plane, maximizing the contact area between the adhesive and the wood. Be careful to sand only the very bottom of the leg to avoid damaging the visible finish on the sides. Always check the furniture’s care instructions and finish durability before sanding.
Heavy furniture, such as solid wood dining tables, large sideboards, or heavy sofas, exerts immense downward and lateral pressure on felt pads. Standard self-adhesive pads often slide off under these extreme loads.
For these heavy-duty applications, consider abandoning self-adhesive options entirely in favor of mechanical fasteners. Tap-on (nail-in) or screw-in felt pads feature a plastic or metal base holding the felt, which is anchored directly into the wood leg via a central nail or screw. Always pre-drill a small pilot hole before installing mechanical fasteners to prevent splitting the furniture leg. If the furniture leg is made of metal, hollow plastic, or an unidentified composite material, do not attempt to use mechanical fasteners; instead, consult a professional or check the manufacturer’s guidelines for compatible heavy-duty glides.
Maintenance and Troubleshooting
Felt pads are not permanent fixtures; they are wear items that require periodic inspection and maintenance to protect your floors effectively.
When a felt pad eventually fails or wears down, you must remove the old adhesive residue before applying a new one. To do this safely, apply a tiny amount of a specialized adhesive remover or a gentle solvent like rubbing alcohol to soften the glue. Alternatively, use a hair dryer on a low, warm setting to soften the adhesive, making it easier to peel away. Avoid using sharp metal scrapers or knives, which can gouge the wood or strip the protective finish.
Regularly inspect the bottom of your furniture legs. Over time, felt pads collect dust, pet hair, and microscopic grit from the floor. This embedded debris can turn the soft felt into a highly abrasive surface, acting like sandpaper and scratching your beautiful hardwood or vinyl floors.
Replace your felt pads immediately if you notice any of the following warning signs:
- The felt is compressed flat and has lost its cushioning ability.
- The edges of the pad are fraying or peeling away from the leg.
- Sticky adhesive is squeezing out from the sides of the pad.
- The furniture no longer slides smoothly or starts making scraping noises.
Frequently Asked Questions (FAQ)
Can I use super glue to make felt pads stick better?
No, you should avoid using cyanoacrylate (super glue) on furniture felt pads. Super glue cures into a hard, brittle plastic that can saturate the porous felt fibers, turning the soft cushion into a rigid, scratchy surface that can damage your floors. Furthermore, super glue can permanently ruin the underlying wood finish and make future removal extremely difficult, often requiring aggressive sanding or harsh chemicals that damage the furniture. If you need a stronger bond than standard self-adhesive backings provide, use heavy-duty double-sided mounting tape designed for furniture, or switch to mechanical tap-on or screw-in felt glides.
How long should I wait before putting the furniture back on the floor?
You should generally wait at least 12 to 24 hours before putting the furniture back on the floor. While some adhesives claim to bond instantly, the chemical bond continues to strengthen over several hours. Moving or dragging the furniture immediately after application subjects the pad to lateral shear forces, which can easily slide the pad out of alignment and ruin the bond before it has fully cured. In high-humidity environments like Singapore, extending this waiting period to a full 24 hours ensures the adhesive cures completely, giving you the longest-lasting floor protection possible.
Community discussion
Share your experience or ask a question. Comments are reviewed before publication.