
When a favorite couch suffers a puncture, tear, or pet claw mark, a high-quality sofa patch repair can restore both its appearance and structural integrity without the massive expense of professional reupholstery. Achieving a seamless, durable result depends on meticulous surface preparation, precise cutting, and respecting the curing process of the adhesive. By selecting a compatible patch kit and following a structured application technique, you can prevent the edges from peeling and ensure the repair withstands daily use.
Applying a patch is a highly accessible DIY project, but it requires patience and attention to detail. This guide walks you through the entire process, from assessing the damage to maintaining the repaired area, ensuring your sofa remains a comfortable and visually appealing centerpiece in your home.
Assess the Damage: Is a Patch the Right Fix?
Before purchasing a repair kit, you must evaluate the nature and extent of the damage to determine if a patch is the most appropriate solution. Minor tears, small puncture holes, surface scratches, and localized burns on flat surfaces are excellent candidates for a patch. These issues are generally cosmetic or superficial, meaning the underlying structural integrity of the cushion or frame remains intact.
Products mentioned in this guide
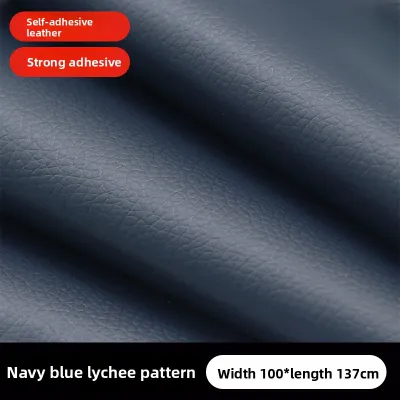
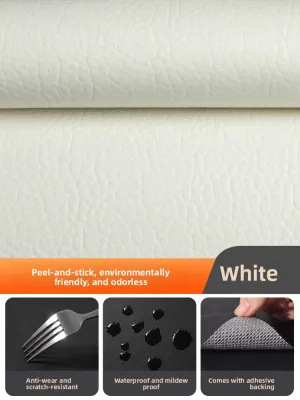
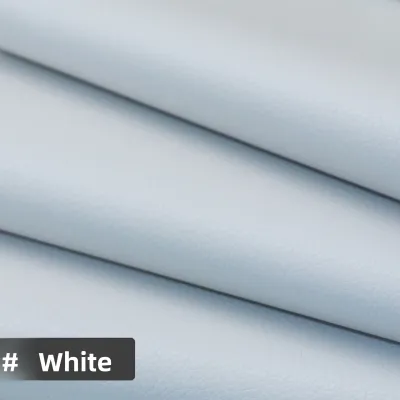
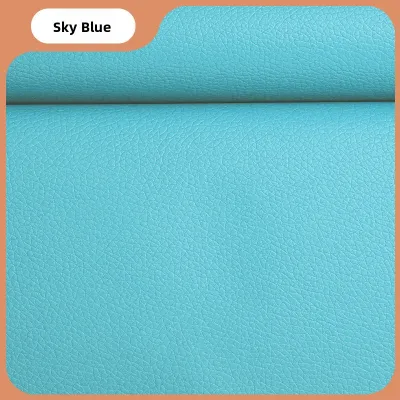
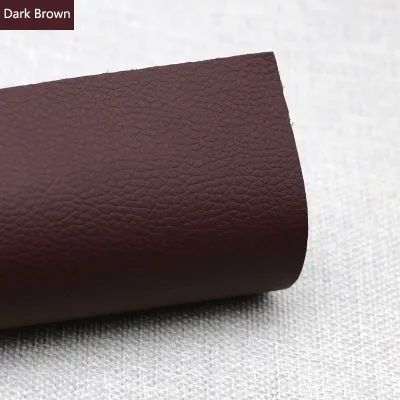
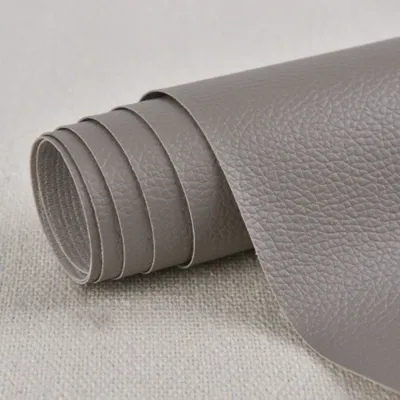
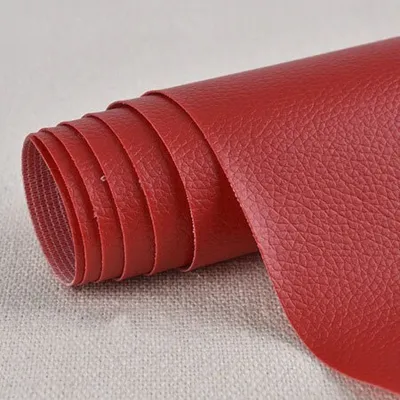
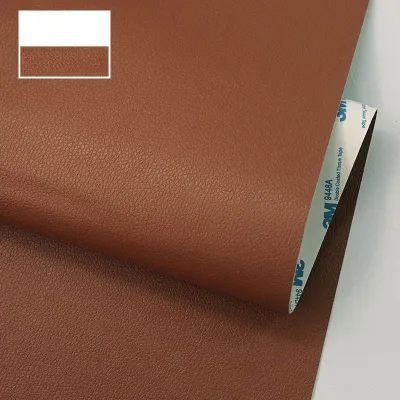
Prices are valid at publication and may change. Please refer to the product page for the latest price.
Conversely, large structural rips, tears that run along deep seams, or damage located on high-stress joints require a different approach. If a tear occurs where the fabric is under constant, intense tension—such as the front edge of a seat cushion or the tight pull of a tufted backrest—a simple patch is highly likely to pull away over time. In these scenarios, the constant physical stress of sitting and moving will quickly break the adhesive bond.
Always check your sofa manufacturer’s care label and the patch kit’s packaging to confirm material compatibility before starting. Sofas made of genuine leather, faux leather (polyurethane or vinyl), microfiber, and woven natural fabrics all react differently to adhesives. Using a solvent-based glue on a synthetic fabric might melt the fibers, while a water-based adhesive may fail to bond with treated genuine leather.
If your assessment reveals extensive frame damage, large missing sections of foam, or if you are dealing with a valuable antique piece, stop and consult a professional upholsterer. Attempting a DIY patch on antique textiles or complex structural failures can permanently decrease the furniture’s value or worsen the damage beyond repair.
Tools and Materials You Will Need
Having all your tools prepared beforehand prevents interruptions during the critical bonding phase of the repair. A standard sofa patch repair kit typically contains the core components: patch material sheets (which may be self-adhesive or require separate glue) and a specialized adhesive or backing tape. Ensure the patch material closely matches the texture of your sofa.

In addition to the kit, gather the following common household tools:
- Sharp fabric shears or scissors: Dull household scissors will chew the edges of the patch, leading to fraying and rapid peeling.
- Clean lint-free microfiber cloths: Essential for cleaning the surface without leaving fibers behind.
- Mild upholstery cleaner or isopropyl alcohol: Used to strip away oils and dirt. Always verify compatibility with your specific sofa material first.
- A smoothing tool: A plastic scraper, wallpaper seam roller, or a clean wooden roller is invaluable for pressing out air bubbles and ensuring a flat, uniform bond.
Read the specific kit instructions thoroughly to verify if any additional items are required. Some advanced leather repair kits require a heat gun or a household iron with a heat-transfer tool to cure the compound, while certain fabric kits might require specific solvent primers to prepare the surface.
Step-by-Step Guide for a Successful Sofa Patch Repair
Following a systematic application process is the key to a repair that looks clean and lasts for years. Skip no steps, as shortcuts during the preparation or application phases will inevitably lead to adhesive failure.
Step 1: Clean and Prepare the Damaged Area
Surface preparation is the single most critical factor for long-lasting adhesion. Dust, pet hair, body oils, and accumulated grime create a barrier between the adhesive and the sofa material, preventing a true chemical bond. Begin by vacuuming the area thoroughly using an upholstery brush attachment to remove loose debris.
Next, clean the area extending at least 10 centimeters around the tear. For fabric sofas, use a mild upholstery cleaner; for leather or faux leather, a specialized leather cleaner or a highly diluted isopropyl alcohol solution works best. Dampen a microfiber cloth with the cleaner and gently wipe the surface. Avoid soaking the material, as excess moisture can penetrate the cushion foam underneath.
Once cleaned, inspect the tear for frayed threads, loose fibers, or peeling layers of synthetic material. Use your sharp fabric scissors to carefully trim away these loose elements. Creating a clean, stable edge around the perimeter of the damage prevents the tear from expanding beneath the patch.
Finally, allow the area to dry completely. In humid environments, such as Singapore’s tropical climate, this step can take longer than expected. Do not rush this phase; trapping moisture beneath an airtight patch can lead to mold growth inside the cushion and will rapidly degrade the adhesive, causing the patch to lift within days.
Step 2: Measure and Cut the Patch to Size
Accurate measurement ensures the patch distributes physical tension evenly across undamaged sections of the sofa. Measure the maximum length and width of the tear using a flexible measuring tape. Your patch must extend beyond the damaged area on all sides by a minimum of 2 to 3 centimeters to establish a secure perimeter.
When cutting the patch from your repair sheet, never leave the corners at sharp 90-degree angles. Square corners create high-stress points that easily catch on clothing, blankets, or skin, causing the edges to curl and peel up over time. Use your shears to round off all four corners into smooth, gentle curves.
Before applying any adhesive, place the dry patch over the damage to check the alignment. Take this opportunity to observe the grain or texture direction of the patch. Aligning the pattern of the patch with the natural direction of the sofa’s fabric weave or leather grain makes the finished repair significantly less noticeable to the eye.
Step 3: Apply Adhesive and Secure the Patch
If you are using a self-adhesive patch, slowly peel back a small portion of the protective backing paper. If your kit utilizes a liquid adhesive, apply a thin, uniform layer to the back of the patch or the sub-patch material according to the manufacturer’s instructions. Avoid applying thick globs of glue, as excess adhesive will squeeze out of the sides, creating hard, unsightly lumps and potentially staining the surrounding upholstery.
To prevent bubbles and misalignment, utilize the “hinge method.” Anchor one edge of the patch firmly onto the undamaged sofa surface just outside the tear. Once this edge is secure, slowly peel away the remaining backing paper with one hand while using your other hand—or a smoothing tool—to press the patch down onto the sofa, working progressively from the anchored side to the free side.
Immediately after the patch is in place, use your smoothing tool or roller to apply firm, even pressure. Start at the center of the patch and roll outward toward the edges. This motion forces out any trapped air bubbles and ensures complete contact between the adhesive and the sofa surface.
Throughout this step, avoid stretching the patch material. Elastic materials like vinyl, faux leather, or knit fabrics will naturally attempt to shrink back to their original dimensions once released. If applied under tension, the patch will slowly pull away from the sofa, causing the edges to pucker and lift.
Step 4: Allow Proper Curing Time
Understanding the difference between “set time” and “cure time” is vital for a durable finish. The patch may feel dry to the touch or appear securely bonded within 15 to 30 minutes; this is merely the set time. The cure time is the duration required for the adhesive to undergo its full chemical transformation and reach maximum structural strength, which typically takes 24 to 72 hours.
Environmental conditions play a massive role in curing. High relative humidity can significantly extend the time required for solvent-based or water-based adhesives to cure. If you are completing this repair in a humid climate, running an air conditioner or a dehumidifier in the room will help maintain optimal drying conditions.
Keep the repaired area entirely free from physical stress during the curing window. Do not sit on the sofa, place heavy objects nearby, or attempt to clean the area. Any movement of the underlying cushion foam during this period will disrupt the forming adhesive bonds, permanently weakening the repair.
Common Mistakes to Avoid for a Lasting Repair
Many DIY repair failures are completely preventable. Proactively avoiding these common pitfalls will ensure your patch remains secure for the long term:
- Skipping the cleaning step: Even a microscopic layer of dust or skin oil will coat the adhesive, preventing it from bonding with the actual upholstery fibers. This leads to early peeling, often within a few weeks of application.
- Cutting the patch too small: A patch that barely covers the tear puts all the physical tension of daily seating directly on the weakened edges of the damage, causing the tear to expand underneath the patch.
- Using excessive liquid adhesive: More glue does not equate to a stronger bond. Excess adhesive can seep through woven fabrics, dissolve synthetic fibers, create hard lumps, or leave permanent, shiny stains on the surrounding upholstery.
- Ignoring local climate and temperature limits: Applying adhesives in extreme temperatures or high humidity without allowing extra curing time compromises the chemical bonding process, leading to premature failure.
Maintaining Your Repaired Sofa
Once the patch has fully cured, proper ongoing maintenance will extend the lifespan of both the repair and the surrounding upholstery. When performing regular cleaning, avoid running heavy vacuum brushes directly over the edges of the patch. Instead, use a soft-bristled hand brush or a gentle wiping motion with a damp microfiber cloth.
Avoid using harsh chemical solvents, alcohol-based cleaners, or abrasive scrubbing pads near the repaired area. These substances can dissolve the adhesive or wear down the edges of the patch, making them more susceptible to catching and peeling.
Perform a quick visual check of the patch every few weeks. If you notice minor lifting at a corner, address it immediately before it spreads. Clean the small gap beneath the lifted edge using a toothpick, apply a tiny drop of compatible fabric or leather glue, press it down firmly, and secure it with low-tack painter’s tape for 24 hours to allow it to re-cure.
Frequently Asked Questions (FAQ)
Can I use the same patch kit for both leather and fabric sofas?
No, leather and fabric sofas have vastly different physical properties and require distinct adhesive formulations. Leather patches are typically non-porous and require flexible, surface-bonding adhesives or specialized pressure-sensitive acrylic backings that can bond to smooth surfaces. Fabric patches, on the other hand, require liquid adhesives that can penetrate woven fibers to lock them together physically. Always verify the kit’s packaging for explicit compatibility with your sofa’s exact material, such as genuine leather, faux leather, microfiber, or woven polyester.
What should I do if the patch is visible and doesn't match the color?
Perfect color matching is difficult to achieve with generic, off-the-shelf repair kits. If an exact match is unavailable, choosing a patch that is slightly darker than your sofa is generally less noticeable than one that is too light. To improve the aesthetic blend, you can use specialized upholstery markers, leather dyes, or fabric paints designed specifically for your furniture’s material. Always check the dye or marker label for material safety and compatibility, and test it on an inconspicuous area of the sofa before applying it to the patch.
Community discussion
Share your experience or ask a question. Comments are reviewed before publication.