
A damaged leather sofa does not have to mean an expensive replacement or a premature trip to the bin. Applying a leather sofa patch is a highly effective, accessible way to seal tears, cover pet scratches, and prevent minor damage from spreading across your upholstery. By choosing a compatible patch material, preparing the surface thoroughly, and executing a precise application, you can achieve a clean, durable repair that blends into your living room furniture.
Assess the Damage and Prepare the Leather Surface
Before purchasing any repair materials, you must evaluate the scale and nature of the damage to ensure a patch is the correct solution. Small punctures, shallow pet claw marks, and clean tears under five to ten centimeters are ideal candidates for a DIY patch. These issues are primarily cosmetic or localized, meaning the surrounding leather still possesses enough structural integrity to support an adhesive patch.
Conversely, extensive cracking across an entire seat cushion, long tears along high-tension areas, or damage that exposes large sections of the inner foam padding usually require professional reupholstery. If the leather is crumbling or dry-rotted, an adhesive patch will not hold because the underlying fibers will simply peel away under pressure.
Products mentioned in this guide
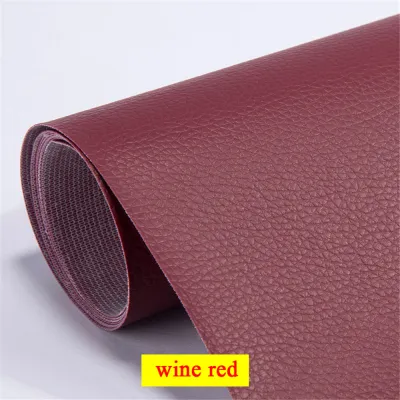
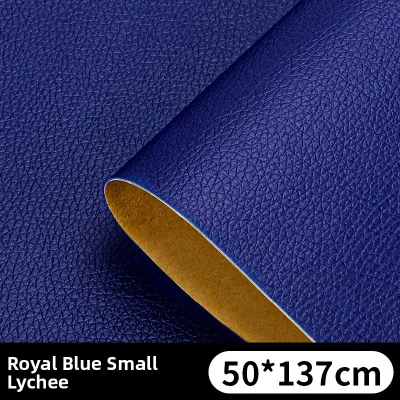
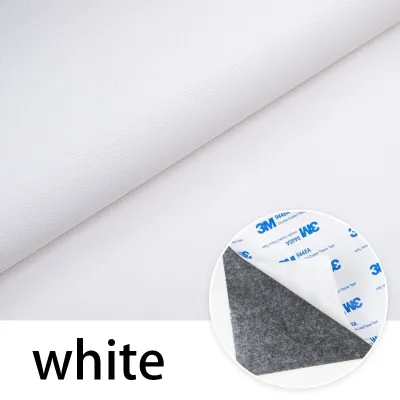
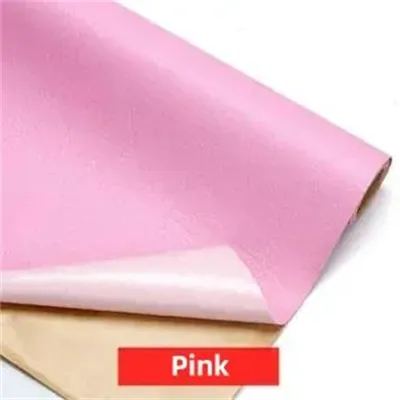
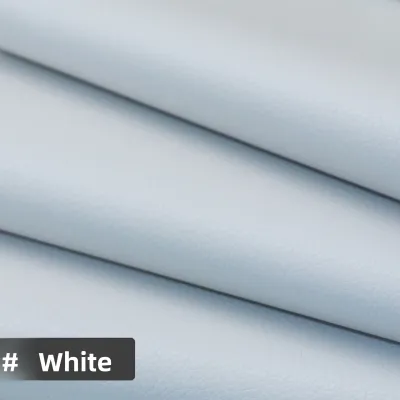
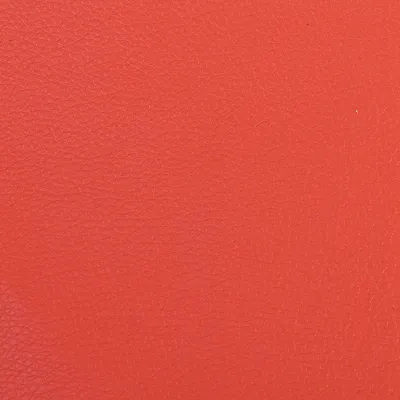
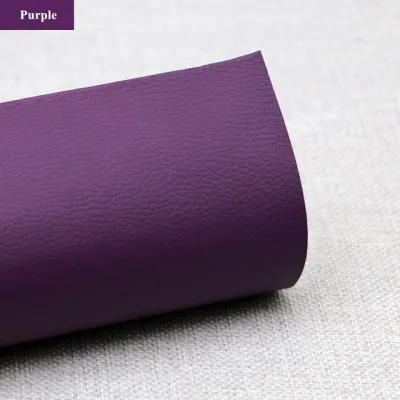
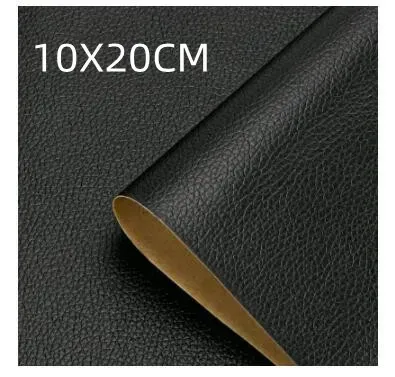
Prices are valid at publication and may change. Please refer to the product page for the latest price.
Once you confirm the damage is suitable for a patch, preparing the surface is the most critical step for ensuring a long-lasting bond. Dust, body oils, pet dander, and commercial leather conditioners create a barrier that prevents adhesives from sticking properly. Clean the area immediately surrounding the tear using a dedicated leather-safe cleaner or a lint-free cloth lightly dampened with rubbing alcohol.
Work gently to avoid stripping the color from the healthy leather surrounding the damage. Allow the cleaned area to dry completely, which typically takes only a few minutes.
Next, inspect the edges of the tear or puncture for loose threads, frayed fibers, or curling leather pieces. Use a pair of small, sharp scissors—such as embroidery scissors—to carefully trim away these loose elements. Creating a smooth, flat edge around the perimeter of the damage prevents these fibers from lifting the patch from underneath after it has been applied.
Choose the Right Patch Material and Tools
Selecting the correct patch material determines both the durability and the visual success of your repair. Leather patches generally fall into two categories: self-adhesive patches and sub-patches that require separate leather glue. Self-adhesive patches are incredibly user-friendly, featuring a peel-and-stick backing that is ideal for quick, external repairs on flat surfaces.

Sub-patches, which are inserted underneath the tear and secured with specialized flexible leather adhesive, are better suited for deep cuts where you want to keep the original leather edges aligned on top.
To achieve a discreet finish, pay close attention to the color, sheen, and grain texture of the patch. Leather comes in various finishes, from matte to high-gloss, and textures ranging from smooth top-grain to heavily pebbled split leather. Many manufacturers offer sample swatches or detailed color charts; matching these under natural daylight rather than warm indoor lighting will help you select the closest possible match.
Gather all your tools before beginning the application process to ensure a smooth workflow. You will need a pair of heavy-duty fabric shears or a utility knife for cutting the patch, rubbing alcohol for surface preparation, and a lint-free microfiber cloth. A small plastic scraper, a clean spatula, or a seam roller is also highly beneficial for smoothing out the patch and ensuring uniform contact across the adhesive backing.
Step-by-Step Application Process
Begin by measuring the damaged area carefully with a flexible measuring tape. Your patch must be cut larger than the tear itself, leaving a margin of at least one to two centimeters on all sides of the damage. This extra margin ensures the adhesive grips stable, undamaged leather rather than pulling on the weakened edges of the tear.
When cutting the patch to size, always round the corners using sharp scissors instead of leaving sharp ninety-degree angles. Rounded corners are far less likely to catch on clothing, cushions, or blankets, which prevents the edges of the patch from peeling up over time.
If you are using a patch that requires separate leather glue, apply a thin, even layer of the adhesive to the backing of the patch or the sub-patch. Avoid applying too much glue near the edges, as the pressure of application will cause the excess adhesive to squeeze out and potentially stain the surrounding sofa surface. For self-adhesive patches, carefully peel away a small portion of the protective backing to expose the adhesive without touching it with your fingers, which can transfer oils and weaken the bond.
Position the patch directly over the damaged area, aligning the grain and color orientation with your sofa. Gently lower one edge of the patch onto the leather first, then slowly roll the rest of the patch down to prevent trapping air pockets underneath.
Once the patch is in place, apply firm, steady pressure from the center of the patch outward to the edges. Use a seam roller or the flat edge of a plastic scraper to press the patch firmly into the leather grain. Immediately wipe away any tiny beads of adhesive that squeeze out from the edges using a clean, dry microfiber cloth, taking care not to smear the glue onto the undamaged sofa surface.
Blending, Curing, and Post-Repair Care
After applying the patch, the adhesive requires time to cure and form a permanent bond with the leather fibers. Refer to the product label for the manufacturer’s specified curing time, which typically ranges from twelve to twenty-four hours. During this period, keep the sofa completely free of weight, movement, and direct sunlight.
In warm, humid environments, such as tropical climates, curing times may extend slightly, so it is wise to err on the side of caution and allow extra drying time before sitting on the repaired cushion.
Once the adhesive has fully cured, you can begin the process of blending the patch into the rest of the sofa. Apply a compatible, high-quality leather conditioner to the patched area and the surrounding cushions using a soft cloth. Conditioning hydrates the older leather, restoring its natural luster and helping to minimize the visual contrast between the new patch and the worn sofa surface.
To maintain the integrity of the repair, establish a regular maintenance routine for your leather furniture. Keep the sofa away from direct sunlight and air conditioning vents, as extreme temperature fluctuations and dry air can cause both the leather and the patch adhesive to dry out, crack, or peel. Clean and condition the entire sofa every six months to keep the leather supple and ensure the patch remains securely bonded for years to come.
When to Stop and Seek Professional Upholstery Help
While DIY leather patches are excellent for minor cosmetic fixes, certain types of damage require the skills of a professional upholstery technician. If the tear is located directly on a structural seam, the constant tension from sitting and moving will quickly pull a standard patch loose. Similarly, if the leather surface is peeling extensively across large sections, or if the internal foam and springs are damaged, a simple patch will not restore the sofa’s structural integrity.
Attempting to patch highly complex damage with incorrect household glues or low-quality materials carries significant risks. Strong solvents or rigid adhesives can permanently stain, discolor, or even melt synthetic leather blends and delicate aniline leathers.
If you find that the damage is spreading, or if a test patch on a hidden area causes the leather finish to bubble or discolor, stop immediately. Consulting a certified furniture repair specialist ensures your sofa is treated with professional-grade compounds, color-matching dyes, and heat-curing tools that can restore the piece safely without risking irreversible damage.
Frequently Asked Questions (FAQ)
Can I use a leather patch on faux or bonded leather sofas?
Yes, you can use a patch on faux or bonded leather, but the application requires extra caution. Faux and bonded leathers consist of synthetic polyurethane or vinyl coatings over a fabric or shredded leather base, which behave differently than genuine top-grain leather. Some strong adhesives can react chemically with these synthetic coatings, causing them to melt, bubble, or peel further. Always check the sofa’s manufacturer label to identify the material, and test a tiny drop of the patch adhesive on an inconspicuous area, such as the underside of the frame, before applying it to the main cushion.
Will the patch be completely invisible after application?
A DIY leather patch is rarely completely invisible, but it can be made highly discreet with careful color and texture matching. Because leather is a natural material with unique grain patterns, and because older sofas fade over time due to light exposure and wear, a pre-made patch may show slight variations in color and sheen under different lighting conditions. For a truly seamless, invisible finish, professional technicians use liquid leather fillers, custom-mixed color dyes, and grain-imprinting pads to rebuild the surface, which is a process that goes beyond standard consumer patch kits.
How do I remove a leather patch if I apply it incorrectly?
If you misalign a patch or need to remove it, do not attempt to rip it off forcefully, as this can tear the surrounding leather finish or pull out the underlying foam backing. Instead, apply gentle heat from a hair dryer set to a low temperature to soften the adhesive backing. Once the adhesive is warm and pliable, slowly peel the patch back from one corner while applying a manufacturer-approved leather adhesive remover or a small amount of rubbing alcohol to the lifting edge with a cotton swab. Stop immediately if you notice the original leather finish lifting, color transferring, or stretching, and consult a professional.
Community discussion
Share your experience or ask a question. Comments are reviewed before publication.