
A leather sofa is often the centerpiece of a living room, offering both comfort and a refined aesthetic. However, daily use can eventually lead to accidental tears, punctures, or unsightly scratches. Instead of replacing the entire piece of furniture or investing immediately in expensive professional restoration, applying a leather sofa patch is a highly effective DIY solution that can restore both the appearance and structural integrity of your seating.
In warm and humid climates, leather furniture requires careful maintenance, and repair projects demand extra attention to detail. High humidity levels can affect how leather fibers hold moisture and how adhesives cure. By understanding the correct techniques for surface preparation, precise patch cutting, and proper adhesive application, you can achieve a durable, near-invisible repair that extends the lifespan of your sofa for years to come.
Assess the Damage and Gather Your Materials
Before beginning any repair work, it is essential to evaluate the damaged area to determine if a DIY patch is the most appropriate solution. Inspect the size, depth, and location of the tear or puncture. Small punctures, clean cuts, and minor surface peeling are excellent candidates for a patch. However, if the damage is extensive, spans across multiple cushions, or is located directly on a high-tension seam, a simple patch may not provide enough structural support to withstand daily weight and movement.
Products mentioned in this guide
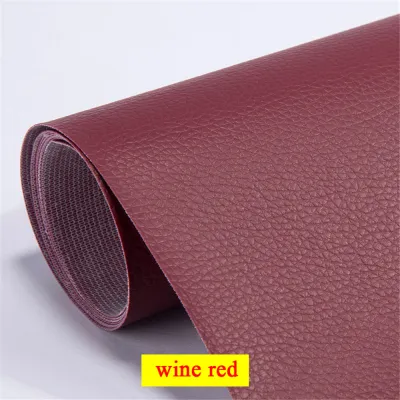
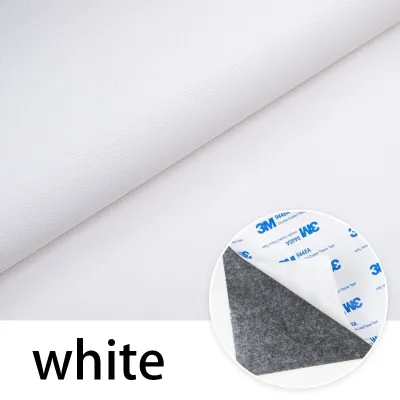
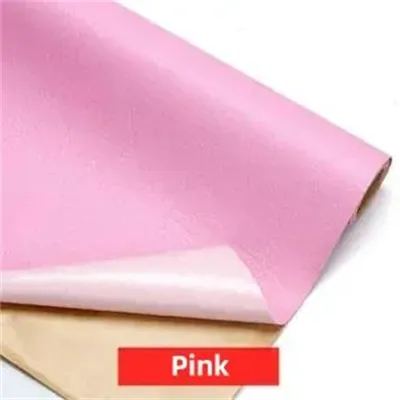
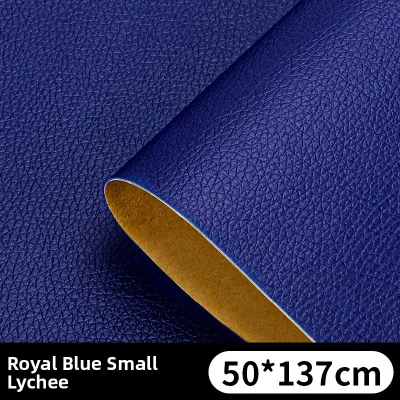
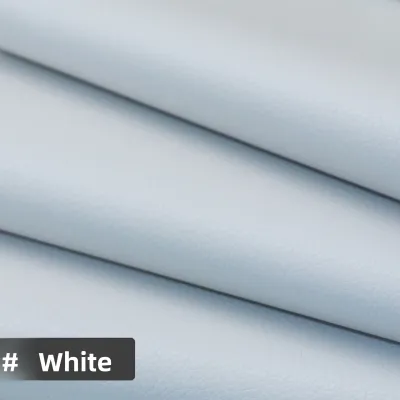
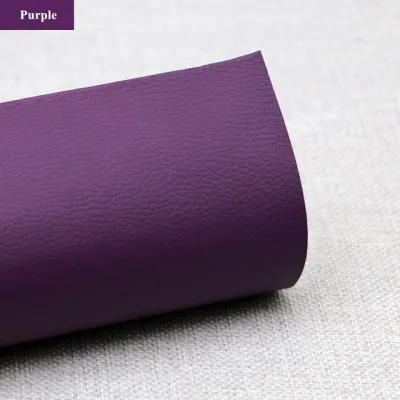
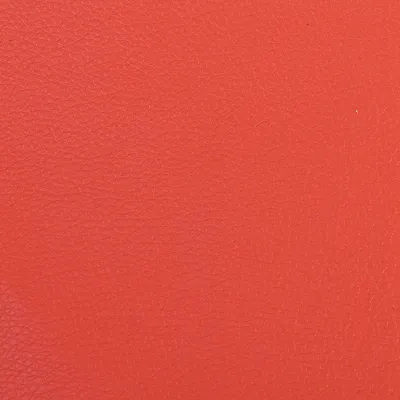
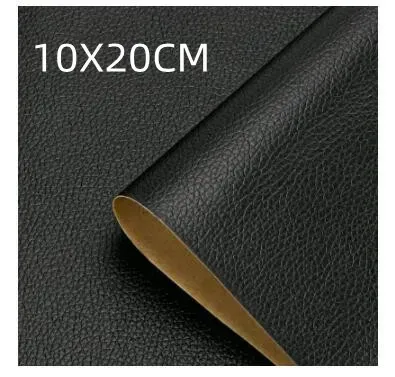
Prices are valid at publication and may change. Please refer to the product page for the latest price.
Once you confirm that a patch is suitable, gather all the necessary tools and materials to ensure a smooth workflow. A standard leather repair toolkit typically includes a leather patch matching your sofa’s color and texture, a flexible sub-patch fabric for deep holes, a specialized leather adhesive, a mild leather cleaner, and a lint-free microfiber cloth. You may also want to have a pair of sharp embroidery scissors, a small spatula or plastic applicator, and a seam roller or flat weight on hand.
Before applying any product to your sofa, locate the manufacturer’s care label, which is usually found underneath the seat cushions or on the dust cover at the bottom of the frame. This label provides crucial information regarding the specific type of leather and any cleaning or adhesive restrictions. Some premium leathers, such as unfinished aniline or delicate suede, react poorly to standard solvent-based adhesives and require specialized water-based bonding agents to prevent permanent staining or hardening of the material.
Prepare the Leather Surface for Patching
Proper surface preparation is the most critical step in ensuring a long-lasting bond between the patch and the sofa. Over time, leather accumulates body oils, dust, pet dander, and residues from conditioning products. These substances create a barrier that prevents adhesives from adhering securely to the leather fibers. Begin by applying a mild, pH-balanced leather cleaner to a clean microfiber cloth and gently wiping the area surrounding the damage. Avoid spraying the cleaner directly onto the leather or soaking the material, as excess moisture can warp the leather or seep into the internal cushioning.

After cleaning, allow the area to dry completely in a well-ventilated room. Once dry, inspect the edges of the tear or hole. You will often find frayed fibers, loose threads, or curling leather edges around the perimeter of the damage. If left untrimmed, these loose elements will prevent the patch from lying completely flat, creating raised edges that can easily catch on clothing and peel over time. Use a pair of small, sharp scissors to carefully trim away any loose fibers, taking care not to enlarge the original tear.
For damages that penetrate completely through the leather layer, creating an open hole, you must install a sub-patch to provide structural support. A sub-patch acts as a backing layer, preventing the adhesive from dripping into the sofa’s foam filling and giving the repair patch a solid foundation to bond with. Cut a piece of flexible fabric or canvas sub-patch so that it is roughly one to two centimeters larger than the hole on all sides. Using tweezers, carefully insert the sub-patch through the opening and smooth it out so it lies flat against the underside of the leather. Apply a thin layer of leather adhesive to the underside of the original leather around the perimeter of the hole, then press the leather down firmly onto the sub-patch to secure it in place.
Cut, Position, and Apply the Leather Patch
With the foundation prepared, you can now shape and apply the visible leather patch. If you are using a patch cut from a sheet of repair material, measure the dimensions of the damaged area carefully. Cut the patch so that it extends at least one to two centimeters beyond the edges of the tear on all sides. When cutting the patch, always round the corners rather than leaving them square. Sharp, ninety-degree corners are highly susceptible to friction and will gradually lift and peel as people sit on and move across the sofa. Rounded edges distribute physical stress more evenly, significantly increasing the lifespan of the repair.
Next, prepare the adhesive for application. If you are using a self-adhesive patch, carefully peel away the backing paper, taking care not to touch the sticky surface with your fingers, as skin oils can weaken the tack. If you are using a patch that requires a separate leather glue, apply a thin, uniform layer of adhesive to the back of the patch or directly to the prepared sofa surface, depending on the manufacturer’s instructions. Avoid applying an excessive amount of glue; too much adhesive will squeeze out from under the edges when pressure is applied, creating a sticky residue that can ruin the surrounding leather finish.
Carefully align the patch over the damaged area and lower it into place. Once positioned, apply firm, even pressure starting from the center of the patch and working your way outward to the edges. This outward motion helps eliminate any trapped air bubbles and ensures complete contact between the adhesive layers. For the best results, use a small silicone roller or a flat plastic card to press down the edges firmly. To ensure a permanent bond, place a flat, heavy object, such as a heavy book wrapped in plastic wrap, over the patched area to maintain consistent pressure while the adhesive begins to set.
Blend and Finish the Repair for a Natural Look
Achieving a seamless finish requires careful attention immediately after the patch is applied. If any adhesive has squeezed out from the edges of the patch, wipe it away immediately using a clean, slightly damp cloth. Do not allow the excess glue to dry on the surrounding leather, as cured adhesive is incredibly difficult to remove without using harsh solvents that can strip the sofa’s original color and finish.
Once the adhesive has initial hold, you can focus on minimizing the visual contrast between the patch and the original leather. If your repair kit includes color-matching compounds, leather dyes, or tints, apply them sparingly along the seam of the patch. Use a small sponge or a cotton swab to feather the color outward, blending the patch’s edges into the surrounding material. If the patch has a slightly different sheen than your sofa, applying a high-quality leather conditioner across the entire cushion can help unify the texture and gloss, making the repaired spot much less noticeable.
Finally, allow the repair to cure completely before subjecting the sofa to regular use. Curing times can vary significantly depending on the specific adhesive used and the ambient humidity. In humid environments, solvent-based glues may take longer to dry fully. It is highly recommended to keep the repaired area completely undisturbed, dry, and free from any weight or pressure during this curing phase. Avoid the temptation to test the strength of the bond prematurely, as shifting the patch before the adhesive has fully cured can permanently weaken the repair.
When to Stop and Call a Professional
While DIY leather patches are highly effective for minor tears, punctures, and surface wear, certain scenarios require the expertise of a professional furniture restorer. Attempting to patch severe or complex damage yourself can sometimes result in further aesthetic or structural harm to your sofa, potentially costing more to correct in the long run.
One major limitation of DIY patching is structural seam damage. If a tear occurs directly along a stitched seam or near a high-tension area like the front edge of a seat cushion, the constant pulling and stretching from daily use will quickly overwhelm a standard surface patch. Professional restorers have specialized stitching equipment and sub-surface reinforcement techniques that can rebuild these high-stress areas safely. Additionally, highly textured, distressed, or premium unfinished leathers like nubuck and suede are exceptionally difficult to patch seamlessly without professional-grade dyes and texturing tools.
Using the wrong type of adhesive on these sensitive materials can cause permanent chemical burns, dark stains, or stiff spots that ruin the natural feel of the leather. If you are dealing with a high-value designer sofa, extensive cracking across multiple panels, or if you feel uncertain about matching the color and texture of your leather, it is wise to consult a professional. They can assess the damage and provide a seamless, long-lasting restoration that preserves both the beauty and the value of your furniture.
Frequently Asked Questions (FAQ)
Can I use a leather patch on faux leather or vinyl sofas?
Yes, you can use a patch on faux leather or vinyl, but you must select your materials with extra care. Faux leather and vinyl are synthetic materials, typically made from polyurethane (PU) or polyvinyl chloride (PVC), which have different chemical properties than genuine animal hide. Some solvent-based adhesives designed for real leather can chemically react with synthetic plastics, causing them to melt, warp, or become sticky. Always check the specifications of your patch kit to ensure it is explicitly rated for faux leather or vinyl, and perform a small spot test on an inconspicuous area of the sofa before applying the adhesive to the damaged spot.
How long should I wait before sitting on the patched sofa?
Curing times depend heavily on the specific adhesive used, the thickness of the application, and the local climate conditions. While some quick-drying adhesives may feel dry to the touch within an hour, a full cure typically requires at least 24 hours. In humid environments, it is highly advisable to extend this waiting period to ensure the bond reaches its maximum strength. Refer strictly to the manufacturer’s instructions on your repair kit rather than relying on general estimates, and keep pets, children, and heavy items away from the repaired cushion until the curing process is entirely complete.
Community discussion
Share your experience or ask a question. Comments are reviewed before publication.