
Applying a leather sofa patch is a practical and cost-effective way to restore your furniture’s appearance and prevent minor damage from spreading. To achieve a repair that lasts for years and blends seamlessly with your sofa, you must focus on meticulous surface preparation, precise patch shaping, and proper adhesive bonding. In warm, humid environments like Singapore, managing moisture and allowing adequate curing time are especially critical to ensure the adhesive forms a permanent bond.
Assess the Damage and Choose the Right Patch
Before purchasing a leather sofa patch, evaluate the extent of the damage to determine if a patch is the appropriate solution. Small punctures, minor tears, and shallow scratches are excellent candidates for a DIY patch. However, if the damage consists of large structural rips, extensive peeling across entire cushions, or broken seams, a simple patch may not suffice.
When selecting a patch, match the material properties as closely as possible to the existing sofa. Look at the grain pattern, thickness, and color of your sofa’s leather. Many repair kits offer color-matching compounds or patches in various shades, but you should always check the manufacturer’s specifications to ensure compatibility with your specific leather type, such as aniline, semi-aniline, or pigmented leather.
Products mentioned in this guide
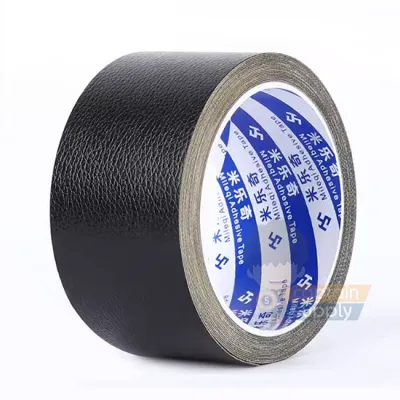
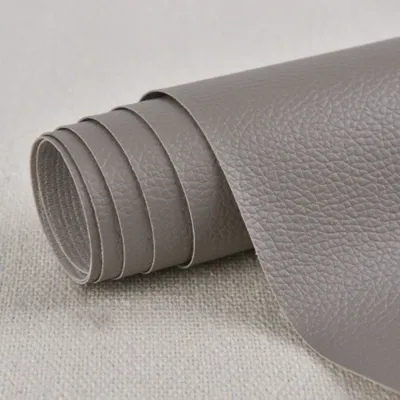
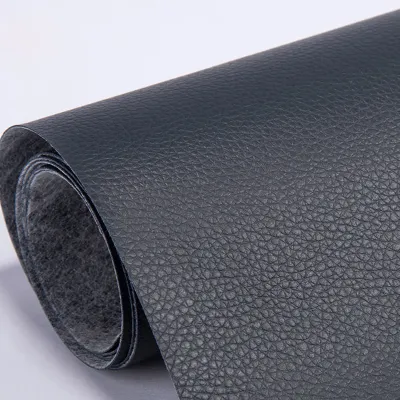
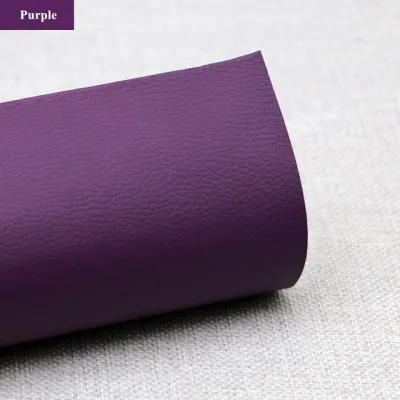
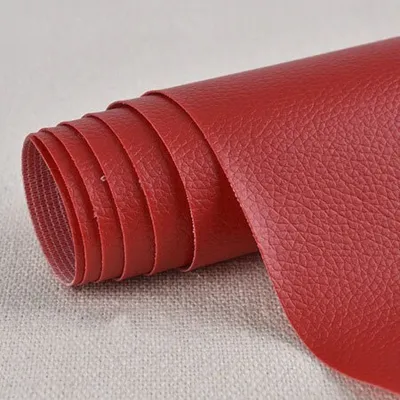
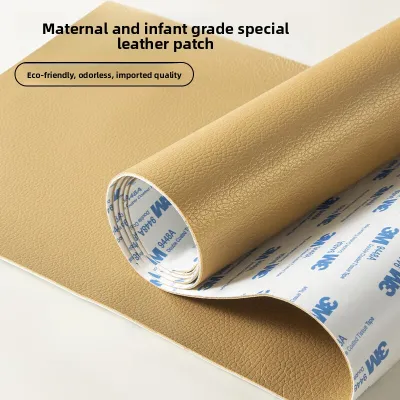
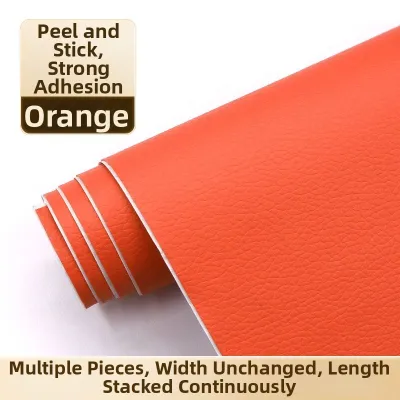
Prices are valid at publication and may change. Please refer to the product page for the latest price.
Identify high-stress areas on your sofa before proceeding. If the tear is located directly on a seating cushion where the leather stretches significantly under load, the patch will experience high tension. In contrast, damage on the backrest or outer arms experiences less stress. If the structural integrity of the seat support is compromised, or if the tear is too large to cover with a standard patch size, it is best to halt DIY efforts and consult a professional upholsterer.
Gather Tools and Prepare the Work Area
A successful repair relies on having the correct tools ready before you begin. You will need a mild, residue-free leather cleaner, fine-grit sandpaper (such as 400-grit or 600-grit) to gently prep the surface, a specialized leather adhesive or a self-adhesive patch, a backing fabric if you are patching a deep tear from underneath, a small spatula or plastic applicator, and clean microfiber cloths.

Preparing the surface is the most critical step for adhesive performance. Leather naturally accumulates body oils, dust, and conditioning residues over time, which prevent adhesives from bonding securely. Clean the area thoroughly with your leather cleaner, ensuring you remove all grease and dirt. Allow the leather to dry completely; in humid climates, this may take longer, so ensure the room is well-ventilated or use a fan to assist the drying process.
Safety is paramount when working with specialized leather adhesives and solvents. Always work in a well-ventilated space, especially if you are working in a closed living room or apartment. Open windows and turn on fans to disperse fumes. Avoid using heat sources like hair dryers on high heat settings, as excessive heat can shrink or damage the surrounding leather.
Step-by-Step Guide to Applying the Leather Patch
Begin by preparing the damaged area itself. Use a pair of small, sharp scissors to trim away any loose threads, frayed fibers, or peeling bits of leather around the edges of the tear. This creates a clean, stable perimeter for the patch to adhere to and prevents loose fibers from lifting the patch later.
Measure the damaged area and cut your patch to size. The patch should extend at least 1.5 to 2 centimeters beyond the edges of the tear in all directions to distribute the seating load and tension evenly. When cutting the patch, always round the corners. Sharp, 90-degree corners are highly susceptible to catching on clothing and peeling back over time, whereas rounded edges allow objects to slide smoothly over the patch.
Perform a dry fit before applying any adhesive. Place the patch over the damage to verify the size and alignment. If you are using a sub-surface patch, which involves inserting a backing fabric inside the tear to reinforce it from underneath, gently tuck the backing material into the hole using a spatula, smoothing it out so it lies completely flat beneath the sofa’s leather surface.
Apply the adhesive according to the product’s specific instructions. For sub-surface patches, apply a thin, even layer of leather adhesive between the underside of the sofa leather and the top of the backing fabric. For surface patches, apply the adhesive evenly to the backing of the patch or directly to the sofa substrate as directed by the manufacturer. Avoid over-applying, as excess glue can squeeze out and ruin the finish of the surrounding leather.
Press the patch firmly onto the surface, starting from the center and working your way outward to smooth out any trapped air bubbles. Use a clean microfiber cloth to wipe away any adhesive that escapes from the edges immediately. To ensure a strong bond, place a flat, heavy object, such as a heavy book wrapped in plastic wrap to prevent sticking, over the patched area. Leave this weight in place for the duration recommended by the adhesive manufacturer, typically at least several hours.
Blending and Finishing for a Natural Look
Once the patch is securely bonded and the adhesive has cured, you can focus on making the repair look natural. If there is a visible seam or gap around the edges of the patch, you can apply a small amount of leather filler or color-matching compound. Use a flexible spatula to press the filler into the seam, leveling it with the surface of the patch and the surrounding leather.
To mimic the natural texture of your sofa, you can use texture replication techniques while the filler is still slightly tacky. Gently press a textured sponge, a piece of grain-matching paper, or even a clean microfiber cloth onto the wet compound. This breaks up the flat, smooth surface of the filler, helping it blend with the natural grain of the leather.
After the filler has dried completely, apply a high-quality leather conditioner or protectant over the repaired area and the surrounding cushions. This helps unify the sheen, matching the matte or glossy finish of the patch to the rest of the sofa. Regular conditioning also restores flexibility to the leather, preventing the edges of the repair from becoming brittle and lifting.
Post-Repair Care and Maintenance
The longevity of your repair depends heavily on the care it receives immediately after application. Allow the adhesive and filler to cure completely before anyone sits on the sofa. This curing process can take anywhere from 24 to 72 hours depending on the product used and the ambient humidity. Keep the sofa out of direct sunlight and away from air conditioning vents during this time, as extreme temperature fluctuations can compromise the bond.
Incorporate the patched area into your routine sofa maintenance. Clean the sofa regularly with a damp, lint-free cloth and a mild leather cleaner, avoiding harsh chemical solvents or abrasive scrubbers that could dissolve the adhesive or scratch the patch. Apply a leather conditioner every few months to keep both the patch and the original leather supple.
Monitor the repaired area periodically for any signs of wear. Look for visual signals such as slight lifting at the edges, color fading, or minor cracking in the filler. Catching these issues early allows you to perform quick touch-ups, such as reapplying a tiny drop of adhesive under a lifting edge, before the damage spreads and requires a complete replacement.
Frequently Asked Questions (FAQ)
Can I use a leather patch on faux leather or vinyl sofas?
Yes, but you must verify material compatibility before proceeding. Faux leather, polyurethane (PU), and vinyl have different chemical compositions than genuine leather, meaning some solvent-based leather adhesives may melt or damage synthetic surfaces. Always check the sofa manufacturer’s care label to identify the material. Before applying a patch to a highly visible area, perform a hidden spot test on the underside or back of the sofa to ensure the adhesive bonds securely without causing discoloration or warping.
What should I do if the patch edges start peeling after a few months?
If the edges of your patch begin to lift, it is usually due to inadequate surface preparation, high friction, or adhesive failure. To fix this, gently clean the area under the lifted edge with a mild leather cleaner to remove any accumulated dust or body oils. Once dry, carefully reapply a small amount of specialized leather adhesive using a toothpick or small spatula. Press the edge down firmly, wipe away any excess glue, and place a weighted object over it until it cures. If the peeling is extensive or the patch itself has stretched and warped, you will need to remove the old patch, clean off the old adhesive residue, and apply a new, slightly larger patch.
Community discussion
Share your experience or ask a question. Comments are reviewed before publication.