
Applying a leather seat patch that remains durable and blends seamlessly with your furniture requires a methodical approach. The secret to a long-lasting repair lies in meticulous surface preparation, precise material shaping, and choosing the correct adhesive. By taking the time to clean the area, round the patch edges, and apply even pressure, you can restore both the appearance and structural integrity of your leather seat.
Assess the Damage and Prepare the Surface
Before purchasing any repair materials, you must evaluate the nature of the damage. Examine the tear, puncture, or crack to determine if a surface patch is the most appropriate solution. Small punctures, clean cuts, and shallow cracks are excellent candidates for a patch. However, if the leather is crumbling, dry-rotted, or torn across a major structural seam that bears constant high tension, a simple patch may not hold up over time.
Once you confirm that a patch is viable, measure the damaged area carefully. You will need to know the exact dimensions to ensure your patch material is large enough to cover the tear with a generous margin on all sides.
Products mentioned in this guide
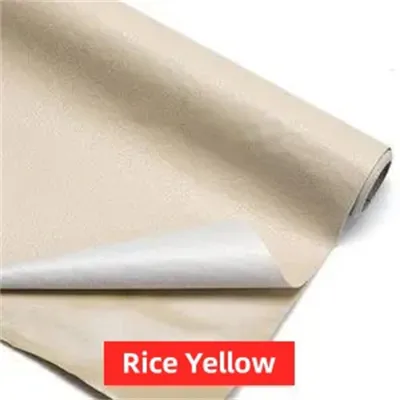
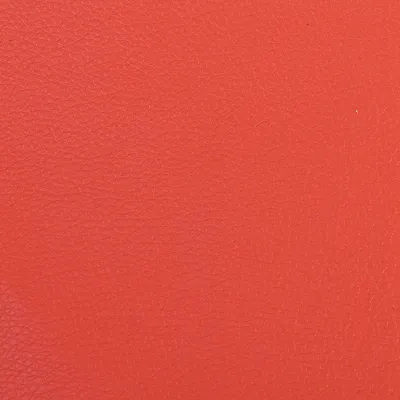
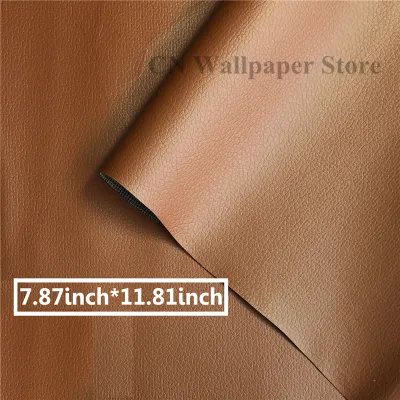
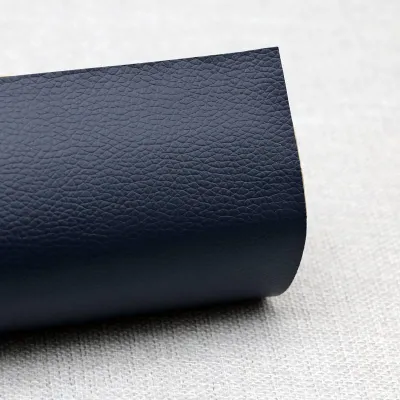
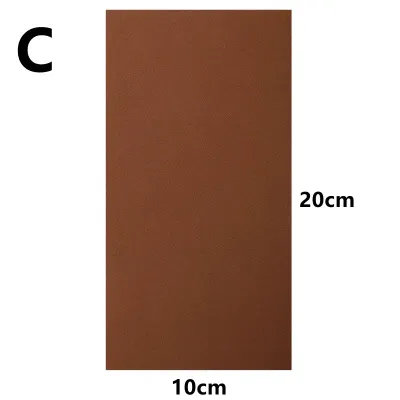
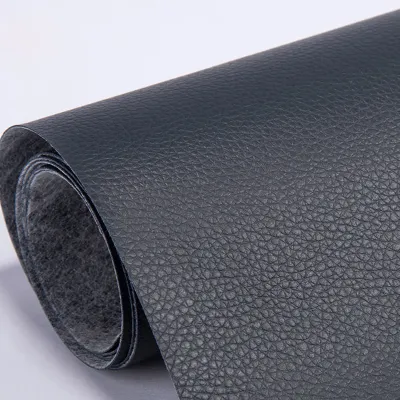
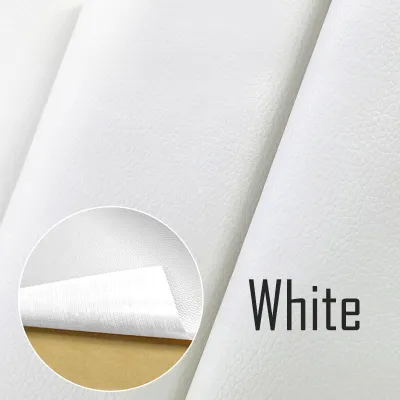
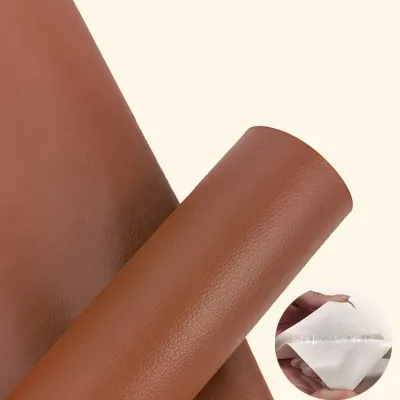
Prices are valid at publication and may change. Please refer to the product page for the latest price.
Next, clean the surrounding leather thoroughly. Over time, leather furniture accumulates body oils, dust, spill residues, and conditioning products. These substances create a barrier that prevents adhesives from bonding securely to the leather fibers. Use a mild, leather-safe cleaner and a soft microfiber cloth to gently wipe down the area. Avoid saturating the leather, as excess moisture can warp the material or weaken the backing.
Allow the cleaned area to dry completely in a well-ventilated space. Applying adhesive to even slightly damp leather will compromise the bond, leading to premature peeling.
After the surface is dry, inspect the edges of the tear. Use a pair of small, sharp scissors to trim away any loose threads, frayed backing fibers, or curling leather bits. Creating a clean, smooth boundary prevents these loose fibers from lifting the patch or creating lumps under the surface.
Select and Cut the Patch Material
Selecting the right patch material is crucial for achieving an inconspicuous repair. When shopping for a leather seat patch, check the product specifications for color, grain texture, and thickness. If possible, obtain a sample kit or choose a patch that closely matches the sheen of your existing furniture. Keep in mind that natural leather has unique grain patterns, so matching the texture is often just as important as matching the color for a natural look.

When cutting the patch, avoid leaving sharp 90-degree corners. Square or rectangular patches with sharp corners are highly susceptible to peeling because the corners easily catch on clothing, blankets, or skin when someone sits down. Instead, use sharp shears to cut the patch into an oval, circle, or a shape with generously rounded corners. This design distributes physical tension evenly along the edges, significantly reducing the risk of lifting.
Ensure the patch is cut large enough to extend at least 1.5 to 2 centimeters beyond the damaged area in every direction. This overlap provides a sufficient surface area for the adhesive to grip the stable, undamaged leather surrounding the tear.
Before applying any glue, perform a dry fit. Place the cut patch directly over the damage to verify complete coverage. Check how the patch sits against the contours of the seat. If the seat cushion has deep tufting or curves, observe how the patch behaves when you gently press down on the surrounding area. Adjust the shape or size of the patch if you notice any puckering or misalignment during this dry run.
Apply the Adhesive and Set the Patch
The longevity of your repair depends heavily on the adhesive you use. Select a flexible adhesive specifically formulated for leather or vinyl. Standard household glues or rigid superglues are unsuitable because they dry hard and brittle, causing the leather to crack or the patch to snap off when weight is applied to the seat. Always read the manufacturer’s label to verify the adhesive’s flexibility and compatibility with your specific leather type.
When applying the adhesive, moderation is key. Apply a thin, even layer of glue to both the back of the patch and the prepared seat surface, or follow the specific application method detailed on your product’s packaging. Avoid applying thick globs of adhesive, as excess glue will squeeze out from the edges, creating a messy residue that is difficult to clean without damaging the leather finish.
Some contact-style leather adhesives require a brief wait time—often referred to as tack time—before you join the surfaces. Check the product instructions to see if you need to let the adhesive sit for a few minutes until it feels tacky but not wet.
Carefully align the patch over the damage and lower it onto the seat. Press down firmly starting from the center of the patch and working your way outward to the edges. This motion expels any trapped air bubbles that could weaken the bond.
To ensure complete contact across the entire surface, use a small, smooth roller or a clean, soft cloth wrapped around a flat block. Apply firm, steady pressure across the patch for several minutes. If any adhesive squeezes out around the edges, wipe it away immediately with a damp cloth or a recommended cleaner, taking care not to smear it onto the undamaged leather.
Blend, Condition, and Finish the Repair
Once the patch is securely in place, you can take additional steps to make the repair look more natural and integrated. If there is a visible seam or a slight height difference between the patch and the surrounding leather, assess whether a leather filler or color-matching compound is appropriate. These compounds can be carefully applied to the seam line to bridge the gap and create a smoother transition. Ensure any filler you use is fully compatible with both the adhesive and the patch material.
After the adhesive has dried according to the manufacturer’s initial setting instructions, apply a high-quality leather conditioner to the repaired area and the surrounding seat cushion. Conditioning helps restore moisture to the leather, unifies the overall sheen, and ensures the repaired section remains flexible. This step is particularly important because dry leather around a patch can crack under the new tension patterns created by the repair.
Inspect the final result under good lighting. Look closely at the edges of the patch to ensure they are completely flat and bonded to the seat. If you notice any minor lifting at the very edge, you can use a toothpick to apply a tiny amount of adhesive under the lifted spot, pressing it down firmly until it sets.
Allow the entire repair to cure completely before subjecting the seat to regular use. Keep the area free of dust and avoid placing heavy objects on the patch during this critical curing phase.
When to Stop and Seek Professional Help
While DIY leather patches are highly effective for minor to moderate damage, some situations require professional intervention. Attempting to patch severe structural damage yourself can lead to irreversible ruin, potentially requiring a complete and costly reupholstery of the entire piece of furniture.
You should stop and consult a professional if the damage involves structural seam failures where the stitching has completely unraveled under high tension. Similarly, if there are large missing sections of leather larger than a standard patch can safely cover, or if the underlying foam cushioning is severely degraded or torn, a simple surface patch will not suffice.
Specialized leather types, such as aniline, semi-aniline, or nubuck, often require advanced color-matching and refinishing techniques that are difficult to replicate with standard DIY kits. If your furniture is made of these delicate materials, or if the damage compromises the structural integrity of the seat frame or spring system, contacting a qualified furniture restoration specialist is the safest path to restoring your investment.
Frequently Asked Questions (FAQ)
Can I use a leather seat patch on faux leather or vinyl?
Yes, many leather patches can be applied to faux leather or vinyl surfaces, but you must verify compatibility beforehand. Synthetic materials like polyurethane (PU) or polyvinyl chloride (PVC) have different surface properties than genuine leather, meaning some adhesives may not bond correctly or could even melt the synthetic backing. Always check the adhesive or patch product label to ensure it explicitly lists faux leather or vinyl as compatible materials. Additionally, ensure the patch matches the flexibility of the synthetic seat to prevent the edges from cracking when the material flexes under weight.
How long should I wait before sitting on the patched seat?
Curing times vary significantly depending on the specific adhesive used, the ambient temperature, and the humidity levels in your home. While some adhesives may feel dry to the touch within an hour, they often require a much longer period to achieve full structural strength. You should strictly follow the maximum cure time specified on your adhesive product’s packaging—which frequently ranges from 12 to 24 hours—before sitting on the seat or applying any weight. Sitting on the patch too early can cause the adhesive to shift, slide, or fail completely, ruining the alignment and durability of your repair.
Community discussion
Share your experience or ask a question. Comments are reviewed before publication.