
A torn leather sofa or peeling armchair can quickly compromise the look of your living space. Applying a leather repair patch offers a practical, cost-effective way to restore functionality and arrest further tearing. To achieve a lasting fix, you must carefully prepare the surface, choose a compatible patch, and allow the adhesive to cure fully under local environmental conditions. In Singapore, where high humidity can affect adhesive bonding, following a precise application technique is essential to prevent the edges from lifting over time.
Assess the Damage: Is a Leather Repair Patch the Right Fix?
Before purchasing a patch, inspect the damage to determine if a patch is the appropriate solution. Leather repair patches work best on localized, stable damage. This includes small punctures from keys, cat scratches, minor tears, and small scuffs on both genuine leather and faux leather (such as PU or vinyl) upholstery.
However, some structural or extensive issues cannot be solved with a simple patch. If your sofa has large missing sections, exposed internal foam, visible structural framing, or severe, widespread peeling (often seen in degrading faux leather), a patch will not suffice. Damage along high-stress areas, such as major structural seams or the main seating cushions where the leather flexes heavily under weight, also resists patch repairs because the constant tension will eventually pull the adhesive apart. In these scenarios, seeking professional reupholstery or replacing the furniture piece is the more reliable path.
Products mentioned in this guide
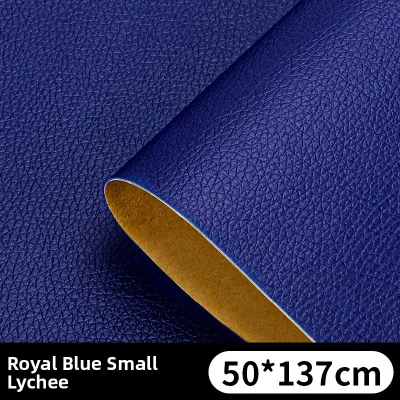
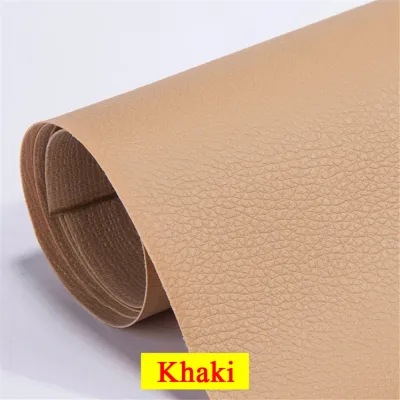
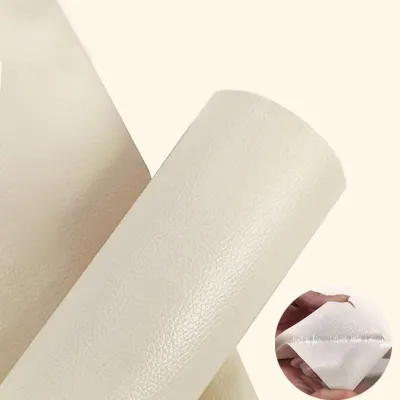
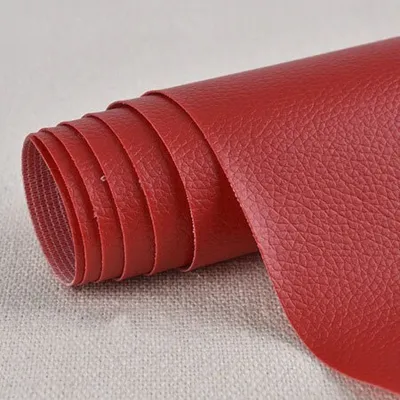
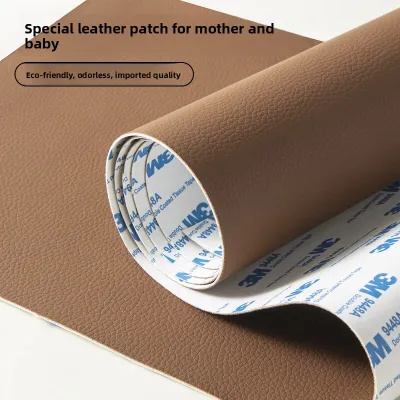
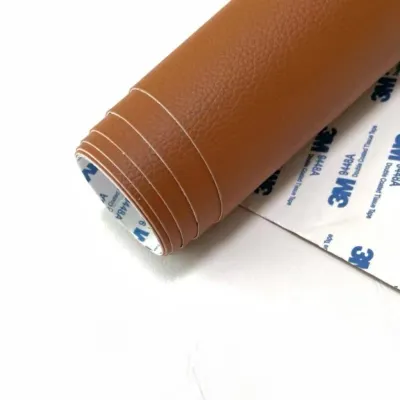
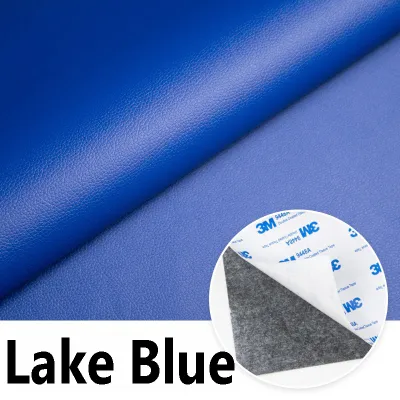
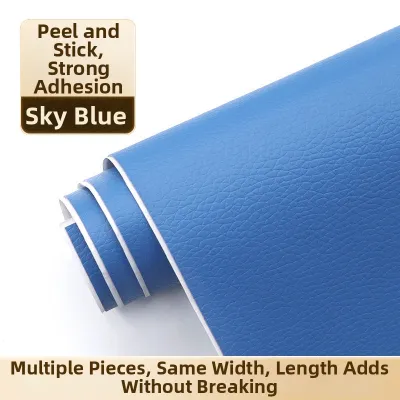
Prices are valid at publication and may change. Please refer to the product page for the latest price.
Keep your visual expectations realistic. A leather repair patch is primarily a functional solution designed to seal the damage and stop it from spreading. While high-quality, color-matched patches can blend in surprisingly well from a distance, the repair will not be completely invisible. There will always be a slight texture difference, a visible seam line, and a minor elevation change where the patch sits on top of the original upholstery.
Essential Tools and Materials for the Job
Having the right tools ready before you begin ensures a smooth, uninterrupted repair process.

- The Leather Repair Patch: You can choose between self-adhesive leather repair tape or a specialized patch kit that includes a separate liquid adhesive. Always check the manufacturer's product label to verify compatibility with your specific furniture material, whether it is genuine top-grain leather, bonded leather, PU leather, or vinyl.
- Cleaning Supplies: Isopropyl alcohol (rubbing alcohol) or a dedicated, pH-balanced leather cleaner is required to strip away oils. Keep several clean, lint-free microfiber cloths nearby.
- Cutting Tools: A pair of very sharp household scissors or a precision craft knife is essential for shaping the patch and trimming the damaged area.
- Application Tools: A small seam roller, a smooth wooden spoon, or a flexible plastic scraper (like an old credit card) will help you apply even pressure and eliminate air bubbles.
- Optional Post-Care Products: A high-quality leather conditioner is helpful to restore moisture to the surrounding genuine leather once the adhesive has fully cured.
Step-by-Step Guide to Applying the Leather Repair Patch
Applying the patch requires patience and attention to detail. Follow these five sequential steps to ensure a strong, permanent bond.
Step 1: Clean and Degrease the Damaged Area
The most common cause of patch failure is poor adhesion due to surface contaminants. Over time, leather furniture accumulates body oils, sweat, dust, and product residues that create a barrier between the leather and the adhesive. Wipe the damaged area thoroughly using a lint-free microfiber cloth lightly dampened with isopropyl alcohol or a specialized leather cleaner.
Once cleaned, you must let the area dry completely before proceeding. Trapped moisture under a patch will weaken the adhesive bond and can lead to mold growth or premature peeling. In Singapore’s naturally humid environment, this drying step may take slightly longer than expected; consider using a fan or setting your air conditioner to dry mode to speed up the process.
Warning: Never use harsh household detergents, window cleaners, or bleach on leather. These chemicals strip the leather’s protective finish, dry out the fibers, and weaken the surrounding material, making future tears more likely.
Step 2: Trim Frayed Edges and Cut the Patch
Preparing the physical shape of both the tear and the patch prevents the edges from catching and lifting. Inspect the tear for any loose threads, peeling layers, or raised, curled edges of leather. Use your sharp scissors or a precision craft knife to carefully trim away these loose fragments, leaving a clean, flat perimeter around the damage.
Next, measure the damaged area and cut your patch to size. Ensure the patch is large enough to overlap the tear by at least 1 to 2 centimeters on all sides. This overlap distributes the tension and provides enough surface area for the adhesive to grip stable, undamaged leather.
Tip: Always cut the patch with rounded corners rather than sharp, 90-degree angles. Rounded corners distribute physical stress more evenly and are far less likely to catch on clothing, cushions, or skin when someone sits on the furniture.
Step 3: Apply Adhesive and Position the Patch
The application method depends on the type of patch you have selected. If you are using a non-adhesive patch with a separate leather glue, apply a thin, even layer of the flexible adhesive to both the back of the patch and the prepared furniture surface. Refer to the manufacturer’s instructions for the correct “open time”—the brief period the glue must sit to become tacky before contact.
For self-adhesive patches, peel back just a small section of the protective backing paper, exposing one edge or the center of the adhesive side.
Align the patch carefully over the damaged spot. Press the exposed adhesive section down first, then slowly peel away the remaining backing paper with one hand while using your other hand to smooth the patch outward. This gradual technique prevents wrinkles and ensures the patch lies perfectly flat.
Step 4: Press Firmly and Smooth Out Air Bubbles
Once the patch is in position, you must secure the bond by applying firm, consistent pressure across the entire surface. Use a small seam roller, the back of a smooth wooden spoon, or a plastic scraper to press the patch into the leather grain.
Always work from the center of the patch outward toward the edges. This motion pushes out any trapped air bubbles that could otherwise create weak spots in the adhesive layer.
Pay close attention to the outer perimeter of the patch. Run your tool along the rounded edges multiple times, applying extra pressure to ensure the edges are sealed flat against the furniture surface. A perfectly sealed edge is your best defense against peeling.
Step 5: Allow Adequate Curing Time
After application, the adhesive needs time to chemically bond and set. Check the manufacturer’s label for the recommended curing duration, which typically ranges from 12 to 24 hours.
Contextual Tip: Singapore’s warm, high-humidity climate can slow down the evaporation of water-based or solvent-based adhesives. To ensure the adhesive sets correctly and off-gases fully, allow the patch to cure in a well-ventilated room, perhaps leaving a ceiling fan running on a low setting. You may want to extend the recommended curing time by a few hours just to be safe.
During this curing window, do not sit on, lean against, or place any weight on the repaired area. Keep pets away from the furniture, and avoid applying any cleaning products or conditioners until the adhesive has fully hardened.
How to Maintain the Patched Area for Long-Lasting Results
Once your patch is successfully applied and cured, proper ongoing maintenance will extend the life of both the repair and the surrounding upholstery.
- Gentle Cleaning: When cleaning your sofa or chair, wipe the patched area gently with a soft, damp microfiber cloth. Avoid scrubbing or wiping aggressively across the edges of the patch, as the friction can catch the seam and gradually lift the adhesive.
- Targeted Conditioning: If your furniture is made of genuine leather, continue to apply a dedicated leather conditioner to the surrounding areas every few months to keep the material supple and prevent new cracks. However, keep in mind that conditioners cannot penetrate synthetic materials like PU leather, vinyl, or the adhesive backing of the patch. Wipe off any excess conditioner that accidentally gets onto the patch itself to prevent a slippery, sticky residue.
- Environmental Protection: Position your leather furniture away from direct sunlight, which can dry out both genuine leather and adhesive backings. Additionally, try to avoid placing the repaired furniture directly under or next to active air-conditioning vents. The constant flow of cold, dry air can cause the leather to contract and dry out, putting extra physical stress on the patch and potentially causing the adhesive to fail prematurely.
Frequently Asked Questions (FAQ)
Can I use a leather repair patch on faux leather or vinyl furniture?
Yes, you can use a patch on synthetic materials, but you must select a product compatible with PU or vinyl. Faux leather and vinyl have different chemical compositions and flexibility profiles compared to genuine leather. Checking the product label ensures the adhesive is formulated to bond with synthetic polymers, preventing the patch from sliding or failing to stick.
What should I do if the patch starts peeling at the edges?
If an edge begins to lift, you can perform a quick spot repair. Gently clean the exposed leather and the underside of the peeling patch with a tiny amount of isopropyl alcohol to remove dust and oils. Once dry, use a toothpick or cotton swab to apply a small dab of flexible leather glue or fabric glue under the lifted edge. Press it down firmly, smooth out any air, and place a heavy, flat object like a book over the spot for several hours while it cures.
Will the repair patch be completely invisible?
No, a leather repair patch is a functional, protective fix rather than a cosmetic restoration. While a well-matched color and texture will blend in nicely from a distance, the patch will remain visible upon close inspection due to the slight elevation change and the seam line. For a completely seamless, invisible repair, you would need to explore professional leather restoration services or complex liquid leather filler kits.
Community discussion
Share your experience or ask a question. Comments are reviewed before publication.