
Applying a leather patch to a damaged sofa or chair at home is a practical, cost-effective way to seal tears, cover punctures, and prevent further peeling. While a DIY patch may not completely erase the visual trace of damage, it provides a durable, functional seal that extends the life of your furniture. Success depends on careful surface preparation, selecting a compatible patch material, and executing a precise application process.
Assess the Damage and Prepare the Repair Area
Before purchasing any repair materials, evaluate the damage to ensure a patch is the right solution. Examine the size, shape, and location of the tear. Small punctures, minor pet scratches, and clean tears under 10 centimeters are ideal candidates for patching. If the damage is located on a flat surface, such as the middle of a seat cushion or the outside of an armrest, a patch can adhere securely. However, if the tear is located directly on a high-tension seam or a heavily contoured area, a simple patch may struggle to stay bonded under regular use.
Once you confirm a patch is suitable, prepare the surface to ensure maximum adhesion. Use sharp scissors to carefully trim away any loose threads, frayed leather fibers, or peeling synthetic backing around the edges of the tear. Creating a clean, stable boundary prevents the damage from spreading underneath the patch. Next, clean the surrounding area thoroughly to remove body oils, dust, and household grime. Use a mild, leather-safe cleaner or a highly diluted soap solution on a microfiber cloth, taking care not to saturate the leather. Wipe the area with a dry cloth and allow it to dry completely before proceeding. In humid environments, such as in Singapore, running an air conditioner or a fan can help ensure no residual moisture remains trapped on the surface.
Products mentioned in this guide
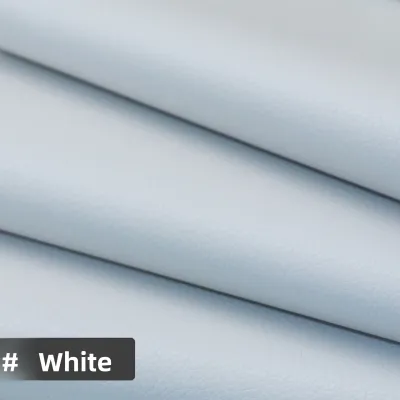
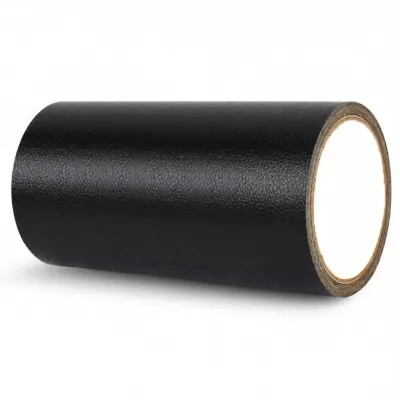
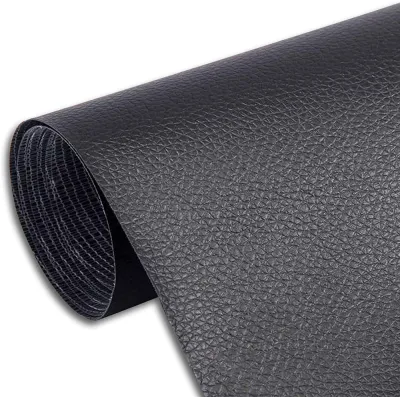
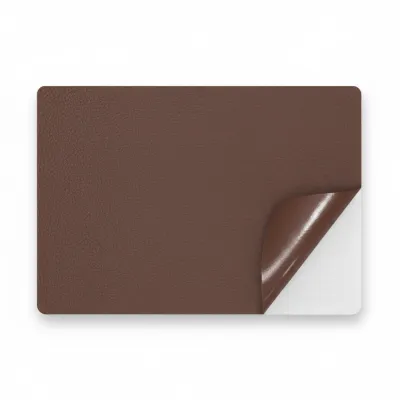
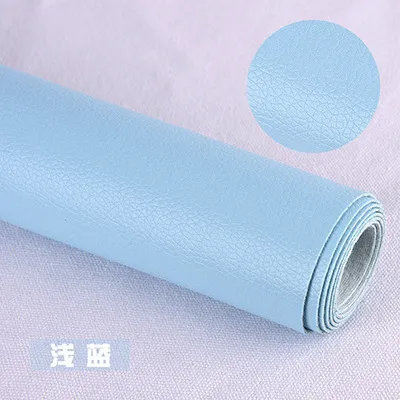
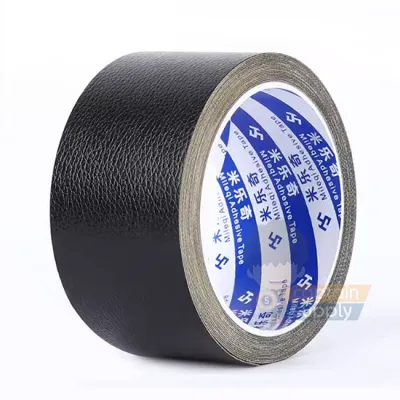
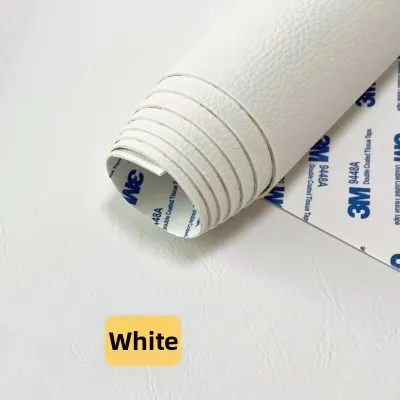
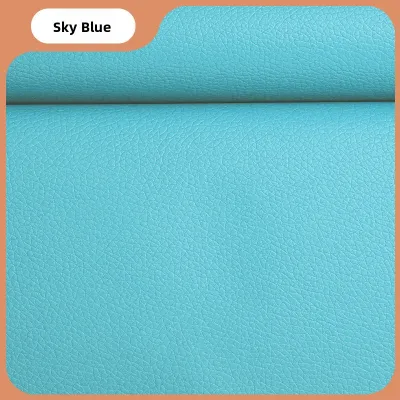
Prices are valid at publication and may change. Please refer to the product page for the latest price.
Choose the Right Leather Patch and Adhesive
Selecting the right materials is crucial for a repair that blends in and lasts. Leather patches are widely available in two main formats: self-adhesive sheets and raw leather pieces that require a separate liquid adhesive. Self-adhesive patches offer a quick, convenient fix for flat, low-tension areas. They are easy to cut and apply, making them excellent for straightforward punctures. For high-traffic seats or deep tears that require a backing material, a separate flexible leather glue paired with a raw leather patch is often more durable. Liquid leather adhesives cure into a highly pliable bond that moves naturally with the upholstery.

When choosing a patch, try to match the color, sheen, and grain pattern of your furniture as closely as possible. Many manufacturers offer sample swatches or multi-color kits to help you find a suitable match. Always read the product labels carefully to verify material compatibility. Some adhesives are formulated specifically for genuine top-grain leather, while others are designed to bond with faux leather, vinyl, or polyurethane. Using an incompatible adhesive can lead to premature peeling or even damage the synthetic backing of your furniture.
Step-by-Step Application Process
Executing the application process with care ensures a secure bond and a neat finish. Begin by measuring the damaged area. Cut your leather patch so that it extends at least 1.5 to 2 centimeters beyond the edges of the tear on all sides. This overlap provides sufficient surface area for the adhesive to grip. When cutting, always round the corners of the patch using sharp scissors. Sharp, 90-degree corners are highly susceptible to catching on clothing, blankets, or cleaning cloths, which leads to premature peeling.
If you are repairing a deep hole or an open tear where the inner foam cushion is exposed, insert a sub-patch first. A sub-patch is a small piece of strong fabric or thin leather inserted through the tear and flattened out underneath the upholstery. This backing fabric provides a stable foundation and prevents the adhesive from sinking into the foam cushion. Apply a thin layer of flexible leather glue to the top of the sub-patch, then press the edges of the torn leather down onto it to stabilize the area.
Next, prepare the main patch. If using a self-adhesive patch, peel away the backing paper carefully. If using a separate liquid adhesive, apply a thin, even layer to the back of the patch according to the manufacturer’s instructions. Avoid applying too much glue, as excess adhesive will squeeze out of the edges and can stain the surrounding leather.
Align the patch carefully over the damaged area. Once in position, press down firmly from the center outward to smooth out any air bubbles. Use a flat, smooth tool, such as a plastic card or a small roller, to apply uniform pressure across the entire patch, paying close attention to the rounded edges. Immediately wipe away any excess glue that escapes the edges using a clean, slightly damp microfiber cloth. Avoid rubbing aggressively, which can spread the adhesive onto undamaged areas.
Post-Repair Care and Maintenance
After applying the patch, allow the adhesive to cure completely before anyone sits on the furniture. Curing times vary significantly depending on the product, but most manufacturers recommend waiting between 12 and 24 hours. In warm, humid climates, curing can take slightly longer. Keeping the room air-conditioned or using a dehumidifier during this period can help the adhesive set correctly. Do not use a hair dryer or expose the patch to direct sunlight to speed up the drying process, as excessive heat can warp the patch and weaken the bond.
Once cured, maintain the repaired area gently. Avoid using harsh chemical solvents, alcohol-based cleaners, or abrasive scrubbing pads on or near the patch, as these can dissolve the adhesive or scratch the patch surface. When conditioning the surrounding genuine leather to keep it supple, apply the conditioner carefully. Keep the product away from the immediate edges of the patch, as the oils in leather conditioners can seep underneath and break down the adhesive bond over time.
When to Stop and Call a Professional
While a DIY leather patch is an excellent solution for minor wear and tear, some damage requires professional restoration. If a tear runs along a major structural seam, the constant tension from regular use will likely pull a simple patch apart. Large rips exceeding 10 centimeters, or furniture with widespread cracking, dry rot, and thinning leather, cannot be reliably stabilized with a patch.
Additionally, consider the value and type of your furniture. If you are dealing with highly valuable designer pieces, heirloom antiques, or delicate aniline leathers that stain easily, attempting a DIY repair might lower the furniture’s value or aesthetic appeal. In these cases, stopping the DIY process and consulting a qualified upholstery professional is the best way to ensure a seamless, long-lasting restoration.
Frequently Asked Questions (FAQ)
Can I use a leather patch on faux leather or vinyl furniture?
Yes, many leather patches are compatible with faux leather, vinyl, and polyurethane upholstery. However, synthetic materials have different surface properties than genuine leather, which can affect how well adhesives bond. Always check the patch manufacturer’s specifications to confirm compatibility with synthetic materials. Some liquid adhesives contain solvents that can melt or warp thin vinyl, so testing a small, inconspicuous area first is highly recommended.
Will the patch be completely invisible after application?
A leather patch will rarely be completely invisible. Even with an excellent color match, slight differences in texture, sheen, and thickness will make the patch noticeable under certain lighting conditions. The primary objective of a DIY leather patch is to provide a neat, functional repair that halts further tearing, protects the inner cushioning, and restores the usability of your sofa or chair, rather than achieving a flawless, factory-new finish.
Community discussion
Share your experience or ask a question. Comments are reviewed before publication.