
Applying a leather patch is a highly effective, practical way to repair tears, holes, and deep cracks in leather furniture at home. This straightforward process involves assessing the damage, thoroughly cleaning and prepping the surface, cutting a custom-shaped patch with rounded corners, and bonding it securely using self-adhesive backings or specialized leather glue. By taking the time to complete each step carefully, you can restore both the appearance and structural integrity of your sofa, armchair, or office chair, saving the expense of professional reupholstery.
Leather furniture is a significant investment, often serving as the centerpiece of a living room or office. However, daily wear, friction, pet claws, and sharp objects can cause accidental punctures or tears that quickly worsen if left untreated. In warm, humid environments like Singapore, leather can also be subject to subtle shifts in moisture and elasticity, making prompt repairs essential to prevent damage from spreading. A well-applied patch seals the damaged area, protects the internal foam or batting, and provides a durable barrier against further tearing.
Assess the Damage and Gather Your Materials
Before beginning any repair work, closely inspect the damaged area to determine if a patch is the most suitable solution. Examine the size, depth, and location of the tear, hole, or crack. If the damage is small to moderate in size and located on a flat, stable section of the furniture, a leather patch is an excellent choice. However, you must establish a clear stop condition: if the damage is structural, covers an exceptionally large area, or if the surrounding leather is severely peeling, dry-rotting, brittle, and degraded, a patch will not hold. In these cases, stop and consult a professional upholsterer to discuss panel replacement or comprehensive restoration.
Products mentioned in this guide
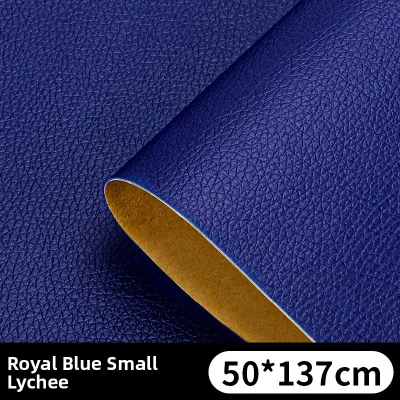
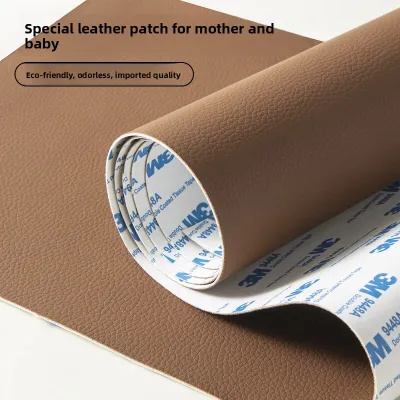
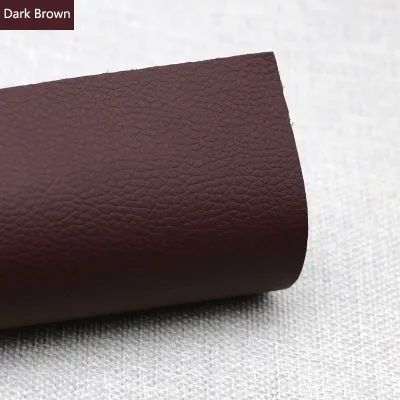
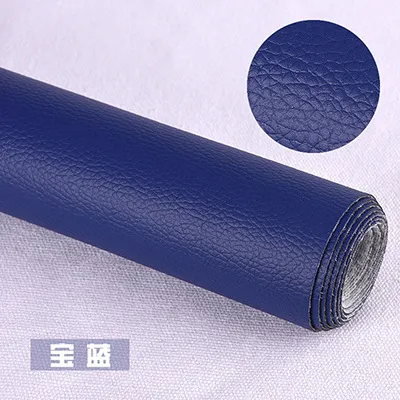
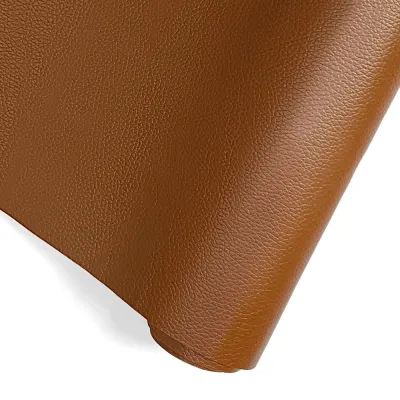
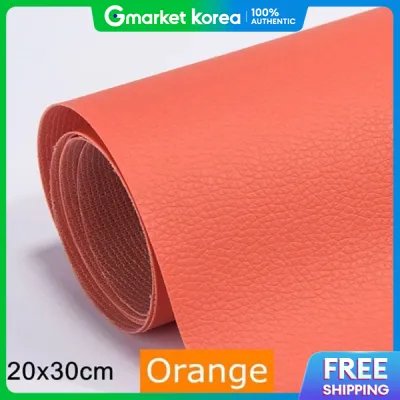
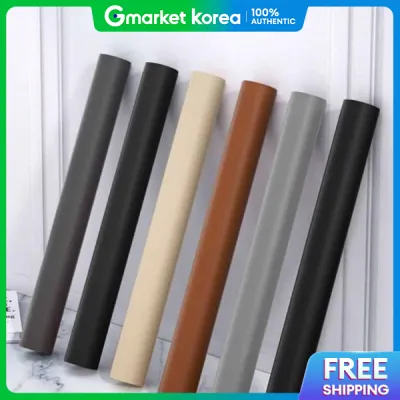
Prices are valid at publication and may change. Please refer to the product page for the latest price.
If you determine that a patch is appropriate, gather all the necessary materials before starting. You will need a high-quality leather patch that matches the color, grain, and texture of your furniture as closely as possible. You will also need a flexible leather adhesive if you are not using a self-adhesive patch, a mild leather cleaner, soft microfiber cloths, sharp scissors or a utility knife, and a seam roller or flat pressing tool. Always read both the patch and adhesive manufacturer’s instructions completely before beginning, as different products have specific requirements for application, ventilation, and drying times.
Prepare the Damaged Area for Patching
Achieving a strong, permanent bond requires a pristine surface free of dirt, body oils, sweat, and residual leather conditioners. These substances naturally accumulate on furniture over time and act as a barrier, preventing adhesives from gripping the leather fibers. To clean the area, apply a small amount of mild, pH-balanced leather cleaner to a soft microfiber cloth and gently wipe the leather surrounding the damage. Avoid spraying cleaner directly onto the leather or saturating the material, as excess moisture can warp the leather or seep into the underlying foam.

Allow the cleaned surface to dry completely before proceeding. In Singapore’s humid climate, drying times may be slightly longer, so ensure the room is well-ventilated or use a small fan to assist the process. Do not use a high-heat hair dryer to speed up drying, as excessive heat can shrink or damage genuine leather. Once dry, examine the edges of the tear or hole and use sharp scissors to carefully trim away any loose threads, frayed fabric backing, or peeling bits of leather finish. Creating a smooth, clean perimeter ensures that no loose fibers will lift the patch from underneath.
Some heavy-duty leather adhesives require a slightly textured surface to establish a strong mechanical bond. If the specific adhesive manufacturer’s instructions explicitly direct you to do so, use very fine sandpaper to lightly buff the immediate area around the damage. Be extremely careful to sand only the area that will be covered by the patch. Once finished, wipe away any resulting dust with a clean, dry microfiber cloth. If the product instructions do not mention buffing, skip this step entirely to avoid unnecessarily damaging the surrounding leather finish.
Cut and Position the Leather Patch
Accurate sizing and shaping are critical to the longevity of your repair. Use a flexible measuring tape or ruler to measure the maximum length and width of the damage. Cut the leather patch so that it extends at least half an inch to an inch beyond the edges of the tear or hole on all sides. This generous overlap ensures that the adhesive bonds to healthy, stable leather that can easily support the tension and weight of daily use.
Always round the corners of your leather patch using sharp scissors. Sharp, 90-degree corners are highly susceptible to catching on clothing, blankets, or skin as people sit down and move around on the furniture. Over time, this constant friction causes the sharp corners to lift, curl, and peel away. Rounding the corners into a smooth, continuous curve distributes friction evenly across the edges, significantly extending the lifespan of the repair.
Before applying any adhesive or removing any backing, perform a dry-fit of the cut patch over the damage. Position the patch directly over the tear or hole to verify complete coverage. Observe how the grain direction and color of the patch align with the surrounding furniture under natural lighting. If you need to make minor adjustments to the shape or size, do so now. You can use small pieces of painter’s tape to mark the exact boundaries of the dry-fitted patch, creating a helpful visual guide for the final application.
Apply the Patch and Secure the Bond
The application process depends on whether you are using a self-adhesive patch or a separate liquid adhesive. If you are using a self-adhesive patch, carefully peel off a small section of the protective backing paper from one edge. Align the exposed adhesive with your placement markings, then slowly peel away the remaining backing with one hand while using your other hand to smooth the patch down onto the leather. This gradual technique prevents air bubbles from becoming trapped beneath the surface.
If you are using a separate liquid leather adhesive, apply a thin, uniform layer to the back of the patch or the furniture surface, strictly following the manufacturer’s directions. Avoid applying too much glue, as excess adhesive will squeeze out and can damage the surrounding finish. Pay close attention to the recommended open-time, which is the brief period the adhesive must sit to become tacky before contact. Always ensure your workspace is well-ventilated, particularly when working with solvent-based adhesives.
Once the patch is positioned, press it down firmly starting from the center and moving outward. This outward motion pushes out any trapped air and ensures a flat, wrinkle-free application. Use a seam roller, a wooden roller, or your fingers wrapped in a clean, soft microfiber cloth to apply firm, consistent pressure across the entire patch. Pay special attention to the outer edges, pressing them down repeatedly to ensure a complete, gap-free seal with the furniture surface.
If any excess adhesive squeezes out from under the edges during pressing, wipe it away immediately. Use a clean, slightly damp microfiber cloth or follow the specific removal instructions provided by the adhesive manufacturer. Allowing excess glue to dry on the visible parts of your leather furniture can leave unsightly, hard-to-remove residue and may ruin the protective topcoat of the leather.
Finish and Condition the Repaired Area
The chemical bonding process of leather adhesives requires uninterrupted time to reach maximum strength. Allow the adhesive to cure fully according to the manufacturer’s recommended duration before anyone sits on the furniture or places weight on the patch. This curing period typically ranges from 12 to 24 hours. Rushing this step or placing premature stress on the repair can break the bond, cause the patch to shift, or create permanent wrinkles. Given the high humidity in Singapore, waiting the full 24 hours is a highly recommended safeguard to ensure a completely stable bond.
Once the adhesive has cured completely, gently clean the patched area with a dry microfiber cloth to remove any dust or fingerprints. If the patch material looks slightly dry or needs to blend more seamlessly with the surrounding furniture, you can apply a high-quality, compatible leather conditioner or color-matching cream. However, you must test any conditioner, cream, or dye on an inconspicuous area of the furniture first, such as the lower back or underside, to verify that it does not discolor, darken, or chemically degrade the patch or the original leather.
Perform a final verification check of your repair. Gently run your fingertips over the outer edges of the patch to confirm they are completely flat, smooth, and securely bonded to the furniture. Visually inspect the perimeter to ensure there are no gaps or lifting sections. If you notice any tiny areas along the edge that did not bond perfectly, use a toothpick to apply a minuscule drop of adhesive under the lifting edge, press it down firmly, and allow it to cure.
Frequently Asked Questions (FAQ)
Can I use a leather patch on faux leather or vinyl furniture?
Many leather repair patches and adhesives are compatible with synthetic materials like polyurethane (PU) leather, PVC, and vinyl, but you must check the product labels for explicit compatibility before application. Synthetic materials have different chemical compositions than genuine leather. Some adhesives may fail to bond with synthetic backings, while others containing harsh solvents can chemically react with vinyl or faux leather, causing the surface to melt, discolor, or crack. Always verify compatibility and test a small amount of adhesive on an inconspicuous spot first.
How long should I wait before sitting on the repaired furniture?
You should always follow the specific curing time printed on your adhesive or patch packaging, which typically ranges from several hours to a full 24 hours. Sitting on the repaired furniture too soon can cause the patch to shift, wrinkle, or peel under your body weight and heat. In warm, humid climates like Singapore, it is best to err on the side of caution and wait the full 24 hours to allow the adhesive bond to stabilize completely before subjecting the area to daily use.
Community discussion
Share your experience or ask a question. Comments are reviewed before publication.