
Applying a self-adhesive leather patch is one of the most straightforward and cost-effective ways to restore the appearance of damaged leather furniture. Whether your sofa has suffered a scratch from a pet, a small puncture from a sharp object, or localized wear from daily use, a high-quality patch can seal the damage and prevent it from spreading. In tropical environments like Singapore, where high humidity and warmth can accelerate the degradation of exposed leather fibers, addressing tears quickly is essential to preserve the structural integrity of your upholstery.
By following a systematic preparation and application process, you can achieve a clean, durable repair that blends neatly with your existing furniture. This guide walks you through every stage of the repair, from assessing the initial damage to executing the application and maintaining the patched area over time.
Assess the Damage and Verify Material Compatibility
Before purchasing or applying a patch, you must carefully evaluate the damaged area to determine if a self-adhesive patch is the appropriate solution. Examine the size, depth, and specific location of the tear or scratch. Flat, stable surfaces—such as the outer arms, backrests, or flat sections of seat cushions—are ideal candidates for patch repairs because they experience minimal stretching. Conversely, areas subject to constant flexing, such as deep tufted creases, seams, or the exact spots where cushions fold and compress, are much harder to patch successfully because the continuous movement can eventually stress and lift the adhesive.
Products mentioned in this guide
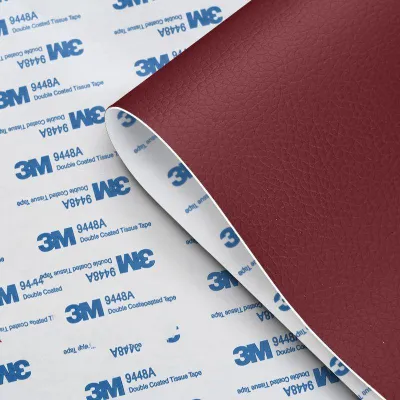
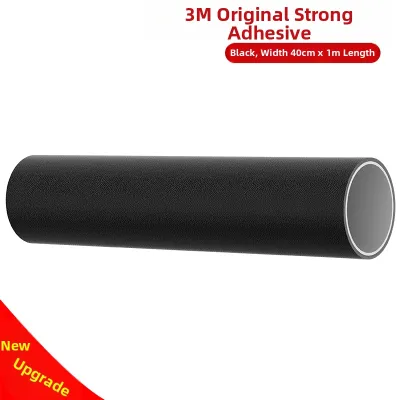
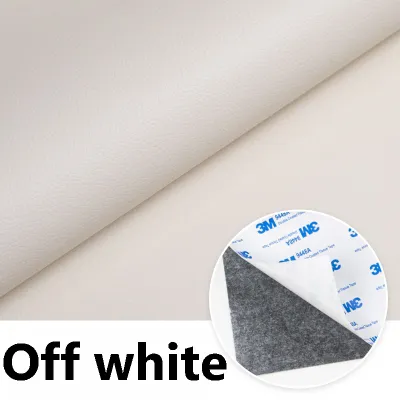
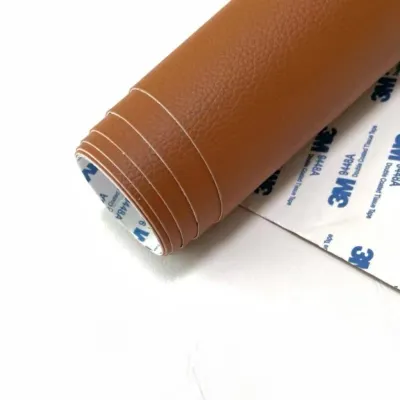
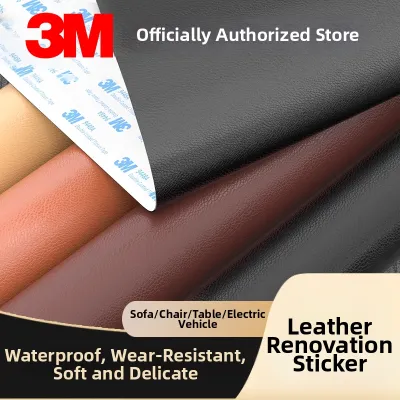
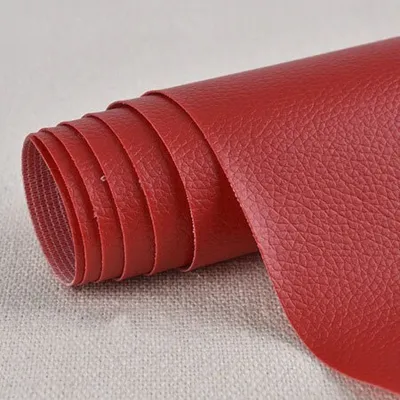
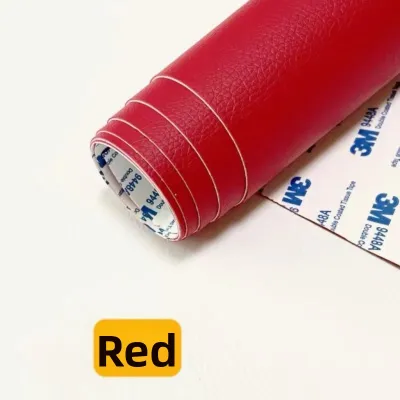
Prices are valid at publication and may change. Please refer to the product page for the latest price.
Next, verify the exact material of your furniture. Locate the manufacturer’s care label, which is typically found underneath the sofa frame, inside a zippered cushion cover, or detailed in the original purchase documentation. You need to confirm whether your furniture is made of genuine top-grain leather, bonded leather, or a synthetic alternative like polyurethane (PU) or polyvinyl chloride (PVC). Knowing the material helps you select a patch with a compatible adhesive and texture.
Finally, check the specifications of the patch against your furniture material. Some heavy-duty adhesives are formulated specifically for genuine leather and may contain solvents or bonding agents that can react poorly with synthetic coatings, leading to discoloration, bubbling, or peeling of the surrounding area. Reviewing these details beforehand ensures you do not inadvertently damage the upholstery or void any active manufacturer warranties.
Gather Tools and Prepare the Workspace
Having the correct tools on hand before you begin prevents unnecessary delays and ensures a smoother application process. To complete this repair, you will need your self-adhesive patch, a mild leather cleaner or prep solution, several clean and lint-free microfiber cloths, and a pair of exceptionally sharp household scissors or a utility knife. Using dull scissors can fray the edges of the patch, which makes them more likely to peel later.

Preparing your environment is just as critical as gathering your tools. Choose a clean, well-ventilated room with minimal dust, pet hair, and airborne debris. If you are working in a humid climate, consider turning on an air conditioner or a dehumidifier to lower the ambient moisture levels, as excess humidity can interfere with the initial tackiness of the adhesive. Ensure there is adequate lighting so you can clearly see the grain pattern and any subtle contours of the damaged area.
Before applying any cleaning agents or the patch itself to the visible portion of your furniture, perform a spot test on an inconspicuous area, such as the lower back or the underside of the sofa frame. Apply a small amount of your chosen leather cleaner and a tiny scrap of the patch adhesive to this hidden spot. Let it sit for several minutes, then wipe it away and inspect the area for any signs of color transfer, finish softening, or chemical reactions. Proceed only if the test area remains undamaged.
Clean and Prep the Leather Surface
Adhesive bonds require a completely clean, oil-free surface to adhere properly. Over time, leather furniture accumulates body oils, sweat, dust, pet dander, and residues from household cleaning products. If you attempt to apply a patch directly over these invisible layers, the adhesive will bond to the oils and dirt rather than the leather fibers, causing the patch to peel off within a few days.
Begin by applying a small amount of manufacturer-approved leather cleaner or the specific prep solution provided with your patch kit to a clean microfiber cloth. Gently wipe the damaged area and the surrounding leather, extending at least five centimeters beyond the perimeter of the tear. Use light, circular motions to lift embedded oils without scrubbing aggressively, which could worsen the tear or damage the surrounding finish.
Once the cleaning is complete, dampen a separate lint-free cloth with clean water and gently wipe the area to remove any lingering cleaner residue. Avoid saturating the leather, as excess water can seep into the exposed backing fibers of the tear and cause internal damage or mold growth. Allow the leather to dry completely in a well-ventilated space. Do not use a hair dryer on a high heat setting to speed up this process, as excessive heat can shrink and dry out the surrounding leather.
Cut and Apply the 3M Leather Patch
With the surface clean and dry, you can prepare the patch for application. Measure the damaged area carefully using a ruler. Your patch must be cut large enough to cover the entire tear or scratch, with an additional margin of at least one to two centimeters on all sides. This extra margin ensures that the adhesive bonds to strong, undamaged leather rather than the weakened edges of the tear.
Use your sharp scissors to trim the patch to the required size, and always round the corners. Sharp, 90-degree corners are highly susceptible to catching on clothing, blankets, or skin when people sit on the furniture, which quickly leads to peeling. Smooth, rounded corners distribute friction evenly and significantly extend the lifespan of the repair.
Carefully peel away a small portion of the backing paper to expose the adhesive, taking care not to touch the sticky surface with your bare fingers, as skin oils can compromise the bond strength. Align the patch precisely over the damaged area. Keep the surrounding leather in its natural, relaxed state; do not pull the leather taut or stretch the patch during application, as this creates constant tension that will eventually pull the patch loose.
Slowly lower the patch onto the leather, peeling away the remaining backing paper as you go. Once the patch is in place, apply firm, even pressure across the entire surface, working from the center outward to the edges. This technique pushes out any trapped air bubbles and ensures complete contact between the adhesive and the leather. For best results, use the flat edge of a plastic card wrapped in a soft cloth to press firmly along the rounded outer edges, sealing them tightly against the furniture.
Post-Application Curing and Maintenance
After applying the patch, the adhesive requires time to cure and form a permanent bond with the leather. Refer to the product packaging for the manufacturer’s recommended curing time, which is typically 24 hours. During this critical window, do not sit on, move, or place any weight on the repaired section of the furniture. Allowing the adhesive to cure undisturbed is vital for long-term durability.
Keep the furniture away from direct sunlight, air conditioning drafts, and direct heat sources during the curing phase. Extreme temperature fluctuations or direct heat can cause the adhesive to soften or cure unevenly, reducing its overall bond strength. If the patch is located on a reclining mechanism or a high-use seat cushion, keep the mechanism closed and avoid flexing the area until the curing period is fully complete.
Once cured, establish a gentle routine maintenance plan to protect the repaired area. Dust the furniture regularly with a dry, soft microfiber cloth. When conditioning your leather furniture, avoid applying heavy oils, creams, or liquid conditioners directly over or near the edges of the patch. These products can seep underneath the rounded borders, dissolve the adhesive backing, and cause the patch to lift over time. Only use conditioners that are explicitly labeled as safe for use near adhesive repairs.
When to Stop and Seek Professional Repair
While self-adhesive patches are excellent for minor scratches, small punctures, and localized wear, some types of damage require professional intervention. If your furniture has large structural tears, damage that runs directly through main load-bearing seams, or extensive peeling across bonded leather, a simple patch will not provide a lasting fix. Attempting to patch these areas often results in a temporary hold that fails under the weight of daily use.
Additionally, if you notice during your initial spot test that the leather finish reacts poorly to cleaning agents—such as color bleeding, cracking, or softening—stop the process immediately. Applying adhesive to unstable or degrading leather can cause further damage when you attempt to reposition or remove the patch.
For high-value antique furniture, complex structural damage, or items that are still covered under a retail warranty, it is always best to consult a professional furniture restorer or the original manufacturer. They can offer specialized repair options, such as professional color matching, sub-patching, or partial reupholstery, ensuring your furniture remains beautiful and structurally sound for years to come.
Frequently Asked Questions (FAQ)
Can I use a 3M leather patch on faux leather or vinyl?
Yes, many self-adhesive patches are compatible with synthetic materials like faux leather, PU, and vinyl. However, you must check the product packaging to confirm multi-surface compatibility. Always perform a spot test on a hidden area first, as some synthetic coatings can react with adhesives, leading to peeling or surface damage.
Will the patch be completely invisible after application?
While a high-quality patch will neatly cover and seal the damage, it is rarely completely invisible. Differences in texture, grain patterns, and natural color fading from sunlight mean the patch may look slightly different from the surrounding leather. Choosing a patch that closely matches your furniture’s color and matte or glossy finish will help it blend in as seamlessly as possible.
How long does a leather patch repair typically last?
The longevity of a patch repair depends on surface preparation, the location of the damage, and daily usage patterns. A patch applied to a flat, low-friction area like a backrest can last for years if the surface was cleaned thoroughly before application. Patches on high-use seat cushions or areas that flex constantly may require more frequent inspection and eventual replacement.
Community discussion
Share your experience or ask a question. Comments are reviewed before publication.