
Restoring worn furniture surfaces with 3M self-adhesive leather is an efficient way to extend the lifespan of your favorite pieces. Whether you are repairing a peeling office chair, a scuffed tabletop, or a worn sofa armrest, achieving a professional, bubble-free finish requires a methodical approach. The success of this repair depends heavily on meticulous surface preparation, precise cutting, and controlled application techniques.
In humid climates like Singapore, proper execution is even more critical. High ambient humidity can affect how adhesives cure and bond over time, making thorough cleaning and correct smoothing techniques essential to prevent edge lifting. By gathering the right tools and following a structured application process, you can achieve a seamless, durable finish that blends beautifully with your existing decor.
Assessing Furniture Suitability and Surface Preparation
Before purchasing your adhesive leather, evaluate the structural integrity and surface material of the furniture. Self-adhesive leather bonds most effectively to smooth, non-porous, or sealed substrates. Ideal candidates include finished wood, medium-density fibreboard (MDF), laminate, metal, and rigid plastics.
Products mentioned in this guide
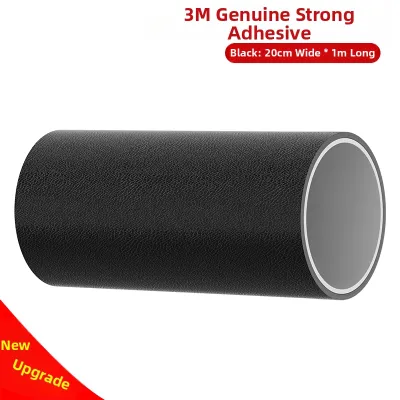
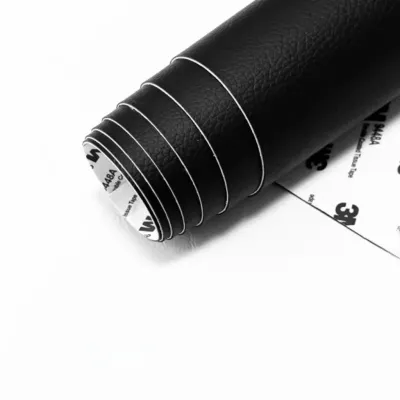
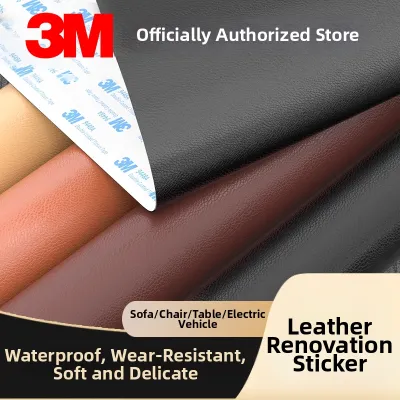
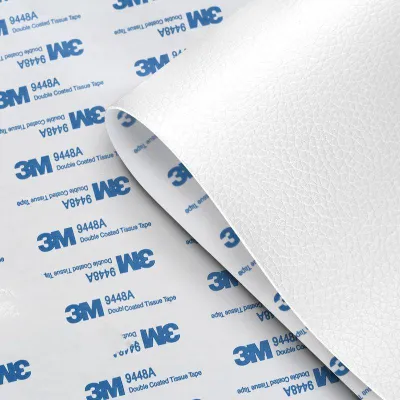
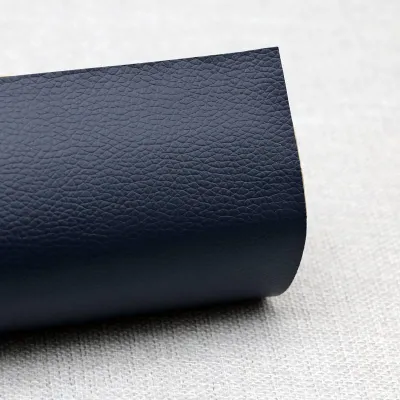
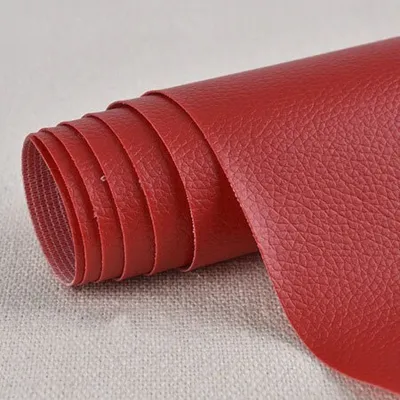
Prices are valid at publication and may change. Please refer to the product page for the latest price.
Avoid applying adhesive leather directly to heavily textured, raw, or highly porous surfaces. Unsealed concrete, raw plaster, and deeply grained, open-pore woods do not provide enough continuous surface area for the adhesive to establish a secure bond. If you attempt to apply the material to these surfaces, the adhesive is likely to fail prematurely, leading to peeling edges.
Inspect the furniture for physical damage such as deep scratches, gouges, dents, or loose veneers. These imperfections must be repaired before application, as any unevenness in the substrate will telegraph through the flexible leather sheet, creating visible bumps or weak spots. Fill dents with a compatible wood filler, sand the area completely flat once cured, and wipe away all sanding dust.
Establish clear stopping conditions before beginning your project. If the underlying furniture frame is structurally compromised, suffering from active wood rot, or severely water-damaged, self-adhesive leather will not resolve the issue. Swollen MDF or flaking paint must be stabilized or replaced entirely, as applying adhesive leather over an unstable base will only result in the material peeling away along with the failing substrate.
Essential Tools and Materials for the Job
Having the correct tools on hand ensures a smooth workflow and prevents accidental damage to the leather material during installation. You do not need specialized machinery, but basic hand tools are necessary for precise measurement and clean cuts.

Gather a sharp utility knife with snap-off blades, a heavy metal ruler or straightedge, a flexible squeegee with a felt edge, and a precise measuring tape. A sharp blade is critical; a dull knife will drag against the leather backing, causing jagged edges and tearing. The felt-edged squeegee allows you to apply firm pressure without scratching or scuffing the new leather surface.
Select a residue-free cleaning agent recommended by the adhesive manufacturer, such as isopropyl alcohol. Avoid harsh industrial solvents or household glass cleaners that leave behind a chemical film, as these residues will severely compromise the adhesive bond.
Prepare a clean, flat, and well-ventilated workspace with ample room to unroll and cut the leather sheets. In Singapore’s warm climate, it is best to work in a temperature-controlled indoor environment. High temperatures can make the adhesive backing overly tacky and difficult to reposition, while a dusty room can introduce airborne particles that get trapped under the sheet.
Step-by-Step Application Guide to Prevent Bubbles and Peeling
Applying self-adhesive leather is a task that rewards patience and precision. Rushing the process often leads to misalignment, trapped air, and uneven edges that are difficult to correct later.
The most effective strategy is to work in small, manageable sections. This approach allows you to maintain complete control over the material, ensuring the adhesive makes full contact with the substrate as you progress. The following step-by-step sequence outlines the path from initial cleaning to the final edge trim.
Surface Cleaning and Degreasing
The foundation of a long-lasting adhesive bond is a perfectly clean substrate. Dust, body oils, pet dander, and household grime accumulate on furniture over time, creating an invisible barrier that prevents the adhesive from sticking.
Dampen a lint-free microfiber cloth with your chosen residue-free cleaning agent and wipe the entire surface thoroughly. Use overlapping parallel strokes to ensure you do not miss any spots, paying extra attention to corners and edges where grime tends to collect.
Allow the surface to dry completely before proceeding. Even a tiny amount of trapped moisture can vaporize under the non-porous leather sheet, creating persistent bubbles and degrading the adhesive over time.
Never use wax-based, oil-based, or silicone-based furniture polishes prior to application. These products are designed to leave a protective, slick barrier on wood and leather, which will completely prevent the self-adhesive backing from bonding to the surface.
Measuring, Cutting, and Aligning the Leather
Accurate measurement prevents material waste and ensures complete coverage of the repair area. Use your measuring tape to determine the length and width of the surface you plan to cover.
Always add a standard overhang allowance of approximately 2 to 3 centimeters on all sides. This extra margin provides a safety net for minor alignment errors during application and ensures you have enough material to wrap cleanly around edges and corners.
Mark your measurements on the backing paper of the self-adhesive leather sheet, which typically features a helpful grid pattern. Place the sheet on a cutting mat and use your utility knife and metal ruler to make clean, straight cuts.
When you are ready to apply the leather, do not peel off the entire backing paper at once. Instead, peel back only a small starter strip of about 5 to 10 centimeters along one edge. This prevents the exposed adhesive from sticking to itself or bonding to the wrong part of the furniture prematurely.
Applying and Smoothing the Adhesive Leather
Align the exposed adhesive starter strip carefully with the starting edge of your furniture. Once you are satisfied with the alignment, press the edge down firmly to secure its position.
To apply the rest of the sheet without trapping air, use a center-to-edge smoothing technique. Slowly pull the backing paper away from underneath with one hand, exposing a few centimeters of adhesive at a time. Simultaneously, use your other hand to slide the felt-edged squeegee across the leather surface.
Move the squeegee in outward diagonal strokes, starting from the center line and pushing toward the outer edges. This motion actively forces air out from under the sheet before it can become trapped as a bubble.
If you notice a major misalignment or a large bubble forming, stop immediately. Carefully peel the leather sheet back while the adhesive is still fresh, realign the material, and resume smoothing. Avoid pulling or stretching the leather too hard, as it may shrink back to its original shape later, causing the edges to peel.
Trimming Edges and Securing Corners
Finishing the edges cleanly is crucial for preventing future peeling, especially on high-contact furniture like chair seats or armrests. Once the main flat surface is secured, press the leather firmly over the edges of the furniture.
To trim the excess material, hold your sharp utility knife at a slight angle pointing away from the finished surface. Guide the blade slowly along the edge of the furniture, using your metal ruler as a straightedge to protect the underlying material from accidental scratches.
Handling corners requires careful technique depending on the furniture’s profile. For sharp, 90-degree corners, make a neat miter cut or use a clean hospital corner fold to minimize bulk.
For rounded corners, you can gently warm the leather sheet with a hairdryer on a low heat setting. The mild heat temporarily increases the flexibility of the material, allowing you to stretch and smooth it over the curved edge without creating unsightly creases or folds.
Post-Application Care and Troubleshooting
After successfully applying the self-adhesive leather, allow the adhesive to cure fully before subjecting the furniture to heavy daily use. While the initial bond is immediate, the adhesive typically takes 24 to 48 hours to reach its maximum strength.
For routine maintenance, clean the repaired surface using a soft, slightly damp microfiber cloth. Avoid using abrasive scrubbers, harsh chemical detergents, or excessive water, which can seep under the edges and degrade the adhesive. Always refer to the manufacturer’s care label for specific cleaning recommendations.
If you notice minor edge lifting over time, inspect the area for dust contamination. If the adhesive is clean but has simply lifted, applying gentle heat with a hairdryer and pressing down firmly with a squeegee can reactivate the bond. However, if the adhesive has become contaminated with dust or oils, you may need to apply a small amount of a compatible, manufacturer-approved adhesive or replace that section of the leather sheet.
Keep in mind the physical limitations of self-adhesive leather. Avoid exposing the repaired surface to direct heat sources, such as hot coffee mugs or laptops, as high temperatures can soften the adhesive backing and cause shifting. Additionally, limit heavy abrasion and avoid exceeding the furniture’s original weight capacity, as excessive shear stress can cause the leather to slide or tear.
Frequently Asked Questions (FAQ)
Can I apply self-adhesive leather over existing peeling veneer?
Applying self-adhesive leather directly over peeling, flaking, or unstable veneer is not recommended and will likely lead to premature failure. The adhesive backing requires a stable, solid substrate to bond effectively; if it is applied over loose fragments, the new leather will simply lift away as the old veneer continues to detach from the furniture core.
To ensure a durable repair, you must first stabilize the underlying surface. Use a scraper to remove all loose or peeling veneer, and sand the transition areas until they are smooth. Fill any deep voids or uneven sections with a high-quality wood filler, allow it to cure completely, and sand the surface flat. Wipe away all sanding dust thoroughly before applying the self-adhesive leather.
How do I remove air bubbles that appear after application?
If small, stubborn air bubbles remain after you have finished applying the leather, they can often be resolved using a simple pin-prick method. Insert a very fine, clean pin or needle into the edge of the bubble at a shallow angle to create a tiny puncture. Gently press the trapped air out through the hole using a soft cloth, working from the outer edge of the bubble toward the puncture.
If you encounter an exceptionally large bubble or a cluster of bubbles, do not attempt to puncture them. This usually indicates a localized adhesion failure or trapped debris. Carefully peel back the affected section of the leather sheet, clear away any dust or particles, and reapply the sheet smoothly. If the adhesive has lost its tack due to contamination, you will need to replace that section with a fresh piece of leather.
Community discussion
Share your experience or ask a question. Comments are reviewed before publication.