
A typical Singapore HDB flat benefits most from a compact modem router rack measuring 25 cm to 40 cm in width, 15 cm to 25 cm in depth, and 15 cm to 35 cm in height. These dimensions comfortably accommodate standard service provider modems, optical network units (ONUs), and home routers while fitting neatly within tight entryway alcoves, adjacent to distribution boards, or inside media consoles without impeding foot traffic.
Selecting the right rack size requires balancing your network equipment’s physical footprint with the spatial realities of modern flat layouts. Choosing a rack that is too large can create physical bottlenecks in narrow corridors, while a rack that is too small can pinch cables and cause devices to overheat in our tropical climate. Assessing your specific layout and equipment needs will help you find the ideal balance between organization and space efficiency.
Understanding Space Constraints in HDB Flats
HDB flats feature distinct architectural layouts that dictate where your network equipment must reside. The most common installation zone is directly adjacent to the electrical distribution board (DB box), which is typically located near the main entryway or foyer. This area is highly functional but often suffers from limited clearance, especially in modern Build-To-Order (BTO) layouts where entryways double as narrow transition zones.
Products mentioned in this guide
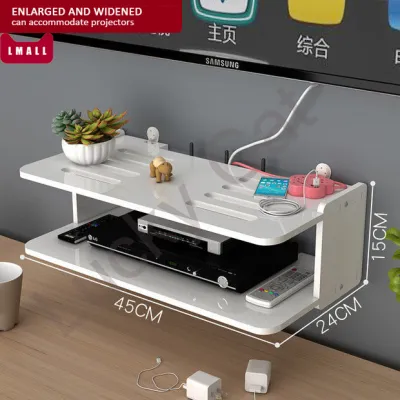
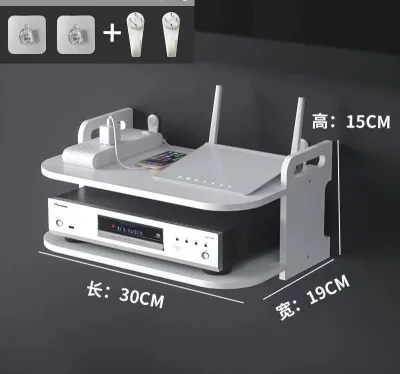
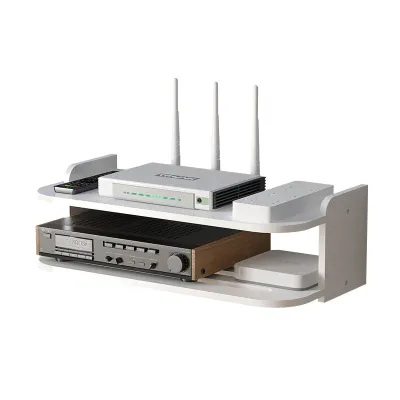
![[OKLIFE.SG]Wall-mounted WIFI storage rack/Dormitory punch-free storage rack/surveillance video storage rack](https://img.lazcdn.com/g/p/3e96e508453a8c1db1a2080fc949640d.jpg_400x400q80.jpg_.webp)
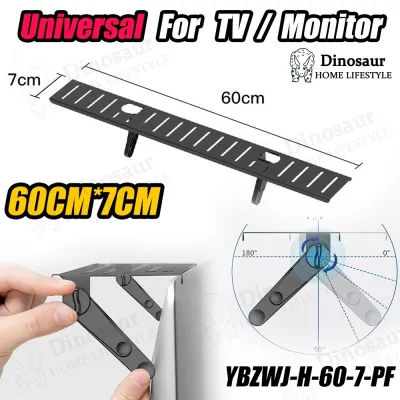
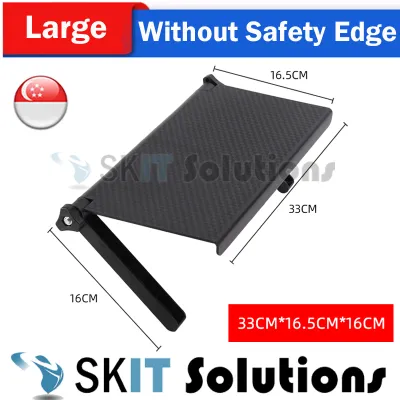
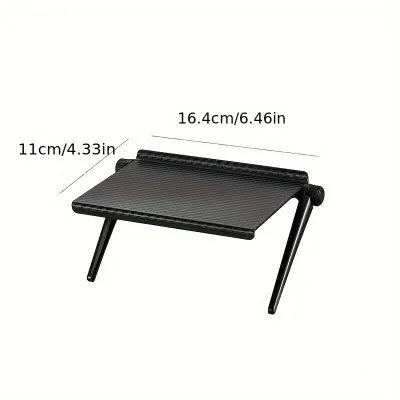
Prices are valid at publication and may change. Please refer to the product page for the latest price.
Another frequent placement zone is the living room TV console or media unit. While media consoles offer flat surfaces, they present depth limitations, with many modern slim consoles measuring only 30 cm to 35 cm deep. Placing a bulky rack in this zone can cause it to overhang, creating an unsightly and unstable setup that is easily bumped by family members or pets.
Older resale flats introduce different spatial challenges, as the fiber termination point (FTP) installed by NetLink Trust may be located in a bedroom or on a far wall in the living room rather than near the front door. These older layouts often lack dedicated alcoves, meaning your rack might have to sit on a desk or be mounted on a structural wall where space is at a premium.
Because HDB floor plans and structural elements vary significantly by estate age and flat type, you must identify your target installation zone before purchasing any organizing furniture. A solution that works perfectly on a spacious entryway shelf in a 5-room flat may completely block a narrow hallway in a 2-room Flexi or 3-room layout.
Standard Modem Router Rack Dimensions and Clearances
Modem router racks generally fall into three distinct size categories, each suited to different placement scenarios and equipment volumes. Understanding these profiles allows you to match the physical rack to both your home’s layout and your hardware requirements.

- Compact Desktop Shelves: Typically measuring 25 cm to 30 cm in width, 15 cm to 20 cm in depth, and 15 cm to 20 cm in height, these small wooden or plastic organizers are designed to sit on top of existing furniture. They are ideal for holding a single main router or a compact optical network terminal (ONT) on an entryway console table.
- Mid-Size Wall-Mounted Enclosures: Usually spanning 30 cm to 45 cm in width, 20 cm to 30 cm in depth, and 25 cm to 40 cm in height, these units are mounted directly to concrete or partition walls. They provide enough vertical space to stack a modem, a router, and a small network switch or smart home hub.
- Slim Floor-Standing Units: Often measuring 30 cm to 40 cm in width, 20 cm to 25 cm in depth, and 50 cm to 80 cm in height, these vertical towers sit on the floor in corners or beside desks. They are highly useful when you have multiple smart home bridges, power strips, and external hard drives to organize.
When evaluating these categories, always distinguish between external and internal dimensions. The external dimensions determine whether the rack will physically fit onto your shelf or wall space, while the internal dimensions must exceed the combined footprint of your active devices.
Furthermore, you must account for physical clearances around your hardware. Active electronic components require at least 5 cm of open space on the sides and top to allow passive airflow to dissipate heat. Additionally, you must allocate 5 cm to 8 cm of rear depth clearance to accommodate power adapters, ethernet plugs, and the critical bending radius of fragile fiber optic cables, which can break or lose signal if bent at sharp angles.
How to Measure Your Available Space Accurately
To ensure your chosen rack fits seamlessly into your home, you must measure the target area using a physical tape measure rather than relying on visual estimation. Begin by measuring the maximum usable width, height, and depth of the exact spot where the rack will sit or hang.
Next, evaluate the surrounding area for dynamic obstacles that could interfere with the rack. Open nearby cabinet doors, swing the main entryway door fully inward, and walk past the spot to ensure the rack’s depth does not protrude into active walking paths. In narrow HDB corridors, any object protruding more than 20 cm from the wall can become a safety hazard or a constant bumping point during daily movement.
Finally, locate your nearest power sockets and the fiber optic termination point. Measure the physical distance from these connection points to your proposed rack location. Your rack must be positioned close enough that all power cords and fiber patch cables can reach their destination naturally, without being stretched tight or draped across walkways where they create tripping hazards.
Space-Saving Installation Options for Compact Areas
If floor or console surface area is severely limited in your flat, wall-mounted racks offer an excellent alternative. Hanging your network gear on the wall frees up valuable floor space and keeps the entryway uncluttered. Before mounting, always check your flat’s layout plans to locate concealed electrical conduits or water pipes, and use a stud finder or wall detector if drilling into partition walls. Ensure you use appropriate wall plugs—such as heavy-duty rawlplugs for concrete walls or toggle bolts for drywall—to secure the rack safely.
Another clever approach is mounting the rack in less visible areas, such as underneath a study desk or behind a TV console. Specialized brackets or slim, open-backed racks can be screwed to the underside of wooden desk surfaces or hung from the back of media units, keeping your blinking LED lights and tangled cords completely out of sight while preserving your main surfaces.
Alternatively, you can integrate your network gear directly into existing household furniture, such as dedicating a shelf inside an entryway shoe cabinet or a compartment in your TV console. If you choose this route, you must address ventilation requirements. Enclosed spaces trap heat quickly; you can maintain safe operating temperatures by cutting out the back panel of the cabinet, replacing solid doors with mesh or louvers, or installing small, quiet USB-powered cooling fans to pull hot air out of the compartment.
Common Sizing Mistakes to Avoid
One of the most frequent errors when choosing a rack is buying a model that matches the exact physical dimensions of the modem and router. This mistake overlooks the significant bulk of power bricks, thick ethernet cables, and excess fiber optic cordage. Always choose a rack that offers at least 30% more internal volume than the devices themselves to allow for clean cable management and power strip placement.
Another critical mistake is placing active network equipment inside completely sealed, unventilated wooden or plastic boxes. Without adequate airflow, the ambient temperature inside the box will rise rapidly, leading to thermal throttling, frequent dropped connections, and a significantly shortened lifespan for your expensive routers and modems.
Lastly, avoid choosing a floor-standing rack that blocks narrow corridors, or placing your equipment too close to the floor in high-traffic areas. Racks sitting directly on the floor are highly vulnerable to dust accumulation, physical impacts, and moisture exposure during daily floor mopping. If you must use a floor-standing unit, select one with raised legs or mount it slightly above the floor level to protect your sensitive electronics.
Frequently Asked Questions (FAQ)
Can I install a modem router rack inside the HDB DB box?
You should avoid installing a modem router rack or placing active network equipment directly inside your HDB electrical distribution board (DB box). Mixing high-voltage electrical breakers and household wiring with low-voltage network gear poses safety risks, increases electromagnetic interference that can degrade your Wi-Fi signal, and leads to severe heat accumulation in an unventilated metal or plastic enclosure. Instead, mount your rack adjacent to, directly below, or outside the DB box cabinet where air can circulate freely.
How much extra space do I need around the router for ventilation?
As a general guideline, you should maintain at least 5 cm to 10 cm of unobstructed open space on all sides of your router, and keep the top surface completely clear of papers or other items. This surrounding air gap allows the device’s internal heatsinks to dissipate warmth effectively in Singapore’s humid climate. Always consult your specific router model’s manufacturer manual, as high-performance gaming routers and multi-band mesh nodes often have higher processing power and require more generous thermal clearances to prevent overheating.
Community discussion
Share your experience or ask a question. Comments are reviewed before publication.