
Protecting furniture hardware from dust is essential for maintaining both its aesthetic appeal and mechanical functionality. The most effective plastic cover for dust protection depends entirely on the specific type of hardware you are trying to shield. For exposed fasteners, rigid snap-in or low-profile adhesive caps work best. For moving joints like hinges, flexible, custom-molded covers prevent debris from entering the mechanism without restricting movement. For handles and knobs, partial sleeves or custom-fit caps protect delicate finishes from dust and finger oils. In tropical, humid environments like Singapore, where open windows let in both fine dust and ambient moisture, choosing the right cover requires balancing dust exclusion with ventilation to prevent moisture buildup.
Why Protect Furniture Hardware from Dust and Debris?
Dust is not merely an aesthetic nuisance; it is an abrasive mixture of dead skin cells, fabric fibers, soil particles, and microscopic debris. When these particles settle on furniture hardware, they can cause gradual but significant wear. Over time, dust mixes with the lubricants present in moving joints, such as cabinet hinges or drawer slides, forming a gritty paste. This paste increases friction, leading to stiff movement, squeaking, and accelerated wear of the metal components. On static hardware like exposed screws or decorative handles, dust accumulation can dull polished finishes, trap moisture against the metal surface, and eventually lead to localized corrosion or tarnishing.
Certain environments demand higher levels of hardware protection. High-traffic areas like kitchens and living rooms are prone to airborne grease and dust, which quickly coat exposed hardware. Rooms with open shelving, home workshops, or apartments located near busy roads experience elevated dust levels, making protective covers highly beneficial. However, covers are not universally necessary. Concealed hinges inside tightly sealed cabinets or hardware with sealed, self-lubricating bearings generally do not require external dust covers. In fact, adding covers in these situations can sometimes trap moisture or restrict necessary airflow, making them counterproductive.
Products mentioned in this guide
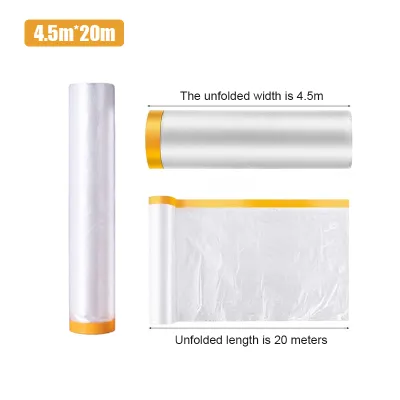
![[SG SELLER]Plastic Dust Cover Dust Prevention Renovation Drop Sheet Protective Plastic Film Furniture Dustproof Cover Paintproof Waterproof Cover Sheet Rolls](https://img.lazcdn.com/g/p/d2c82f6cde5eed649a28d487364fc7d2.png_400x400q80.png_.webp)
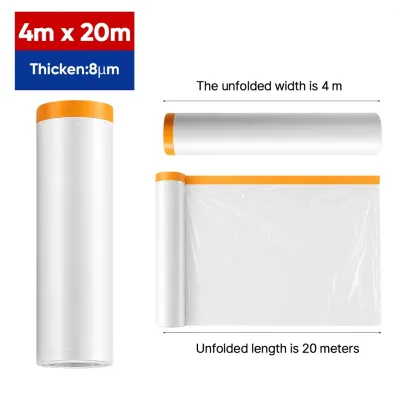
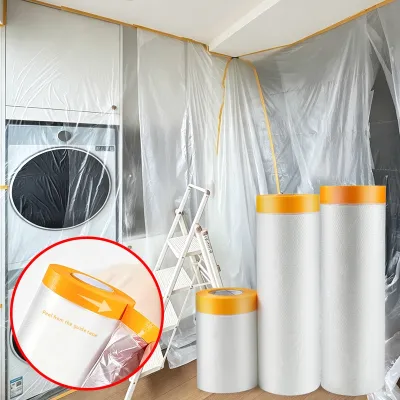
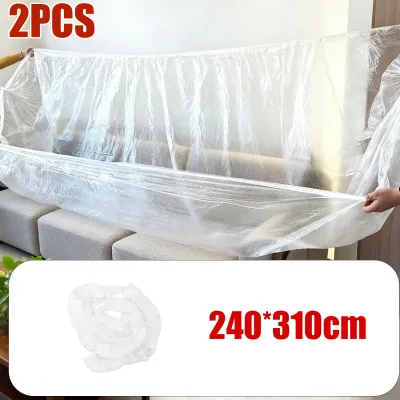
Prices are valid at publication and may change. Please refer to the product page for the latest price.
From a practical standpoint, investing in simple dust covers can save significant maintenance costs over time. While a pack of plastic covers might cost only S$5 to S$15, replacing damaged designer handles or specialized cabinet hinges can easily run into tens or hundreds of dollars. This makes dust prevention a highly cost-effective strategy for preserving the value of your furniture.
Screw Caps for Exposed Fasteners: Selection and Fit
Exposed screws on flat-pack furniture, shelving units, and bed frames are prime targets for dust accumulation. Selecting the right plastic cover for dust protection on these fasteners involves understanding the different attachment mechanisms available.

Snap-in caps feature a small collar or plug on the underside that presses directly into the drive recess of the screw, such as the cross-recess of a Phillips screw or the hex socket of an Allen bolt. These provide a highly secure, flush fit but require the screw head to be completely undamaged and clear of debris. Adhesive-backed plastic caps, on the other hand, are thin, flat discs with a pressure-sensitive adhesive on the reverse side. They stick directly over the screw head and a small portion of the surrounding wood or laminate. These are ideal for flat-head screws that sit flush with the furniture surface. Peel-and-stick caps offer a quick, low-profile solution but may lose adhesion over time in warm, humid conditions.
Before purchasing, you must verify key dimensions. Measure the outer head diameter of the screw to ensure the cap covers the entire metal surface. You must also match the cap to the specific screw head type; a cap designed for a flat-head Phillips screw will not fit securely over a raised pan-head or round-head screw.
Aesthetic integration is another key factor when selecting screw caps. Many manufacturers offer caps in a wide range of colors and wood-grain patterns designed to blend seamlessly with common furniture finishes like oak, walnut, white laminate, or matte black. When choosing a cap, try to match the color as closely as possible to the surrounding furniture surface rather than the screw itself, as this helps the fastener visually disappear into the background.
Additionally, consider safety and structural limitations. Plastic caps should never be used to hide structural damage, loose fasteners, or stripped screws. On load-bearing furniture, such as heavy wardrobes or bunk beds, ensure that the application of a cap does not prevent you from regularly inspecting the tightness of the screws. If a screw requires frequent tightening, a snap-in cap that is difficult to remove without a tool may hinder routine maintenance.
Hinge Covers for Moving Parts: Clearance and Functionality
Protecting hinges from dust requires a careful balance between coverage and mechanical clearance. Unlike static screws, hinges undergo constant movement, meaning any protective cover must accommodate this motion without binding or catching.
The approach differs significantly between surface-mounted hinges and concealed hardware. Surface-mounted hinges, often found on rustic or traditional furniture, are fully exposed to the room’s environment. Covers for these hinges typically consist of flexible, snap-on plastic sleeves that wrap around the barrel of the hinge. Concealed hinges, while partially protected inside the cabinet, can still accumulate dust on their spring mechanisms and adjustment screws. Specialized plastic caps can be clipped over the hinge arm and cup to seal these delicate parts from airborne kitchen grease and dust.
The primary technical challenge when installing hinge covers is verifying clearance gaps. You must measure the space between the door edge and the cabinet frame when the door is fully closed, partially open, and fully open. If the plastic cover is too thick, it will catch on adjacent surfaces, preventing the door from closing properly or putting undue stress on the hinge screws.
When testing the fit of a hinge cover, open and close the cabinet door slowly several times. Listen closely for any rubbing or clicking sounds, which indicate that the cover is making contact with the frame. If you feel any resistance while moving the door, remove the cover immediately. Forcing a door to close against an oversized cover can warp the hinge arm or strip the mounting screws out of the cabinet wall, leading to costly repairs.
Material selection is critical here. Look for covers made from flexible plastics like polyethylene or polypropylene, which can withstand repeated flexing without cracking. Avoid rigid, brittle plastics that may snap under the pressure of daily door operation.
Handle and Knob Caps: Protecting Finishes and Grips
Handles and knobs are the most frequently touched components on any piece of furniture, making them susceptible to a combination of dust, skin oils, and cleaning chemicals. Plastic covers for these elements serve a dual purpose: keeping dust out of hard-to-clean crevices and protecting delicate metallic or painted finishes from wear.
Primary use cases include protecting intricate, hollow-backed handles where dust easily accumulates and is difficult to wipe out, as well as safeguarding polished brass, copper, or matte black finishes that tarnish or scratch easily.
Matching the cap shape to the handle profile is essential for both aesthetics and functionality. Cylindrical bar pulls can be fitted with clear, flexible plastic sleeves that slide over the ends. Rectangular or square handles require more structured, angular caps. For irregular or highly decorative knobs, stretchable silicone-based covers offer a conforming fit that wraps around the entire shape.
In addition to dust, unprotected handles are frequently exposed to harsh household cleaning chemicals and sanitizers. Over time, these chemical residues can react with metallic platings, causing them to peel, discolor, or pit. A protective plastic cover acts as a physical barrier, shielding the delicate metal from direct chemical contact during routine room cleaning and ensuring the hardware retains its original luster for years.
However, there are trade-offs regarding grip ergonomics. A full encapsulation cover, while providing maximum dust protection, can alter the tactile feel of the handle, making it slippery or uncomfortable to hold. In high-use areas, partial shields—which cover only the top and back crevices where dust settles while leaving the main gripping surface exposed—often provide a better balance between protection and usability.
Step-by-Step Guide to Measuring and Matching Hardware Covers
To ensure a precise fit and avoid the hassle of returns, follow this systematic measurement process before purchasing any plastic covers.
First, gather the necessary tools. While a standard tape measure can work for larger handles, digital calipers are highly recommended for measuring small hardware like screw heads and hinge components. Calipers provide accuracy down to the millimeter, which is crucial when dealing with tight tolerances.
Step 1: Measure the outer diameter. For screws, measure the widest part of the screw head. For round knobs, measure the maximum diameter of the grip.
Step 2: Measure the depth or projection. For screws, determine how far the head protrudes from the furniture surface. For handles, measure the distance from the furniture face to the outermost point of the handle.
For recessed screws that sit below the surface of the furniture, you must also measure the depth of the recess hole. Use the depth gauge probe on the back of your digital calipers to measure from the outer furniture surface down to the screw head. The plastic cap you select must have a plug or collar depth that matches this measurement; if the plug is too long, the cap will stick out, and if it is too short, it will not reach the screw head to secure itself.
Step 3: Measure the clearance. For hinges and handles near door edges, measure the gap between the hardware and any adjacent walls, frames, or other doors when open and closed.
Once you have these physical measurements, compare them carefully against the manufacturer’s product specifications and labels. Do not rely solely on generic size categories like “small” or “medium.” Check the exact inner dimensions of the plastic covers to ensure they accommodate your hardware with a slight friction fit or sufficient clearance, depending on the cover type.
Installation, Care, and When to Remove Covers
Proper installation and ongoing maintenance are vital to ensure that plastic covers protect your hardware rather than causing unintended damage.
Before installing any cover, especially adhesive-backed types, surface preparation is critical. Clean the hardware thoroughly with a mild, non-abrasive cleaner to remove all dust, grease, and finger oils. Allow the surface to dry completely. Any trapped moisture or residue will compromise the adhesive bond and can lead to corrosion beneath the cover.
Routine care involves wiping down the plastic covers with a damp microfiber cloth during your regular cleaning schedule. Avoid using harsh chemical solvents or abrasive scrubbing pads, which can scratch or cloud the plastic, reducing its aesthetic appeal and making it harder to inspect the hardware underneath.
Be vigilant for conditions that require immediate removal of the covers. If you observe any signs of trapped moisture, such as condensation droplets or cloudiness inside a clear cover, remove it immediately to let the hardware dry. Similarly, if you notice the underlying hardware loosening, or if you need to perform a structural inspection of load-bearing joints, take the covers off. Regularly check that the covers themselves have not become brittle or cracked, replacing them as needed to maintain effective dust protection.
Frequently Asked Questions (FAQ)
Can plastic dust covers trap moisture and cause rust?
Yes, plastic dust covers can trap moisture, particularly in humid environments like Singapore. If a cover is applied over damp hardware, or if warm, humid air penetrates a poorly sealed cover and then cools, condensation can form inside. Because plastic is non-porous, this moisture cannot easily escape, creating a microenvironment that accelerates rust and corrosion on steel or iron hardware. To prevent this, ensure the hardware is completely dry before installation, and choose breathable or easily removable covers in high-humidity areas. Regularly inspect clear covers for any signs of internal moisture.
Are silicone covers better than hard plastic for dust protection?
Neither material is universally superior; the best choice depends on the hardware shape and application. Silicone covers offer excellent flexibility, stretching to conform to irregular shapes and creating a tighter, more dust-resistant seal around handles and knobs. They are also highly durable and resistant to temperature fluctuations. Hard plastic covers, such as those made from PVC or polystyrene, are better suited for uniform, flat surfaces like screw heads, where a rigid, low-profile, and flush finish is desired. When purchasing, check the product labels for material composition, UV resistance, and temperature tolerances to match your specific environment.
How do I remove adhesive screw caps without damaging the furniture finish?
To remove adhesive-backed caps safely, start by gently sliding a thin, plastic pry tool or an old plastic card under the edge of the cap. Avoid metal tools, which can easily scratch wood veneers or laminates. If the adhesive is stubborn, you can apply mild heat from a hair dryer on its lowest setting for a few seconds to soften the glue, provided the furniture manufacturer’s care instructions permit heat exposure. Once the cap is off, clean any residual adhesive using a mild soap solution or a specialized adhesive remover that is explicitly labeled as safe for your specific furniture finish. If you encounter resistance or fear damaging a delicate finish, stop immediately and consult the furniture manufacturer’s care guide.
Community discussion
Share your experience or ask a question. Comments are reviewed before publication.