
Finding the right wall remote holder for a small living room requires balancing accessibility, capacity, and wall safety. In compact spaces, keeping TV and air conditioning remotes organized without cluttering coffee tables is essential. This guide outlines the critical selection criteria, compares installation types, and provides actionable installation and maintenance steps to help you choose and set up a reliable wall-mounted organizer that fits your specific layout and wall conditions.
Key Selection Criteria for Compact Spaces
When space is limited, every item added to a wall must be chosen with care to avoid visual clutter and physical obstruction. The first step in selecting a remote holder wall unit is assessing the physical dimensions and weight of your remote controls. Air conditioning remotes in Singaporean homes are often thicker and heavier than modern, slim television or streaming stick remotes. You must measure the thickness of your bulkiest remote to ensure it will fit comfortably inside the holder’s slots without getting stuck or forcing the holder to bend.
Weight distribution is equally important. A heavy remote placed in a shallow or flimsy holder can cause the unit to tilt forward, putting unnecessary stress on the mounting mechanism. Ensure the holder has a low center of gravity or a deep enough pocket to support taller remotes without them tipping over.
Products mentioned in this guide
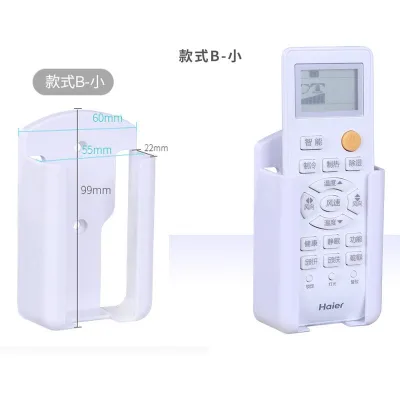
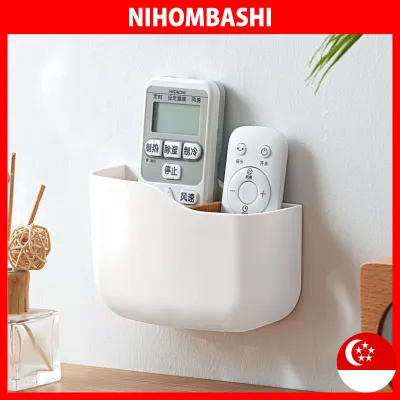
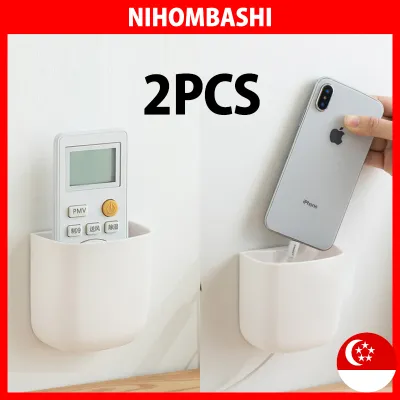
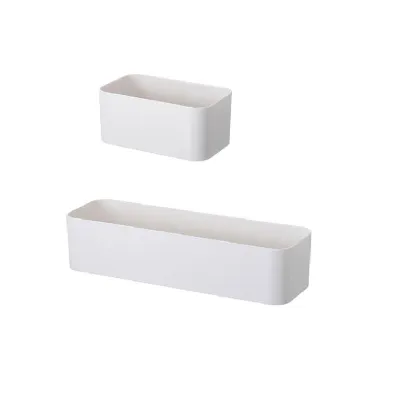
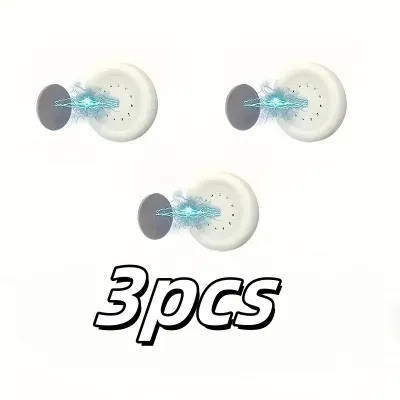
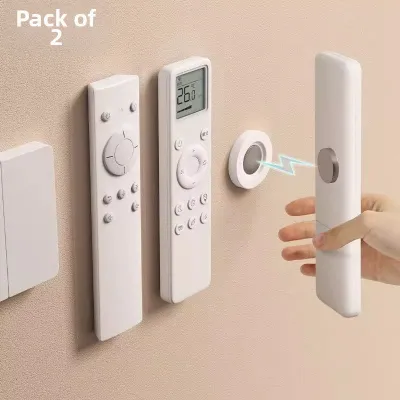
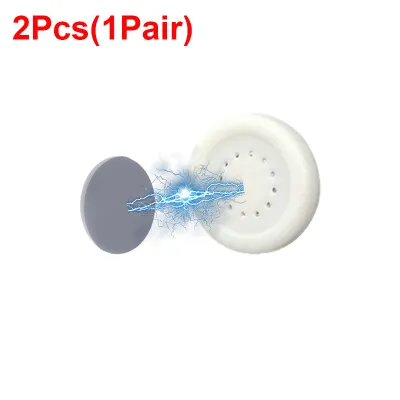
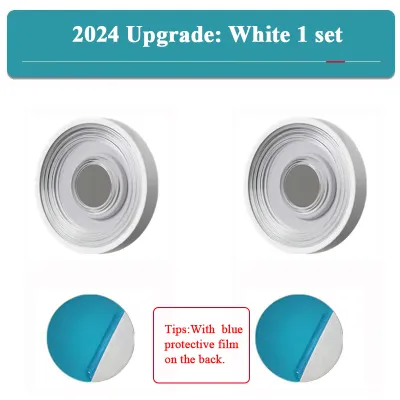
Prices are valid at publication and may change. Please refer to the product page for the latest price.
The visual footprint and profile depth of the organizer are critical factors in a compact HDB living room. In narrow walkways or tight seating arrangements, a holder that protrudes too far from the wall can easily be bumped by family members or guests. Opt for low-profile designs that keep the remotes as close to the wall surface as possible. A depth of less than five centimeters is generally ideal for maintaining clear pathways.
Additionally, consider the aesthetic impact of the holder. Choosing a color that matches your wall paint or nearby furniture helps the organizer blend into the background, reducing visual noise. Transparent acrylic or neutral-colored plastics are popular choices for modern, minimalist HDB interiors.
Slot width and internal texture are often overlooked details that significantly affect usability. If the slots are too wide, slim remotes may slide around, sit at awkward angles, or slip out entirely when retrieved in a hurry. Look for holders with internal dividers or tapered slots that keep each remote upright and secure.
The internal surface texture also matters. Smooth, hard plastic or acrylic can cause remotes to slide and rattle, whereas holders lined with soft silicone, felt, or textured ridges provide grip and prevent scratches on your devices. Checking these small design features ensures your remotes remain pristine and easy to access daily.
Types of Wall Remote Holders to Consider
Understanding the different categories of wall-mounted organizers allows you to match the product to your specific storage needs and wall conditions. The market offers various designs, primarily distinguished by their installation methods and storage capacities. By evaluating these options, you can select a holder that integrates seamlessly into your HDB living room layout.

Adhesive vs. Screw-Mounted Options
Adhesive remote holders are highly popular due to their ease of installation and damage-free potential, making them excellent for rental flats or homeowners hesitant to drill into pristine walls. These holders typically use double-sided foam tape or silicone-based adhesives to bond directly to the wall. They are ideal for smooth, non-porous surfaces such as ceramic tiles, glass panels, metal, or sealed wooden cabinets.
When opting for an adhesive holder, it is crucial to check the manufacturer’s specified weight limits and allow the adhesive to cure fully before placing any remotes inside. Rushing this process often leads to the holder falling and potentially damaging your remotes.
Screw-mounted holders, on the other hand, offer unmatched stability and are the preferred choice for heavy-duty storage or textured wall surfaces. If you plan to store multiple heavy remotes, smart home tablets, or game controllers, a screw-mounted unit provides the necessary structural support.
Installing a screw-mounted holder requires basic tools, including a drill, wall plugs, and screws suitable for your wall type—whether it is concrete, drywall, or brick. Before drilling, always check for hidden utility lines, such as electrical wiring or water pipes, especially if mounting near light switches or air conditioning units. While screw mounting is permanent and leaves holes that require patching later, it ensures the holder remains securely attached for years.
Single-Slot vs. Multi-Compartment Designs
The choice between single-slot and multi-compartment designs depends on the number of devices you need to manage and your aesthetic preferences. Single-slot or dual-slot holders are perfect for minimalist setups where you only need to store a primary TV remote and perhaps a soundbar controller. These compact designs have a very small physical footprint, allowing you to mount them discreetly on the side of a TV console, next to a light switch, or behind a door.
By keeping the storage capacity limited, you maintain a sleek, uncluttered look that aligns with modern interior design principles.
Multi-compartment caddies are designed for households with complex entertainment systems or multiple smart home devices. If your living room features a TV, soundbar, media player, air conditioner, ceiling fan, and smart lighting, a single-slot holder will not suffice. A multi-compartment organizer consolidates all these controllers into a single, centralized hub.
While these caddies offer superior organization, they do have a larger visual bulk and profile. To mitigate this, look for multi-compartment designs with staggered heights, which allow you to see and access each remote easily without making the holder look overly massive on your wall.
Installation and Wall Surface Compatibility
Proper installation is key to ensuring your remote holder wall unit remains secure and does not cause damage to your home. The first step is identifying whether your chosen wall surface is compatible with the mounting method. Smooth, painted concrete walls, ceramic tiles, glass, and sealed wood are excellent candidates for both adhesive and screw mounts.
However, surfaces with peeling paint, textured plaster, wallpaper, or moisture issues are highly unsuitable for adhesives, as the bond will fail quickly. Freshly painted walls should be allowed to cure for at least several weeks before applying any adhesive mounts to prevent the paint from peeling off when the holder is eventually removed.
For adhesive installations, preparation is critical. Begin by cleaning the target area thoroughly with rubbing alcohol to remove dust, grease, and fingerprint oils. Avoid using household glass cleaners or soapy water, as they can leave a residue that interferes with the adhesive bond.
Once the surface is completely dry, apply the adhesive tape to the back of the holder, press it firmly against the wall, and hold it in place with steady pressure for at least thirty seconds. It is vital to leave the holder empty for the manufacturer’s recommended curing period—typically twenty-four hours—before placing any weight inside. This waiting period allows the adhesive to form a strong, permanent bond with the wall surface.
If you encounter challenging wall conditions, such as heavily textured walls, or if your tenancy agreement strictly prohibits any wall modifications, you should stop and consider alternative solutions. Forcing an adhesive mount onto an unsuitable surface will likely result in a fallen holder and broken remotes. In such cases, consulting a professional handyman for safe drilling or switching to a freestanding organizer that sits on an existing shelf or sofa armrest is a much safer and more reliable approach.
Maintenance and Longevity Checks
To keep your wall-mounted remote holder looking pristine and functioning safely, regular maintenance is necessary. Dust and airborne oils from cooking or air conditioning units can accumulate inside the compartments over time, creating a sticky residue. Periodically remove all remotes and wipe down the holder using a soft, damp microfiber cloth.
Refer to the manufacturer’s care instructions for specific material recommendations; for instance, acrylic holders should be cleaned with mild soap and water rather than harsh chemical sprays, which can cause the material to cloud or craze.
Environmental factors, such as high humidity and exposure to direct sunlight through living room windows, can affect the longevity of your holder. Periodically inspect adhesive mounts for signs of peeling, lifting, or sliding down the wall. For screw-mounted units, check that the screws remain tight and the wall anchors have not loosened within the wall material.
Catching these issues early prevents accidental falls that could damage your floor or your electronic devices.
Over time, materials will inevitably show signs of wear and tear. Plastic holders may yellow or become brittle when exposed to UV light, acrylic can develop hairline cracks, and metal components might show signs of rust in humid conditions. If you notice any of these signs of material fatigue, or if the adhesive backing has lost its grip, it is time to safely replace the unit. Upgrading a worn holder ensures your living room remains safe, organized, and visually appealing.
Frequently Asked Questions (FAQ)
Can adhesive remote holders damage wall paint when removed?
Yes, strong adhesives can peel off wall paint or damage drywall if removed improperly. To minimize the risk of damage, apply gentle heat to the adhesive backing using a hairdryer set to low or medium heat. The heat softens the adhesive, making it more pliable. Once warmed, slide a piece of dental floss or thin fishing line behind the holder and use a sawing motion to slice through the foam tape. This separates the holder from the wall without pulling on the paint. Any remaining adhesive residue can be gently rubbed away with your fingers or cleaned with a mild adhesive remover, keeping your wall intact.
How can I organize remotes if my wall space is completely full?
If your wall space is fully occupied or you cannot mount items to the wall, there are several clever alternative space-saving solutions. Consider using a fabric or leather sofa armrest caddy, which drapes over the side of your couch and provides multiple pockets for remotes without taking up any wall or table space. Another option is utilizing coffee tables or side tables with built-in hidden storage compartments or drawers to keep remotes out of sight. Alternatively, you can attach a compact adhesive remote holder directly to the side of your existing TV console, bookshelf, or side table, utilizing existing furniture surfaces instead of your walls.
Community discussion
Share your experience or ask a question. Comments are reviewed before publication.