
A damaged leather sofa can quickly disrupt the clean, polished look of your living room, leaving you to decide whether a quick DIY fix is enough or if you need to call in a professional. A leather patch offers a highly accessible, budget-friendly solution for minor, isolated surface issues such as small punctures, shallow pet scratches, or tiny tears. However, for structural damage, extensive peeling, or tears along high-tension seams, a simple patch is merely a temporary band-aid that will likely fail under daily use. Understanding the specific nature of your sofa’s damage, the material composition, and the limits of DIY repair kits will help you make a practical decision that preserves both the appearance and the longevity of your furniture.
Assessing the Damage: Is a Leather Patch Suitable?
Before purchasing any repair materials, you must carefully inspect the damaged area to determine if a patch can successfully bond and hold over time. Minor surface scratches that have not penetrated the backing, small isolated punctures, shallow burn holes, and minor pet claw marks are excellent candidates for a DIY patch. These issues are typically localized, meaning the surrounding leather remains strong, stable, and capable of supporting an adhesive patch without transferring structural stress to the repair site.
To evaluate a tear, look closely at the edges of the damaged material. Clean, sharp edges with minimal fraying are relatively easy to patch because they allow the repair material to sit flush against the original surface. If you notice significant fraying, or if the underlying foam cushion is exposed, degraded, or completely missing, a simple surface patch will struggle to perform. Exposed foam often requires a sub-patch or a structural filler to rebuild the support layer before any surface-level repair can be applied.
Products mentioned in this guide
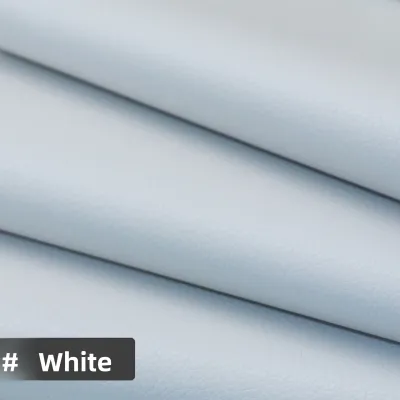
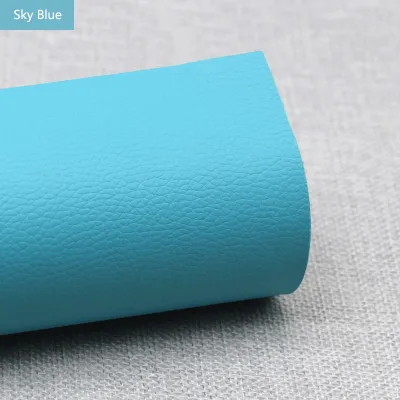
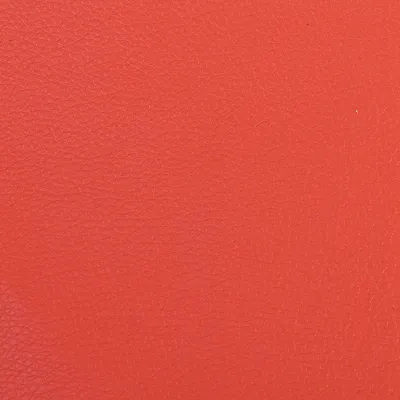
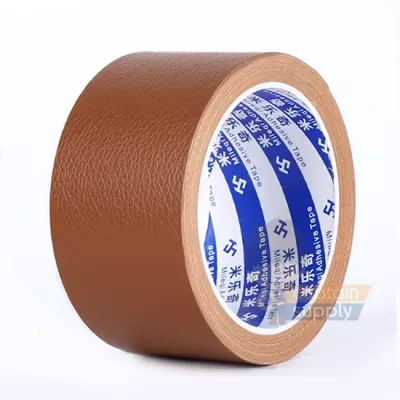
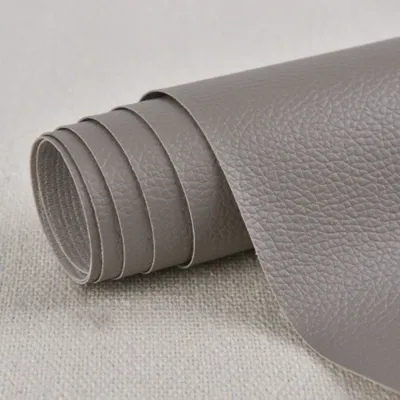
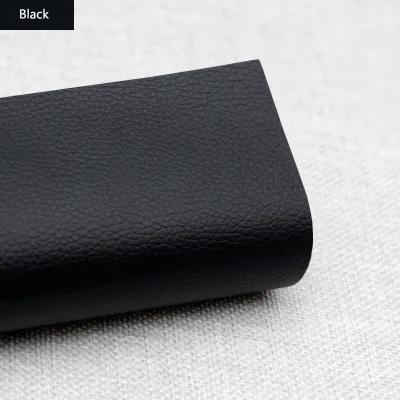
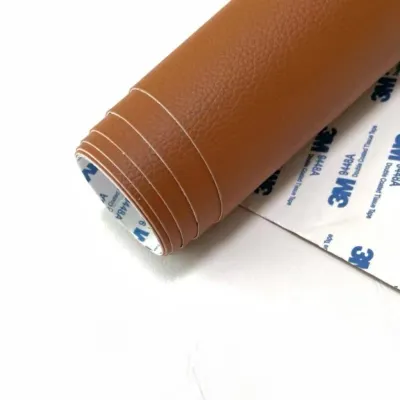
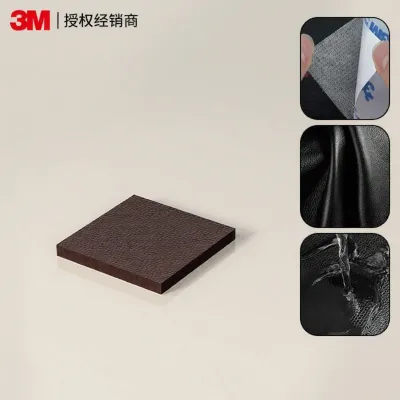
Prices are valid at publication and may change. Please refer to the product page for the latest price.
There are several clear red flags that rule out a simple surface patch entirely. If your sofa is experiencing widespread peeling, particularly common in older synthetic or bonded leathers, a patch will not hold because the surrounding material is already disintegrating. Similarly, splits that run directly along structural seams or high-tension areas—such as the front edge of the seat cushions or the main armrest curves—will quickly pull apart under the weight of someone sitting down. Deep gouges that compromise the overall shape of the cushion also require more advanced structural restoration than a standard patch can provide.
Material Compatibility and Color Matching Limits
A successful DIY repair depends heavily on how well the patch material and its adhesive interact with your sofa’s specific upholstery. Your first step should be locating the manufacturer’s material tag, usually found under the seat cushions or on the dust cover underneath the sofa frame. This tag will identify whether your sofa is made of genuine top-grain leather, faux leather (such as polyurethane or vinyl), or bonded leather. Different materials react differently to adhesives; for instance, some strong solvent-based glues can melt synthetic faux leathers or fail to bond with the natural oils in high-end genuine leather.

Achieving a seamless visual blend is one of the greatest challenges of DIY leather repair. Even if you find a patch that matches the original color of your sofa perfectly on paper, natural factors will affect the final look. Over time, exposure to sunlight, ambient indoor lighting, and daily wear will fade and alter the original hue of your sofa. Additionally, leather surfaces feature distinct grain patterns, ranging from smooth and fine to deep and pebbled, which a flat adhesive patch cannot easily replicate.
To avoid a glaring mismatch, never rely solely on how a color looks on your smartphone or computer screen, as digital displays often distort shades. Instead, try to obtain physical color swatches or material samples from the patch manufacturer to compare directly against your sofa in different lighting conditions throughout the day. If physical samples are unavailable, choose a patch that is slightly darker rather than lighter than your sofa, as darker patches tend to blend more naturally into shadows and creases.
When to Choose Professional Upholstery Repair
While a DIY patch is an excellent, cost-effective option for minor blemishes, certain scenarios demand the expertise of a professional upholsterer to prevent irreversible damage. Extensive surface degradation, such as large areas of flaking, cracking, or peeling across multiple cushions, cannot be resolved with patches. Attempting to cover large sections with adhesive sheets often results in an unsightly, stiff texture that ruins the comfort of the sofa and fails to stop the underlying material from continuing to deteriorate.
Internal structural issues also lie far beyond the scope of a simple surface repair. If your sofa exhibits deep sagging, broken springs, or a compromised wooden frame, a surface patch is entirely cosmetic and will do nothing to restore the furniture’s structural integrity. Similarly, if the internal foam has collapsed or lost its resiliency, the sofa must be professionally disassembled so the foam can be replaced or wrapped before any leather repairs are attempted.
When deciding between a DIY patch and professional service, consider the overall value, age, and sentimentality of your furniture. While a simple self-adhesive patch might cost under S$20, professional reupholstery quotes can range significantly higher, reflecting the skilled labor and premium materials required. For high-end, top-grain genuine leather sofas, antique pieces, or cherished family heirlooms, an improper DIY repair can significantly diminish the aesthetic and monetary value of the piece. In Singapore, professional reupholstery or targeted leather restoration services can provide a seamless, long-lasting finish that preserves the integrity of premium materials, making the investment highly worthwhile for quality furniture.
Preparing and Applying a DIY Leather Patch
If you have determined that your sofa’s damage is suitable for a DIY fix, proper preparation is the most critical factor in ensuring the patch adheres securely and lasts. Begin by thoroughly cleaning the area surrounding the damage using a mild, manufacturer-approved leather cleaner to remove body oils, dust, and conditioning residues that could weaken the adhesive. Avoid using harsh household detergents, rubbing alcohol, or excessive water, which can dry out the leather or damage its finish; allow the surface to dry completely before proceeding.
Once the surface is clean and dry, prepare the patch by trimming its corners with sharp scissors to create rounded edges. Rounded corners are far less likely to catch on clothing or peel up over time compared to sharp, square corners. If you are using a self-adhesive patch, carefully peel back the liner, align the patch over the damage with a small margin of overlap on all sides, and press it firmly from the center outward to push out any trapped air bubbles. For patches requiring separate leather glue, apply a thin, even layer of the recommended adhesive to the backing, ensuring you do not over-apply, which could cause glue to squeeze out past the edges.
It is vital to monitor the application process closely and establish clear stop conditions to prevent further damage to your sofa. If you notice the adhesive causing any discoloration, bubbling, or softening of the original leather surface, stop immediately and wipe away the residue. Likewise, if the patch fails to lay completely flat, or if the act of applying pressure causes the original tear to expand or stretch, halt the process and consult a professional repair service before the damage becomes unmanageable.
Frequently Asked Questions (FAQ)
Will removing a leather patch cause further damage?
Removing an applied leather patch carries a risk of damaging the underlying sofa surface, depending on the type of adhesive used. Self-adhesive patches generally use pressure-sensitive glues that can leave a sticky residue or, in some cases, pull away the top finish of faux or bonded leather during removal. Patches applied with liquid leather glue form a much stronger, permanent bond that is highly difficult to remove without stripping the original leather’s protective coating. To minimize risk, peel the patch away extremely slowly while applying a mild, leather-safe adhesive remover with a cotton swab, always testing the remover on a hidden area of the sofa first to ensure it does not discolor or dissolve the original finish.
Can I apply a leather patch to peeling faux leather?
Applying a leather patch to actively peeling faux or bonded leather is generally not recommended as a long-term solution. Because faux leather peels when its synthetic polyurethane or vinyl top layer delaminates from its fabric backing, any patch you apply will only bond to the loose, flaking surface. As the surrounding material continues to degrade and flake away, the patch will inevitably peel off along with the loose particles. Before attempting a repair, check the patch manufacturer’s specifications to verify compatibility with synthetic materials, and consider professional panel replacement or reupholstery if the peeling has spread across a significant portion of the cushion.
Community discussion
Share your experience or ask a question. Comments are reviewed before publication.