
Finding sufficient tabletop space in a compact Singapore home can feel like an ongoing puzzle. With modern build-to-order (BTO) and resale flats featuring highly optimized layouts, every square centimeter of surface area on TV consoles, study desks, and entryway cabinets is incredibly valuable. Placing a bulky internet router, modem, and optical network terminal on these surfaces not only creates visual clutter but also occupies prime real estate that could be used for daily essentials. Mounting your router on a dedicated router wall shelf is an elegant, space-saving solution that clears up your surfaces while simultaneously elevating your networking hardware for better performance.
Beyond reclaiming physical space, elevating your router is one of the most effective ways to improve the wireless signal distribution throughout your home. Wi-Fi signals travel outward and downward in a dome-like pattern, meaning a router placed low to the ground or tucked inside a wooden cabinet must fight through dense furniture, appliances, and flooring to reach your devices. By installing a wall shelf at eye level or higher, you minimize these immediate physical obstructions, allowing the wireless signal to propagate more freely across different rooms. This simple spatial adjustment can significantly reduce frustrating dead zones in your layout.
Safety and equipment longevity are additional practical advantages of wall-mounted setups. Low-lying electronics are vulnerable to household accidents, such as spilled drinks, dust accumulation, and physical impact from vacuum cleaners. For households with curious toddlers or active pets, elevated shelving keeps delicate fiber patch cables, optical network terminals, and power adapters safely out of reach. This reduces the risk of accidental internet disruptions or damage to expensive telecommunications equipment, ensuring a more stable and secure home network environment.
Products mentioned in this guide
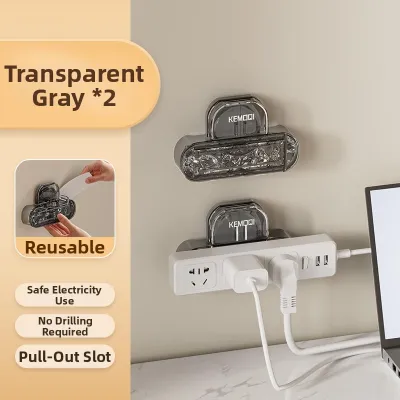
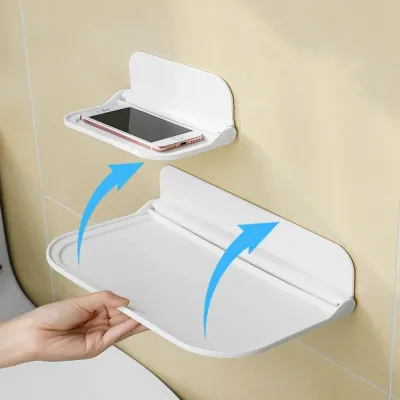
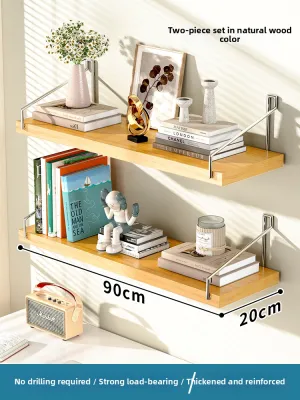
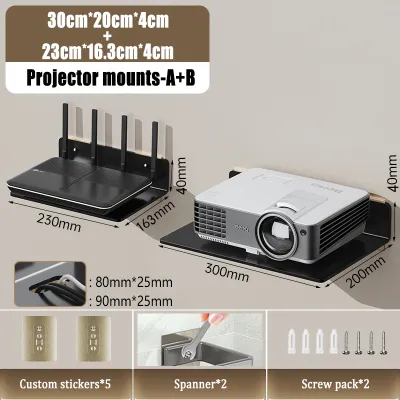
Prices are valid at publication and may change. Please refer to the product page for the latest price.
Key Features to Evaluate Before Buying a Router Shelf
Selecting the right wall shelf requires a careful look at your specific hardware configuration. Not all routers are built the same, and choosing a shelf without verifying your equipment’s physical requirements can lead to installation headaches or poor performance. Before making a purchase, take time to evaluate several critical design dimensions.
- Dimensions and Clearance: Begin by measuring the physical footprint of your router, modem, and any accompanying power adapters. Remember to account for the height of the antennas when they are fully extended, as well as the depth required for stiff ethernet and fiber cables protruding from the back of the devices. Your chosen shelf should offer at least 5 to 10 centimeters of clearance on all sides to prevent bending cables at sharp, damaging angles.
- Cable Management Features: A standard home network setup involves multiple cords, including power lines, fiber optic patch cables, and LAN connections. A shelf without integrated cable management will quickly become a chaotic eyesore. Look for designs that feature dedicated rear cutouts, bottom routing slots, or hollow-core compartments. These features allow you to route cables cleanly down the wall or conceal excess wire lengths directly inside the shelf structure.
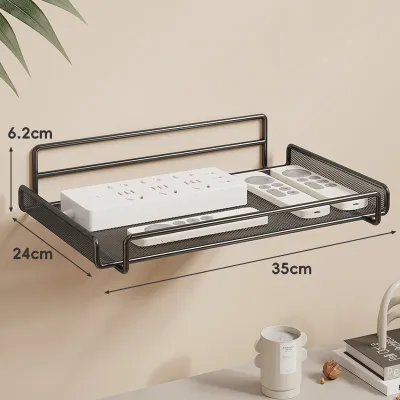
- Ventilation Needs: Networking equipment operates continuously and generates constant heat. In Singapore's warm, humid climate, adequate airflow is essential to prevent your router from overheating and thermal throttling, which can cause sudden speed drops or hardware failure. Avoid solid, fully enclosed wooden or plastic boxes. Instead, prioritize shelves designed with open-grate bases, slotted ventilation patterns, or breathable mesh panels that facilitate natural heat dissipation.
- Weight Capacity and Hardware: While a single router is relatively lightweight, the cumulative weight of a modem, a router, power bricks, and potential decorative items can add up quickly. Always check the manufacturer's stated weight limit for the shelf. Furthermore, ensure the product includes robust mounting hardware that is compatible with your specific wall material, as weak anchors can lead to sagging or sudden shelf failure.
Top Router Shelf Designs for Compact HDB Layouts
To maximize the utility of your wall space, match your shelf selection to the specific layout constraints and aesthetic goals of your room. Different design categories offer unique balances of concealment, accessibility, and space efficiency.

Fold-Down and Multi-Functional Shelves
Fold-down shelves utilize hinged brackets that allow the horizontal platform to fold flat against the wall when it is not actively holding items. This mechanism is highly beneficial for narrow corridors, household shelter entryways, or tight spaces behind doors where a permanently protruding shelf would block foot traffic or prevent doors from opening fully.
Multi-functional designs expand on this utility by combining the router platform with secondary storage features. Some models incorporate shallow trays for holding keys and mail, while others feature small hanging hooks underneath the main ledge. This dual-purpose approach allows you to establish a organized entryway drop zone without dedicating separate wall space to multiple accessories.
Key considerations for fold-down and multi-functional designs:
- Hinge Durability: Moving metal joints are subject to wear over time, so look for sturdy steel or brass hinges with smooth folding actions.
- Weight Limits: Fold-down mechanisms generally have lower load capacities than fixed brackets; avoid placing heavy decorative objects alongside your router.
- Clearance: Ensure that folded cables do not get pinched or crimped when the shelf is adjusted.
Floating Shelves with Integrated Cable Management
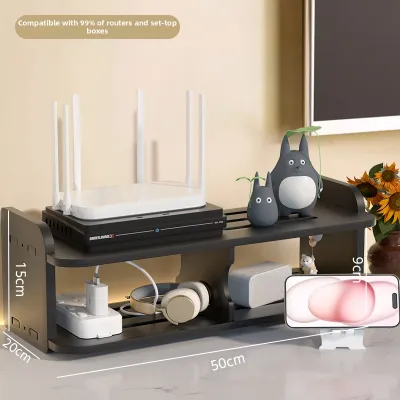
Floating shelves with built-in cable boxes or hollow cores are designed specifically to hide the unsightly tangle of power adapters and excess wiring. These shelves typically feature a double-layered design where the top surface holds the router, while the hidden lower compartment conceals a small power strip and coiled cables.
These designs are highly recommended for living room feature walls, study nooks, or open-plan areas where visual neatness is a priority. By completely hiding the black plastic power bricks and colorful ethernet cords, a floating cable-management shelf helps maintain a clean, minimalist interior aesthetic that blends seamlessly with modern home decor.
Key considerations for floating shelves with cable management:
- Internal Space: Verify that the hidden compartment is deep enough to accommodate your specific power adapter or extension plug.
- Installation Precision: Aligning the shelf perfectly level is crucial, as any tilt will be highly visible on an open wall.
- Access for Troubleshooting: Opt for models with removable magnetic covers or slide-out trays so you can easily access cables when resetting your network.
Ventilated Enclosures and Minimalist Brackets
Ventilated enclosures are decorative boxes made from lightweight materials like wood-plastic composites (WPC) or powder-coated aluminum. These boxes feature intricate geometric cutouts or lattice patterns that completely enclose the router, hiding its blinking LED lights and plastic chassis while still allowing wireless signals and heat to escape freely.
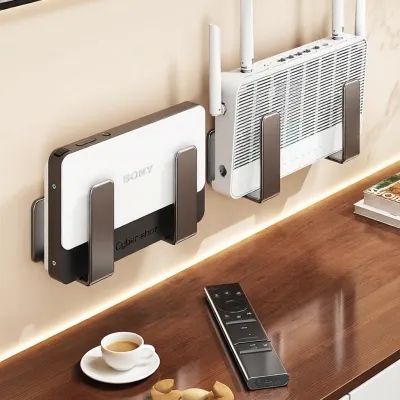
For those who prefer a barely-there look, minimalist brackets or strap-style mounts offer an alternative approach. These ultra-slim metal or plastic clips hold the router tightly and vertically against the wall, utilizing the device’s own mounting slots. This setup is ideal for lightweight, single-router configurations where a traditional projecting shelf is unnecessary.
Key considerations for enclosures and minimalist brackets:
- Signal Obstruction: Ensure the enclosure material is non-metallic (such as plastic or wood) to avoid degrading your Wi-Fi signal strength.
- Airflow Check: Avoid completely sealed boxes; ensure there are ample ventilation slots on both the top and bottom of the enclosure to encourage convection cooling.
- Device Compatibility: Minimalist bracket mounts are often device-specific, so double-check that the bracket dimensions match your router model.
Safe Installation and Wall Checks for HDB Flats
Installing a shelf securely in an HDB flat requires an understanding of the wall materials you are working with. Standard public housing units in Singapore utilize a mix of structural concrete, precast panels, and lightweight partition walls. Using the wrong installation method can damage your walls or result in a falling shelf that destroys your expensive networking gear.
Identifying Wall Types Before drilling any holes, you must determine what lies beneath your wall finish. Structural walls, load-bearing columns, and the walls of your household shelter are made of dense, reinforced concrete. Internal partition walls separating bedrooms or study areas are typically constructed from lightweight concrete panels or drywall. You can identify the wall type by knocking gently on the surface: a hollow, high-pitched echo indicates a drywall or partition board, whereas a solid, dull thud indicates reinforced concrete.
Choosing the Right Anchors Once you have identified the wall type, select the appropriate wall plugs or anchors to ensure a secure hold.
- For Concrete Walls: Use standard plastic masonry wall plugs (often referred to as rawlplugs) or heavy-duty expansion anchors. Installing these requires a rotary hammer drill equipped with a masonry drill bit of the exact matching diameter. Avoid using standard impact drills, as they will struggle to penetrate HDB-grade concrete.
- For Drywall or Partition Walls: Never rely on standard plastic wall plugs, as they will easily pull out of the soft gypsum board. Instead, use specialized hollow-wall anchors, toggle bolts, or self-drilling threaded drywall anchors. These fasteners expand or spread their weight behind the board, providing a secure grip that prevents the shelf from sagging under load.
Safety Boundaries and Drilling Always prioritize safety when drilling into household walls. Electrical conduits and water pipes run vertically and horizontally behind your walls, typically aligned with light switches, power sockets, and kitchen or bathroom plumbing fixtures. Avoid drilling directly above, below, or adjacent to these utility points. As a general rule, use a digital wall scanner to check for live wires and pipes before starting. If your drill bit hits sudden, hard resistance—such as steel rebar within a concrete wall—stop drilling immediately. Forcing the drill can damage your equipment and compromise structural safety. If you are unsure of the wall composition or encounter unexpected resistance, consult a qualified professional handyman to complete the installation.
Load Verification After the shelf is mounted and before you place any expensive electronics on it, perform a manual load test. Gently apply downward pressure with your hand to check for any wobble, flexing, or gaps forming between the bracket and the wall. Alternatively, place a non-fragile object of equivalent weight, such as a stack of heavy books, on the shelf for a few hours. If the shelf remains perfectly stable and level, it is safe to arrange your router, modem, and cabling.
Frequently Asked Questions (FAQ)
Does mounting a router on a wall shelf improve Wi-Fi speed?
Elevating your router on a wall shelf can improve your overall Wi-Fi coverage and signal stability by reducing physical obstacles. When a router is placed higher up, its signal path is less obstructed by furniture, metal appliances, and daily household items. However, physical placement alone will not increase the maximum internet bandwidth or speed supplied by your internet service provider. It simply ensures that you receive a more consistent and efficient distribution of your existing connection throughout your home.
Can I use adhesive strips instead of drilling for a router shelf?
Using adhesive strips for a router shelf is highly discouraged due to safety risks. Routers run continuously and generate constant, low-level heat that transfers to the shelf body. Over time, this heat degrades the adhesive backing, weakening its bond. Combined with the constant downward pull of gravity and the weight of dangling cables, adhesive strips are prone to sudden failure. To protect your expensive networking equipment from accidental falls and damage, always use mechanical fasteners like screws and appropriate wall anchors.
How do I clean and maintain a wall-mounted router shelf?
Regular maintenance helps prevent dust buildup, which can clog your router’s ventilation ports and cause overheating. Before cleaning, always turn off and unplug the router and modem to ensure electrical safety. Use a dry, clean microfiber cloth or a soft-bristled brush to gently sweep away dust from the shelf surface and the router’s vents. Avoid using liquid sprays, wet wipes, or chemical cleaners directly on or near the electronics, as moisture can seep into the ports and cause electrical short circuits.
Community discussion
Share your experience or ask a question. Comments are reviewed before publication.