
Quick Guide: Matching Plastic Covers to Renovation Tasks
Protecting furniture during a home renovation is not a one-size-fits-all task. A successful shielding strategy requires matching the physical properties of your protective material to the specific environmental and mechanical stresses of your renovation activities. The three primary categories of temporary shielding—lightweight plastic drop sheets, adhesive protective films, and heavy-duty plastic sheeting—each serve distinct roles. Painting and liquid-based tasks demand draping covers that block moisture; sanding and drywall installations require sealing films that contain fine, abrasive dust; and structural demolition or heavy material handling calls for thick, puncture-resistant barriers.
Before applying any plastic cover, adhesive film, or heavy tarp to your furniture, your critical first step must always be to check the applied product’s label and the treated furniture item’s manufacturer instructions. If the instructions conflict, if the furniture’s material or finish is unidentified, or if the specific use is not covered by the manufacturer’s guidelines, stop immediately and consult the furniture manufacturer or a qualified professional. Applying the wrong cover can trap moisture, degrade delicate finishes, or void warranties, turning a protective measure into a source of permanent damage.
Painting and Liquid Protection: Plastic Drop Sheets
When your home renovation involves interior wall painting, ceiling plastering, or any task utilizing liquid coatings and chemical solvents, lightweight plastic drop sheets are the standard for protecting furniture. These liquid-impermeable sheets are designed to intercept falling paint splatters, accidental drips, and fine paint mist from sprayers before they can penetrate upholstery fabrics or stain polished wood.
Products mentioned in this guide
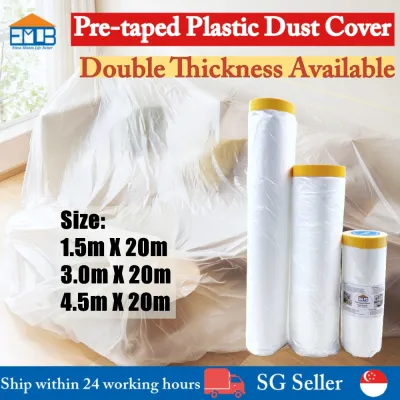
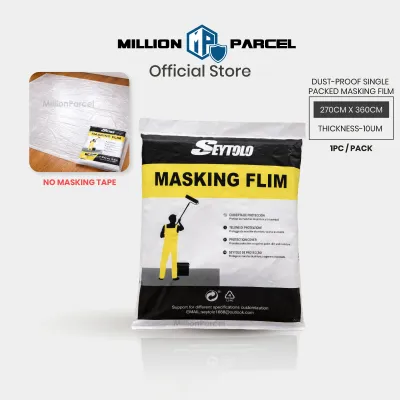
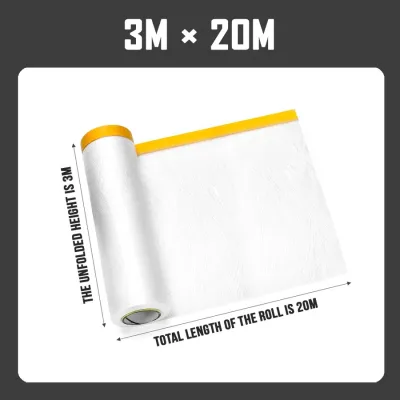
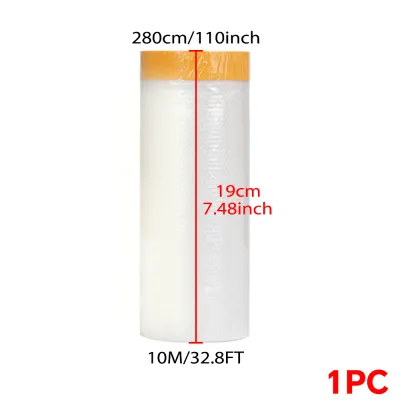
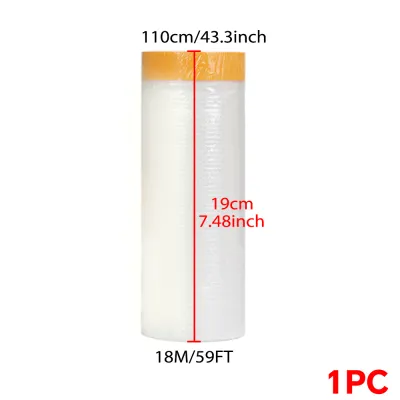
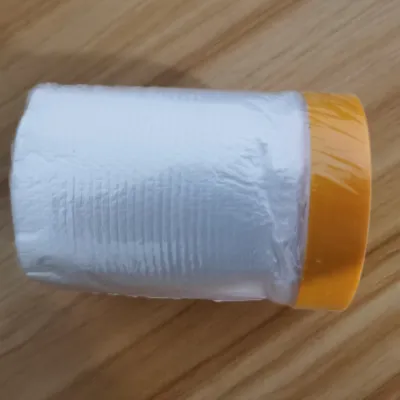
Prices are valid at publication and may change. Please refer to the product page for the latest price.

The most common material for these covers is lightweight polyethylene (PE). Thickness typically affects tear resistance and drapeability. Thinner sheets drape effortlessly over complex furniture shapes, conforming to the contours of high-backed armchairs, intricate dining chairs, and decorative cabinet moldings. However, thinner plastic is more susceptible to tearing if snagged by tools or ladder feet. Woven plastic drop cloths offer improved tear resistance but may lack the absolute liquid-blocking security of solid PE sheets if liquids pool on them for extended periods. Keep in mind that terms like “waterproof plastic” or “tear-resistant” do not automatically guarantee protection against weather, moisture, scratches, or long-term durability. Instead, you must continuously check the furniture’s specific finish, the strength of its joints, and the actual use environment to determine if a specific cover is safe to use.
To apply these sheets effectively, drape them completely over your furniture, ensuring the plastic extends all the way to the floor. For upholstered sofas and fabric-covered items, ensure the furniture is completely dry before covering. For large dining sets or wooden cabinets, drape the plastic loosely to allow a small buffer of air, rather than wrapping the item tightly. When selecting plastic covers, factor in the finished dimensions of your wrapped furniture to ensure they still clear doorways and lift access if you need to relocate them during the renovation. For tall or heavy pieces, ensure the anchoring method of the plastic does not compromise the item’s stability, and verify that wrapping does not interfere with safe handling or assembly conditions if the furniture must be partially disassembled.
While plastic drop sheets are highly effective at blocking liquids, they present distinct limitations and safety hazards. When laid over floors or smooth surfaces, dry plastic can be exceptionally slippery, creating a fall hazard for workers. Furthermore, polyethylene is entirely non-breathable. In Singapore’s hot and highly humid climate, where relative humidity levels frequently exceed 80 percent, trapping air beneath a non-breathable plastic sheet for extended periods can cause moisture condensation. This trapped moisture can lead to mold growth on fabric upholstery, warping of delicate wood veneers, or clouding (blushing) of clear lacquer finishes.
To mitigate these risks, secure the edges and seams of the plastic drop sheets using high-quality painter’s tape. This prevents paint from seeping through gaps and ensures the cover remains stable during room movement. However, do not leave these non-breathable covers on sensitive wooden or leather furniture longer than necessary, and ensure the indoor environment remains well-ventilated.
Dust, Sanding, and Delicate Surfaces: Adhesive Protective Films
Wall sanding, drywall installation, and tile cutting generate massive volumes of microscopic, highly abrasive dust that can settle into every crevice of your furniture. For these dust-heavy tasks, as well as for protecting delicate surfaces like glass tabletops, mirrors, and high-gloss lacquered finishes, standard loose drop sheets are often insufficient because air currents can easily blow dust underneath them. This is where adhesive protective films and static-clinging plastics become essential.
These materials are generally categorized into static-cling films and low-tack adhesive polyethylene (PE) films. Static-cling films rely on electrostatic forces rather than chemical adhesives to adhere to surfaces, making them highly suitable for glass and metal. Low-tack adhesive films feature a pressure-sensitive adhesive backing designed to grip surfaces firmly without shifting, creating an airtight seal that prevents fine dust ingress.
When applying these films, you can wrap chair legs individually, seal the seams of glass tabletops, and tape down the edges of cabinet doors to prevent fine dust from entering the interior shelves. The airtight seal ensures that even if dust settles on the covered item, none of it makes contact with the actual surface.
However, adhesive films carry a crucial safety boundary. You must never apply adhesive-backed films directly to untreated wood, freshly painted surfaces, waxed finishes, or delicate antique veneers without verifying the furniture manufacturer’s care instructions. If the adhesive bonds too strongly, removing the film can peel away the underlying finish, lift wood veneers, or leave behind a sticky, difficult-to-clean chemical residue. If instructions conflict or are unavailable, stop and consult a professional.
Singapore’s high ambient humidity and warm temperatures significantly alter the behavior of pressure-sensitive adhesives. Heat can cause the adhesive polymer to soften and cure more rapidly, drastically increasing its bond strength over time. Always perform a hidden area test (a test on an inconspicuous part of the furniture) to check for adhesive compatibility and ease of clean removal before committing to a full application. If you notice any finish softening or adhesive transfer during the test, stop immediately and consult a professional furniture restorer or the manufacturer.
Demolition and Heavy Debris: Heavy-Duty Sheeting and Tarps
When renovation tasks transition to high-impact activities—such as hacking concrete walls, removing floor tiles, or transporting heavy construction materials through narrow hallways—lightweight sheets and thin films will fail instantly under mechanical stress. For these demanding phases, especially when bulky, built-in, or heavy furniture cannot be relocated to another room, you must rely on heavy-duty plastic sheeting and reinforced tarps.
These robust barriers are typically made from thick, builder’s grade polythene or cross-laminated, reinforced polyethylene. This grade of plastic is highly puncture-resistant and capable of withstanding the impact of sharp tile shards, falling plaster, and minor tool scrapes without tearing open. However, remember that a heavy-duty material name alone does not prove scratch or impact durability; you must still verify the installation and anchoring conditions.
When protecting heavy furniture, focus on creating robust, tent-like enclosures. For built-in wardrobes, large kitchen islands, or heavy household appliances, you can construct a protective frame or drape the heavy sheeting over the top, anchoring the edges securely to the floor with heavy-duty tape or sandbags. This creates an isolated micro-environment that shields the item from physical impacts and falling debris. Ensure the anchoring method does not affect the load capacity or stability of the covered furniture, especially if tools or materials are temporarily rested nearby.
However, heavy-duty plastic sheeting has notable limitations. It is inherently stiff, bulky, and difficult to drape over intricate furniture shapes or sharp corners without creating large air pockets. Furthermore, because of its thickness and rough texture, dragging or rubbing heavy plastic directly against delicate furniture finishes can cause friction scratches and surface abrasions.
To prevent this, always implement a multi-layered surface protection strategy. Place a soft inner buffer layer—such as clean cotton bedsheets, moving blankets, or thick bubble wrap—directly over the furniture’s surface before draping the heavy-duty plastic sheeting over the top. This inner layer absorbs physical friction, cushions minor impacts, and prevents the abrasive plastic from rubbing against polished wood, glass, or leather finishes.
Cross-Scenario Compatibility and Practical Application Tips
A common misconception is that a single type of plastic cover can protect your furniture throughout an entire HDB or condominium renovation cycle. In practice, relying on a single material is rarely sufficient. Heavy-duty sheeting is far too stiff and bulky for the detailed wrapping required to seal out fine sanding dust, while thin adhesive films offer absolutely zero impact protection against falling debris during demolition.
To achieve comprehensive protection, employ a strategic layering approach. For high-risk areas, start with a soft, breathable inner layer (like cotton sheets or moving blankets) to protect against scratches and regulate moisture. Follow this with a sealed layer of low-tack or static-cling film to block fine dust, and top the assembly with a heavy-duty plastic sheet to guard against mechanical impacts and liquid spills.
Before covering any furniture, thorough preparation is critical. Vacuum and wipe down all furniture surfaces to ensure they are entirely clean and dry. Trapping even a small amount of abrasive grit or moisture beneath a tight plastic cover can result in scratches as the cover shifts, or lead to mold and finish degradation due to trapped humidity.
When the renovation is complete, execute the removal process with care. Avoid pulling adhesive films off at a sharp, rapid angle, as this sudden tension can delaminate wood veneers or tear away delicate finishes. Instead, peel the film back slowly at a shallow angle, keeping it close to the surface. Once all covers are removed, gently vacuum any residual dust that may have settled near the edges, and wipe the surfaces down with a damp microfibre cloth in accordance with the manufacturer’s care guidelines.
Frequently Asked Questions (FAQ)
Can I use regular kitchen cling wrap to protect furniture during renovations?
Regular kitchen cling wrap is not recommended for protecting furniture during renovations. It lacks the durability, thickness, and tear resistance required to withstand mechanical friction or sharp debris. Additionally, household cling wrap is highly susceptible to tearing when stretched over large or complex furniture shapes, and the heat and humidity of a renovation environment can cause it to degrade, leaving a sticky, stubborn residue on your furniture’s finish.
How long can I safely leave adhesive protective film on wooden furniture?
You should always check the film manufacturer’s instructions, but generally, adhesive protective film should not be left on wooden furniture for more than 7 to 14 days. In warm and humid environments like Singapore, prolonged exposure can cause the adhesive to cure and bond permanently with the wood finish. Remove the film as soon as the specific dusty or high-risk task is complete to prevent finish peeling or adhesive transfer.
Should I cover my furniture if the renovation work is only in another room?
Yes, you should cover your furniture even if the active renovation is confined to another room. Fine dust particles from sanding, plastering, or hacking travel easily through air-conditioning ducts, open doorways, and small gaps beneath doors. Placing a basic drop sheet over furniture in adjacent rooms prevents fine dust from accumulating in upholstery fabrics, settling on polished wood finishes, or entering the mechanical parts of electronics.
Community discussion
Share your experience or ask a question. Comments are reviewed before publication.